
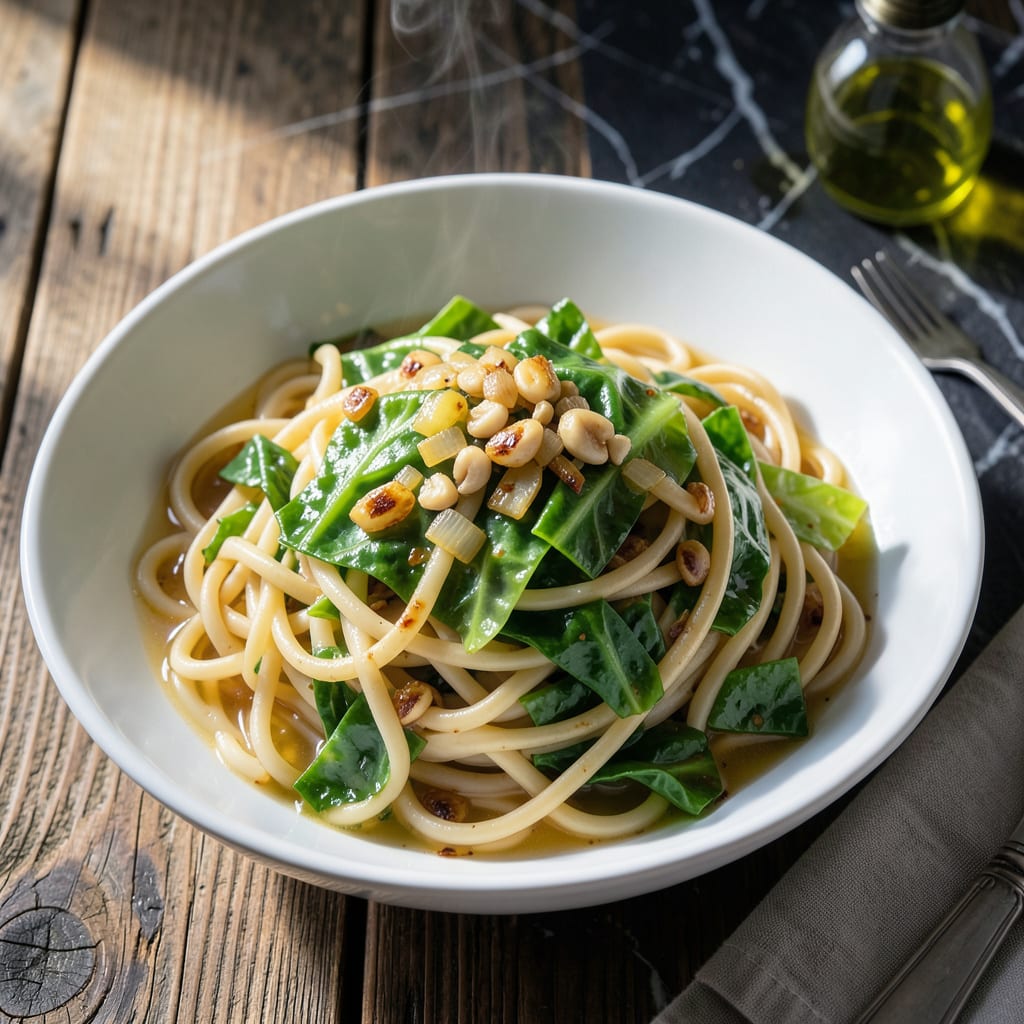
This recipe transforms a traditional Polish dish into a one-pot meal that’s both hearty and efficient. The Instant Pot makes it possible to achieve perfectly tender cabbage and noodles with minimal effort.
You’ll love how the flavors meld together, creating a comforting dish that’s ready in a fraction of the time. It’s a foolproof way to bring a taste of home to your table without the fuss.
Ingredients for Instant Pot Haluski
One pot, minimal fuss, maximum flavor. Classic Polish comfort in every bite.
| Ingredient | Amount | Notes |
|---|---|---|
| Egg Noodles 🍜 | 8 oz | Wide or medium width |
| Green Cabbage 🥬 | ¾ lb | Thinly sliced, about 4 cups |
| Unsalted Butter 🧈 | 4 tbsp | Divided for cooking |
| Yellow Onion 🧅 | 1 whole | Medium, finely diced |
| Garlic Cloves 🧄 | 3 cloves | Minced for depth |
| Vegetable Broth 🥣 | 1 ½ cups | Low-sodium preferred |
| Caraway Seeds 🌿 | ½ tsp | Optional but traditional |
| Sea Salt 🧂 | 1 tsp | Adjust to taste |
| Black Pepper 🌶️ | ½ tsp | Freshly ground preferred |
| Sour Cream 🥛 | ½ cup | Full-fat for creaminess |
| Fresh Parsley 🌿 | 2 tbsp | Chopped, for garnish |
The cabbage is key here. Look for heads with tight, crisp leaves—avoid any with soft spots or wilting. Green cabbage is traditional, but savoy works too if you want extra texture. Most supermarkets carry it year-round. I grab mine from Whole Foods when I want organic, but regular grocery store cabbage is perfectly fine. The noodles should be egg-based for that authentic haluski texture—Reames or Mrs. Weiss are solid brands.
No egg noodles? Fettuccine or linguine work in a pinch—just break them to fit. Vegetable broth can be swapped for water plus bouillon (use Better Than Bouillon if you have it). Out of caraway seeds? Skip them entirely—the dish will still taste great. The sour cream is non-negotiable for me, but Greek yogurt works if that’s what you’ve got. Fresh parsley can be dried, but use one-third the amount.
Leftovers keep well—actually taste better the next day. Store sealed in the fridge for 3-4 days. Doesn’t freeze beautifully (noodles get mushy), but you can freeze the cabbage mixture separately and cook fresh noodles when reheating. Always add the parsley fresh when serving.
Why You’ll Love This Recipe
- I’ll be real: this stretches to feed six with no extra effort, and leftovers reheat beautifully.
- Dump and Go: I toss everything in the Instant Pot and let it do the work—no babysitting required.
- Buttery Garlic Heaven: The onion and garlic sautéed in butter with those tender noodles and cabbage? Ridiculously good.
- Feeds a Hungry Crowd: I’ll be real: this stretches to feed six with no extra effort, and leftovers reheat beautifully.
Step-by-Step Instructions for Cabbage and Noodles in One Pot
This method transforms humble ingredients into a hearty dish with minimal effort and maximum flavor.
Step 1: Sauté Aromatics Until Fragrant
Set your Instant Pot to the Sauté function and melt 2 tbsp Unsalted Butter. Add the finely diced Yellow Onion and cook for 3-4 minutes until it softens and becomes translucent. You’ll notice the edges start to turn slightly golden—that’s your cue.
Stir in the minced Garlic Cloves and 0.5 tsp Caraway Seeds, cooking for an additional 30 seconds until the garlic releases its aroma. Be careful not to let the garlic burn; it should smell sweet, not bitter. This builds the flavor foundation for the entire dish.
Step 2: Add Cabbage and Deglaze
Add the 0.75 lb Green Cabbage (thinly sliced) to the pot, stirring to combine with the aromatics. The cabbage will initially seem like too much, but it wilts down quickly. Cook for 2-3 minutes until it softens slightly, stirring occasionally.
Pour in 1.5 cups Vegetable Broth and use a wooden spoon to scrape up any browned bits from the bottom of the pot. This deglazing step ensures you capture all those delicious caramelized flavors and prevents burning. Season with 1 tsp Sea Salt and 0.5 tsp Black Pepper.
Step 3: Pressure Cook the Noodles
Add the 8 oz Egg Noodles to the pot, pressing them down gently to submerge in the liquid. Stir in the remaining 2 tbsp Unsalted Butter. Secure the lid, set the valve to Sealing, and cook on High Pressure for 4 minutes.
The noodles will cook perfectly in the broth, absorbing the flavors of the cabbage and aromatics. Once the cooking time is complete, allow a natural pressure release for 5 minutes, then manually release any remaining pressure.
Step 4: Finish with Sour Cream and Garnish
Open the lid and stir in the 0.5 cup Sour Cream until it melts into the dish, creating a creamy, rich sauce. The mixture should be thick and coating the noodles and cabbage evenly. Taste and adjust seasoning if needed.
Ladle into serving bowls and garnish with 2 tbsp Fresh Parsley. The parsley adds a pop of color and freshness that balances the hearty flavors. Serve immediately while hot—the noodles absorb more liquid as they sit, so this dish is best enjoyed fresh from the pot.
Pro Tips For Making Instant Pot Haluski
- Sauté Onions First: Cook the yellow onions in the instant pot before adding anything else—this builds a sweet, caramelized base that makes the whole dish taste richer.
- Shred Cabbage Fine: Slice the green cabbage thinly and evenly so it cooks through in the same time as the noodles; chunks will stay crunchy and uneven.
- Use Enough Water: Add at least 4 cups of liquid for the noodles to absorb properly—haluski turns gummy if it’s underhydrated.
- Stir After Cooking: Once the pressure releases, give everything a good toss while the butter melts in—this coats every bite and keeps the noodles from clumping.
Make-Ahead Tips for This Dish
Prep Ahead Strategy
You can chop all vegetables the night before and store them in airtight containers. I slice the 0.75 lb Green Cabbage and dice the Yellow Onion, keeping them separate to prevent wilting. This cuts your morning prep time in half. ❄️
Partial Cooking Method
Cook the cabbage and aromatics in the Instant Pot as directed, then stop before adding noodles. Refrigerate the cabbage mixture for up to 24 hours. When ready to serve, add fresh 8 oz Egg Noodles and proceed with the recipe.
Sour Cream Timing
Wait to add the 0.5 cup Sour Cream until just before serving. If mixed in too early, the acidity can cause the noodles to break down. I keep it in a small bowl in the fridge and stir it in at the very end.
Reheating Tips
Add a splash of Vegetable Broth when reheating to loosen the mixture. Heat on the stove over medium-low heat for 5-7 minutes, stirring occasionally. The microwave works too—cover with a damp paper towel and heat in 1-minute intervals. 🔥
Garnish Last
Always add fresh 2 tbsp Fresh Parsley right before serving. If added earlier, it loses its bright color and fresh flavor. I also keep extra parsley on hand for second helpings.
Make-Ahead Warning
While the flavors improve overnight, the noodles will absorb more liquid. For best results, undercook the noodles slightly if prepping ahead. I’ve found 3 minutes of pressure cooking works better for make-ahead versions.
Nutrition Facts
Frequently Asked Questions
Can I use a different type of noodle?
Yes! While egg noodles are traditional, fettuccine or linguine work well too. Just break them to fit and adjust cooking time to 3 minutes if using thicker noodles.
Why do I need to deglaze the pot?
Deglazing prevents burning and captures all the caramelized flavors from the sautéed aromatics. Use a wooden spoon to scrape up any browned bits for maximum flavor.
Can I make this dish dairy-free?
Replace butter with olive oil and swap sour cream for coconut yogurt or a dairy-free alternative. The flavor will differ slightly but still be delicious.
What if my noodles turn out mushy?
This usually happens if the pressure release is too long. Stick to 5 minutes natural release, then quick-release any remaining pressure to keep noodles firm.

- 4C Bread Crumbs Meatballs Recipe: Crispy Crust and Juicy Centers - September 25, 2026
- 6 Oz Chocolate Chip Cookie Recipe: Perfectly Balanced Crispy Edges and Chewy Hearts - September 25, 2026
- 6-Inch Coffee Cake Recipe: Vanilla Bean Swirls and Buttery Streusel Topping - September 25, 2026