
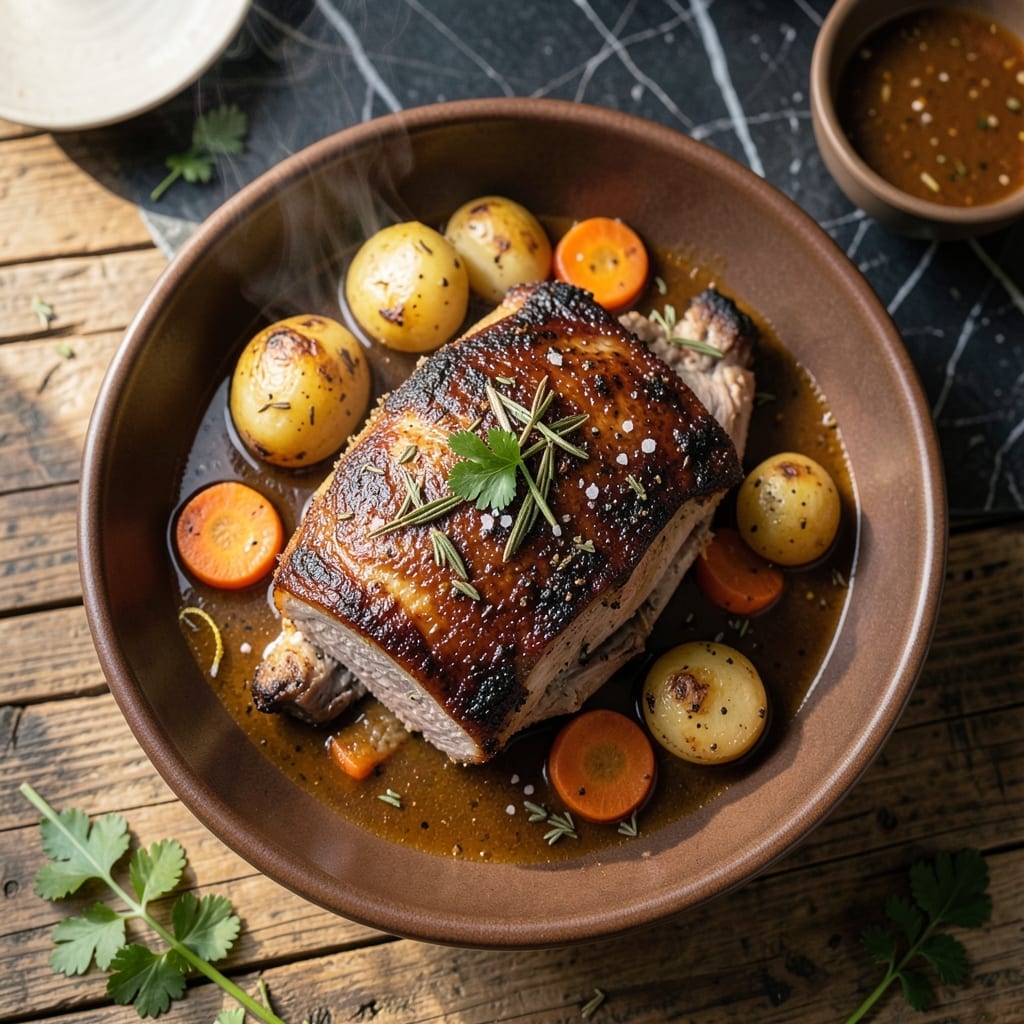
Wild game like moose requires special handling to achieve tender, flavorful results. This method transforms tough cuts into fall-apart meat without losing the robust, natural taste.
The Instant Pot’s pressure cooking breaks down connective tissue in 30 minutes, creating a perfect roast that rivals slow-cooked methods. A simple seasoning blend enhances without overpowering the meat’s natural richness.
You’ll end up with juicy, succulent moose that pulls apart with a fork. The pressurized environment locks in moisture while infusing the meat with aromatic depth.
Serve with root vegetables or mashed potatoes to soak up the rich, savory juices. This approach delivers consistent results every time.
Ingredients for Instant Pot Moose Roast
Transform tough wild game into tender perfection with these carefully selected ingredients for the dish.
| Ingredient | Amount | Notes |
|---|---|---|
| Moose Roast 🦌 | 2 ½ lb | Tough cuts like shoulder or hindquarter preferred |
| Kosher Salt 🧂 | 1 ½ tsp | Diamond Crystal brand recommended |
| Black Pepper 🌶️ | 1 tsp | Freshly ground for best results |
| Garlic Powder 🧄 | 1 tsp | Not garlic salt substitute |
| Onion Powder 🧅 | 1 tsp | Granulated for even distribution |
| Dried Rosemary 🌿 | 1 tsp | Crushed to release oils |
| Dried Thyme 🍃 | 1 tsp | Rubbed between fingers |
| Olive Oil 🫒 | 2 tbsp | Extra-virgin for searing |
| Beef Broth 🥣 | 1 cup | Low-sodium preferred for control |
| Red Wine 🍷 | ½ cup | Dry variety like Cabernet |
| Yellow Onion 🧅 | 1 whole | Large, roughly chopped |
| Carrots 🥕 | 3 whole | Peeled, cut into chunks |
| Celery Stalks 🌿 | 2 whole | Cut into large pieces |
| Bay Leaves 🍃 | 2 pieces | Dried, for aromatic depth |
| Worcestershire Sauce 💧 | 1 tbsp | Anchovy-free version if preferred |
The moose roast is the foundation. Source from a reputable wild game supplier or a trusted hunter—freshness is critical. Tougher cuts like shoulder or hindquarter work best, as they benefit most from pressure cooking. For optimal results, trim excess fat and connective tissue before cooking. Most specialty butchers can prepare the cut to your specifications if you’re not processing it yourself.
No red wine? Substitute beef broth with 1 tbsp balsamic vinegar for similar depth. If avoiding alcohol entirely, use additional beef broth with a splash of apple cider vinegar. Fresh herbs can replace dried at a 3:1 ratio, but dried are preferred here for their concentrated flavor. For a richer finish, add 1 tbsp tomato paste to the searing step if you have it on hand.
Store raw moose in the fridge for up to 3 days or freeze for 9-12 months. Once cooked, leftovers keep for 4-5 days refrigerated or can be frozen for 3 months. The flavor deepens overnight, making this dish even better as leftovers.
Why You’ll Love This Recipe
- Set It and Forget: The Instant Pot does all the work—just season the roast, seal the lid, and let it transform tough moose into fall-apart tender perfection.
- Rich, Deep Flavor: Kosher salt, black pepper, garlic and onion powder bloom in the pressure cooker, turning simple spices into a savory crust that clings to every bite.
- Feeds the Freezer: One roast yields enough for dinner tonight, sandwiches tomorrow, and a batch of chili next week—moose stretches further than you’d expect.
- Honestly Foolproof: I’ve burned roasts in the oven before, but the Instant Pot locks in moisture so even my first try came out juicy and spot-on.
Step-by-Step Instructions for Instant Pot Moose Roast
This method transforms tough wild game into fall-apart tender meat with rich, developed flavors.
Step 1: Season and Sear the Moose Roast
Pat the 2.5 lb Moose Roast dry with paper towels to ensure a good sear. In a small bowl, combine the 1.5 tsp Kosher Salt, 1 tsp Black Pepper, 1 tsp Garlic Powder, 1 tsp Onion Powder, 1 tsp Dried Rosemary, and 1 tsp Dried Thyme. Rub this mixture evenly over all surfaces of the roast, pressing it in firmly to adhere.
Set your Instant Pot to the “Sauté” function on normal heat. Add the 2 tbsp Olive Oil and wait until it shimmers. Sear the roast on all sides until deeply browned, about 4-5 minutes per side. This creates a flavorful crust and renders some fat. Transfer the seared roast to a plate and set aside.
Step 2: Sauté the Aromatic Vegetables
In the same Instant Pot, add the roughly chopped 1 whole Yellow Onion, 3 whole Carrots (peeled and cut into chunks), and 2 whole Celery Stalks (cut into large pieces). Sauté for 4-5 minutes, stirring occasionally, until the vegetables begin to soften and develop some color.
Add the 1 tbsp Worcestershire Sauce and cook for 1 minute, stirring constantly, as it deglazes the pot and lifts all the browned bits from the bottom. This step is crucial for building deep, complex flavors in the final dish. The mixture should appear slightly thickened as the sauce reduces.
Step 3: Pressure Cook the Roast with Liquids
Pour in the 1 cup Beef Broth and 0.5 cup Red Wine, stirring to combine with the vegetables and any browned bits. Add the 2 pieces Bay Leaves to the pot. Return the seared moose roast to the Instant Pot, along with any accumulated juices from the plate.
Secure the lid, set the valve to “Sealing,” and cook on high pressure for 60 minutes. The roast should be fork-tender when done—the meat should pull apart easily with a gentle tug. Allow the pressure to release naturally for 15 minutes, then manually release any remaining pressure.
Step 4: Rest and Serve
Carefully remove the moose roast from the Instant Pot and transfer it to a cutting board. Tent loosely with foil and let it rest for 10-15 minutes. This resting period allows the juices to redistribute, ensuring the meat remains moist and tender when sliced.
Skimming excess fat from the cooking liquid, you can optionally reduce it on the “Sauté” function for a thicker sauce. Slice the roast against the grain and serve with the vegetables and some of the cooking liquid spooned over the top. The meat should be incredibly tender with a rich, savory depth of flavor.
Pro Tips For Making Instant Pot Moose Roast
- Sear the Moose First: I learned this the hard way—browning the roast in the Instant Pot before pressure cooking locks in flavor and prevents a gray, boiled look. Use the sauté function with a little oil for 3-4 minutes per side.
- Season Generously: Moose is lean, so don’t be shy with the kosher salt, black pepper, garlic powder, and onion powder. I coat mine like I’m seasoning a steak—more than you think you need.
- Add Liquid: Skip the dry cook—moose roast needs moisture to stay tender. I pour in 1 cup of beef broth or water to prevent the “burn” notice and keep the meat juicy.
- Rest Before Slicing: After pressure cooking, let the roast rest for 10-15 minutes under foil. Sounds weird, but it redistributes the juices—my first few attempts were dry because I cut too soon.
Make-Ahead Tips for Leftovers
Prep Ahead Strategy
Trim and season your 2.5 lb Moose Roast up to 24 hours ahead. Store it uncovered in the fridge to let the salt penetrate deeply. This dry-brine method enhances tenderness and flavor. I often prep this the night before hunting trips. 💡
Vegetable Prep
Chop the 1 onion, 3 carrots, and 2 celery stalks the day before. Keep them in a sealed container with a damp paper towel to maintain freshness. This saves 15 minutes on cooking day.
Liquid Measurement
Mix your 1 cup Beef Broth and 0.5 cup Red Wine in advance. Store in the fridge so flavors can meld. I use a 2-cup measuring cup with a lid for easy pouring when ready to cook. ❄️
Instant Pot Prep
Ensure your Instant Pot is clean and the sealing ring is properly installed. Test the “Sauté” function beforehand to verify it heats evenly. A quick 5-minute check prevents last-minute surprises.
Post-Cook Resting
The 10-15 minute rest is non-negotiable. While waiting, warm your serving plates or prep side dishes. I use this time to mash potatoes or reheat rolls.
Sauce Reduction
While the meat rests, reduce the cooking liquid on “Sauté” mode. Skim off excess fat first for a cleaner sauce. It thickens beautifully in about 5-7 minutes.
Nutrition Facts
Frequently Asked Questions
Can I cook a frozen moose roast directly?
No, always thaw first for even cooking and food safety. Thaw overnight in the fridge or use the cold water method with sealed packaging. Cooking from frozen can lead to uneven doneness.
What can I use instead of red wine?
Substitute with 1 cup beef broth plus 1 tbsp balsamic vinegar for similar depth. For alcohol-free, use all beef broth with a splash of apple cider vinegar.
Why does the meat need to rest after cooking?
Resting for 10-15 minutes allows juices to redistribute throughout the meat. Skipping this step results in dry, tough slices as the moisture leaks out when cut.
How do I know when the roast is done?
It should pull apart easily with a fork after 60 minutes of pressure cooking. The internal temperature should reach at least 165°F for safe consumption.

- 4C Bread Crumbs Meatballs Recipe: Crispy Crust and Juicy Centers - September 25, 2026
- 6 Oz Chocolate Chip Cookie Recipe: Perfectly Balanced Crispy Edges and Chewy Hearts - September 25, 2026
- 6-Inch Coffee Cake Recipe: Vanilla Bean Swirls and Buttery Streusel Topping - September 25, 2026