
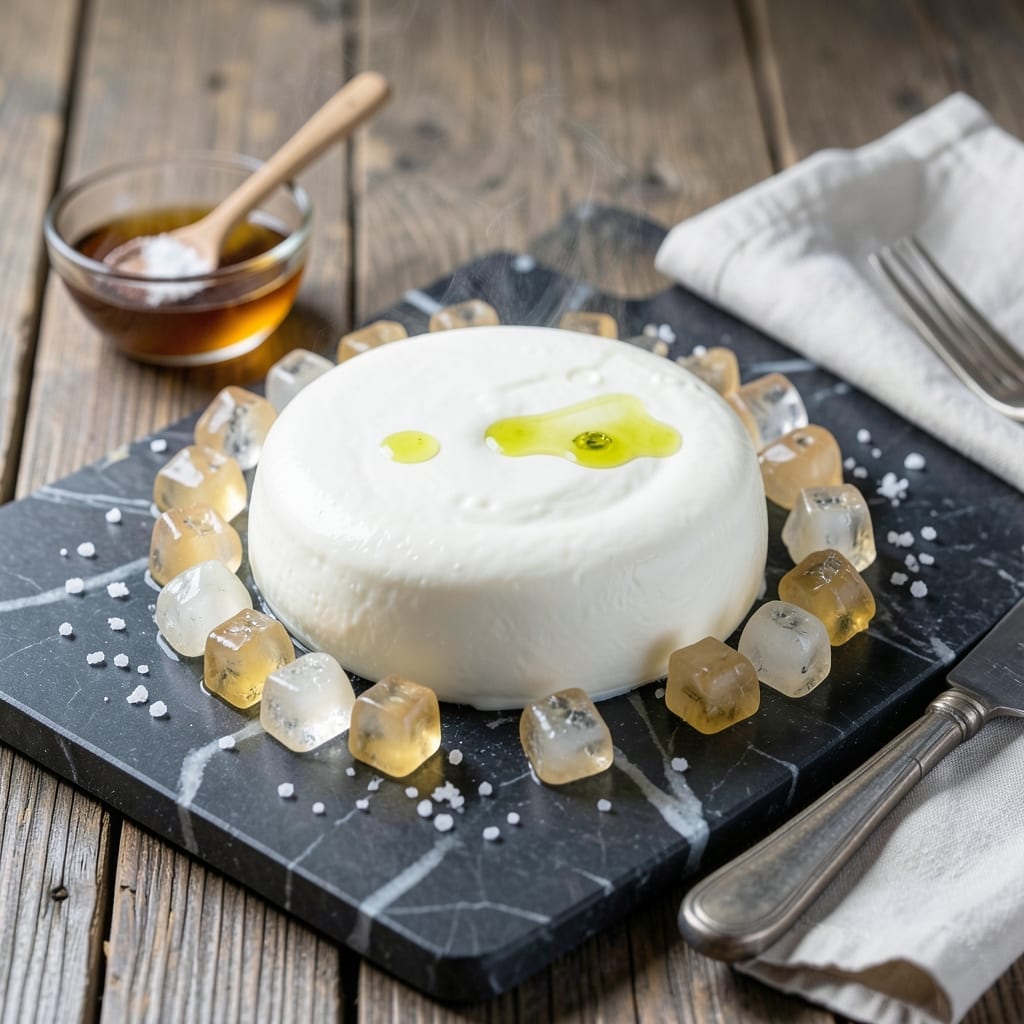
Making fresh mozzarella at home might seem intimidating, but with the Instant Pot, it becomes a simple and reliable process. This method leverages precise temperature control to create perfect curds every time.
I’ve refined this technique to deliver creamy, mild cheese with minimal effort. The key is using citric acid and rennet to coagulate milk, then gently stretching the curds in warm whey.
In under 30 minutes, you’ll have fresh, homemade mozzarella ready for salads, pizzas, or snacking. No special equipment beyond your Instant Pot is needed.
The result is a cheese so fresh and flavorful, it will redefine your expectations for store-bought versions.
Ingredients for Instant Pot Mozzarella Cheese
Just seven ingredients transform into creamy homemade mozzarella in your Instant Pot.
| Ingredient | Amount | Notes |
|---|---|---|
| Whole Milk 🥛 | 1 gallon | Not ultra-pasteurized, 3.25% fat |
| Citric Acid 🧪 | 1 ½ tsp | Dissolved in 1/4 cup cool water |
| Rennet 🧫 | ¼ tsp | Liquid vegetarian rennet preferred |
| Cheese Salt 🧂 | 1 tsp | Non-iodized, fine grain |
| Ice Cubes ❄️ | 4 cups | For cooling curds |
| Water 💧 | 1 cup | Cool, for citric acid solution |
| Calcium Chloride 🧪 | ¼ tsp | Optional, for store-bought milk |
The milk is non-negotiable here. Whole, non-ultra-pasteurized is the only kind that works—look for the expiration date to be within 7-10 days (not months). I grab mine from Whole Foods or local dairy farms when I can. The rennet needs to be vegetarian (check the label for microbial or vegetable-based). Liquid is easier to measure than tablets.
No rennet? Lemon juice or white vinegar can coagulate milk, but texture won’t be the same. Citric acid is in the canning section at most grocery stores—Ball brand is reliable. Calcium chloride is optional but helps with store-bought milk (find it near cheese-making supplies online). The salt should be non-iodized so it doesn’t discolor the cheese.
Fresh mozzarella keeps in brine for up to 5 days in the fridge. Freezing isn’t recommended—it ruins the texture. Use it on pizza within 24 hours for best melt. Or just eat it all immediately. No judgment.
Why You’ll Love This Recipe
- One Pot Wonder: I just pour in whole milk, add citric acid and rennet, and let the Instant Pot do the work—no fancy equipment needed.
- Party Ready: I stretch it into little balls for caprese skewers or melt it over homemade pizza—crowd-pleaser every time.
- Budget Stretch: A gallon of whole milk turns into a pound of mozzarella for half the grocery store price, and it keeps well in brine.
Step-by-Step Instructions for Instant Pot Mozzarella Cheese
Here’s the method I use to make fresh, stretchy curds with minimal effort.
Step 1: Acidify the Milk
Pour the 1 gallon Whole Milk into your Instant Pot and stir in the 1.5 tsp Citric Acid dissolved in 1 cup Water. Use a wooden spoon to distribute it evenly throughout the milk. The citric acid lowers the milk’s pH, helping it form clean curds later.
Set the Instant Pot to the yogurt function on normal and heat to 90°F. This gentle warming activates the citric acid without scorching the milk. You’ll notice the milk start to look slightly curdled—that’s exactly what you want. If using 0.25 tsp Calcium Chloride, add it now and stir well.
Step 2: Heat and Add Rennet
Switch the Instant Pot to sauté function on medium heat and bring the milk to 105°F. Monitor the temperature carefully with a dairy thermometer. When it reaches temperature, turn off the heat and let the milk sit undisturbed for 5 minutes.
Add the 0.25 tsp Rennet diluted in ¼ cup cool water to the milk. Stir gently for 30 seconds using an up-and-down motion to distribute the rennet evenly. Cover the pot and let it sit undisturbed for 30-45 minutes until the milk forms a clean break—when you insert a knife at an angle and lift, the milk should split cleanly.
Step 3: Cut and Cook the Curds
Once you have a clean break, use a long knife to cut the curds into ½-inch cubes. Work in a grid pattern, making cuts in one direction, then perpendicular to create uniform pieces. This increases the surface area, helping the curds expel whey efficiently.
Set the Instant Pot back to sauté on low heat and warm the curds to 105°F over 30-45 minutes. Stir gently every 5 minutes to prevent the curds from sticking. The whey will become clearer as the curds cook, and they’ll shrink and firm up.
Step 4: Drain and Cool the Curds
Line a colander with cheesecloth and place it over a large bowl. Gently ladle the curds into the colander, allowing the whey to drain. Reserve some whey if you want to make ricotta later. The curds should look like firm, white cubes with a slightly springy texture.
Transfer the curds to a microwave-safe bowl and microwave for 30-60 seconds to heat them to 135°F. Alternatively, heat them in a pot of 170°F whey for a few minutes. This heating step is crucial for stretchy mozzarella.
Step 5: Stretch and Season
Drain any excess liquid from the curds and add the 1 tsp Cheese Salt. Using heat-resistant gloves, knead and fold the curds until they become smooth and elastic. If the curds are too hot to handle, dip your gloved hands in the reserved cool 1 cup Water.
Once the curds reach 135°F and become glossy and stretchy, they’re ready. If they resist stretching, microwave for another 10-15 seconds and try again. Shape the cheese into balls and immediately plunge them into a bowl of 4 cups Ice Cubes and water to cool and set the shape. Your fresh mozzarella is ready to eat!
Pro Tips For Making Instant Pot Mozzarella Cheese
- Watch the Temperature: Keep the milk at 90°F when adding rennet—I learned this the hard way after my first batch turned into a rubbery mess because I let it get too hot.
- Use Fresh Milk: Skip the ultra-pasteurized stuff; raw or fresh whole milk works best for clean curd separation, and the flavor is noticeably richer.
- Cut Curds Small: After the curds form, slice them into 1-inch cubes for even cooking—this actually changes the outcome, giving you smoother, meltier mozzarella.
- Shock with Ice: Plunge the curds into ice water immediately after cooking to stop the process cold—sounds weird, but it works for that perfect stretchy texture.
Make-Ahead Tips for This Recipe
Prep Ingredients Ahead
Measure all your ingredients the night before—1.5 tsp citric acid, 0.25 tsp rennet, and 1 tsp cheese salt. I store mine in small glass containers to keep them fresh. This saves precious minutes on cooking day.
Pre-Heat the Milk
Take your 1 gallon Whole Milk out of the fridge 1 hour before starting. Cold milk takes longer to reach temperature, and even heating is crucial for proper curd formation. I set mine on the counter while prepping other ingredients.
Prep the Whey Bath
While the milk heats, prepare your ice bath with 4 cups Ice Cubes in a large bowl. This stops the cooking process instantly when your cheese is ready. I add a splash of cold water to ensure the ice covers the cheese completely. 💡
Clean Workspace
Cover your counter with parchment paper or silicone mats. Cheese-making can get messy with whey splashes. I keep a damp towel nearby to wipe up spills quickly and maintain a clean workspace.
Equipment Ready
Have your colander lined with cheesecloth, a dairy thermometer, and a long knife ready. I also set out a microwave-safe bowl for heating curds and heat-resistant gloves for stretching. Organization prevents frantic searches mid-process.
Timing Advantage
The entire process takes under 30 minutes of active time. I often make cheese while cooking dinner, using the waiting periods to prep other dishes. The Instant Pot’s precise temperature control makes multitasking easy.
Nutrition Facts
Frequently Asked Questions
Can I use skim milk instead of whole?
No, whole milk is essential for proper texture. Skim milk lacks the fat needed to create stretchy, creamy mozzarella. The 3.25% fat content in whole milk produces the best results.
Why didn’t my curds stretch?
This usually means the curds weren’t heated to 135°F. Use a dairy thermometer to verify temperature. Also, ensure your milk wasn’t ultra-pasteurized, as this prevents proper stretching.
How long does homemade mozzarella last?
Store in brine in the fridge for up to 5 days. For best flavor, use within 24 hours for pizzas. Avoid freezing, as it ruins the texture.
Is rennet absolutely necessary?
While 0.25 tsp rennet is ideal, you can use lemon juice or vinegar in a pinch. However, the texture won’t be as smooth or stretchy. Vegetarian rennet is widely available online.

- 4C Bread Crumbs Meatballs Recipe: Crispy Crust and Juicy Centers - September 25, 2026
- 6 Oz Chocolate Chip Cookie Recipe: Perfectly Balanced Crispy Edges and Chewy Hearts - September 25, 2026
- 6-Inch Coffee Cake Recipe: Vanilla Bean Swirls and Buttery Streusel Topping - September 25, 2026