
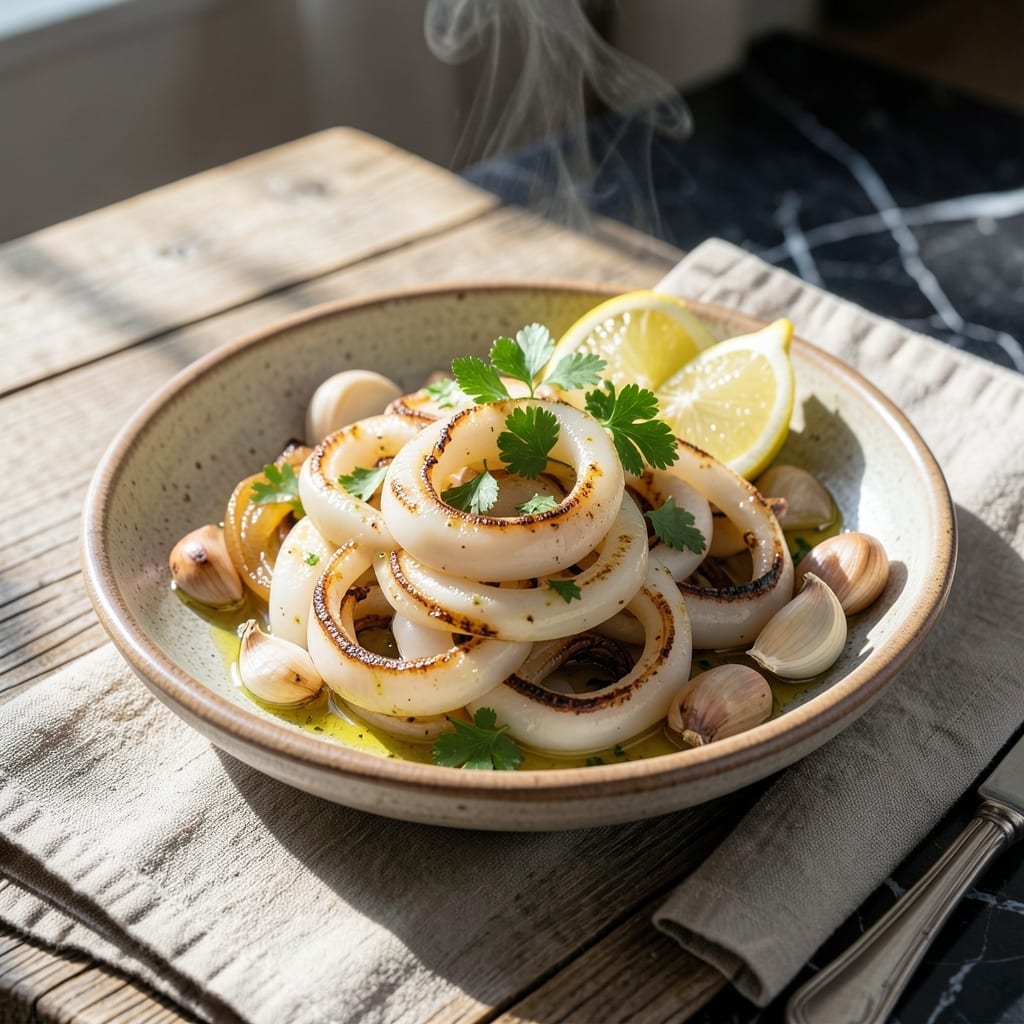
Achieving perfectly tender squid at home can be challenging, but this Instant Pot method makes it effortless. The pressure cooker transforms tough calamari into delicate, melt-in-your-mouth seafood with precise timing.
Most home cooks overcook squid, turning it rubbery. This recipe prevents that with a short, controlled cooking time that preserves natural sweetness and texture. The Instant Pot locks in moisture and flavor.
You’ll get restaurant-quality results without standing over a hot stove. The squid emerges perfectly cooked, ready to absorb sauces or stand alone with simple seasoning.
This technique works for any squid preparation, from salads to pasta dishes. The process is quick, reliable, and eliminates the guesswork from seafood cooking.
Ingredients for Instant Pot Squid
Fresh squid and a few pantry staples transform into restaurant-quality calamari effortlessly.
| Ingredient | Amount | Notes |
|---|---|---|
| Squid 🦑 | 1 ½ lb | Cleaned, bodies and tentacles |
| Olive Oil 🫒 | 2 tbsp | Extra-virgin preferred |
| Garlic Cloves 🧄 | 4 cloves | Minced finely |
| Lemon 🍋 | 1 whole | Zested and juiced |
| Red Pepper Flakes 🌶️ | ½ tsp | Adjust to taste |
| Fresh Parsley 🌿 | ¼ cup | Chopped, for garnish |
| Sea Salt 🧂 | 1 tsp | Fine grain preferred |
| Black Pepper 🌶️ | ½ tsp | Freshly ground |
| Dry White Wine 🍷 | ¼ cup | Optional for deglazing |
| Bay Leaf 🍃 | 1 whole | Dried or fresh |
| Onion 🧅 | ½ whole | Finely diced |
| Tomato Sauce 🍅 | ½ cup | Optional for serving |
The squid quality is paramount. Seek out fresh, never previously frozen calamari from a trusted seafood counter—look for firm, glossy flesh with no fishy odor. Whole Foods or a local fishmonger are ideal sources. If fresh isn’t available, thaw frozen squid in the fridge overnight and pat it extremely dry before cooking to prevent steaming.
No white wine? Substitute with seafood stock or additional lemon juice. For a bolder flavor, add a splash of ouzo or Pernod. The tomato sauce can be homemade or high-quality jarred (San Marzano tomatoes are excellent). If using wooden utensils with your Instant Pot, avoid metal to prevent scratching the non-stick surface.
Cooked squid keeps for 2 days in the fridge but is best served immediately. For longer storage, freeze uncooked squid in its packaging for up to 3 months. Always thaw in the refrigerator before pressure cooking for even results.
Why You’ll Love This Recipe
- Set and Forget: I toss everything in the Instant Pot, press a button, and walk away—no babysitting required.
- Garlic-Lemon Zing: The garlic and lemon infuse the squid with this bright, punchy flavor that’s honestly addictive.
- Weeknight Hero: Between us, this is my go-to for last-minute dinners when I need something fast but impressive.
- Budget Seafood: Squid cooks up tender in minutes, and a little goes a long way—way cheaper than steak or shrimp.
Step-by-Step Instructions for Instant Pot Squid
This method guarantees perfectly tender calamari with minimal effort and maximum flavor.
Step 1: Sauté Aromatics to Build Flavor Base
Set the Instant Pot to Sauté mode and add the 2 tbsp Olive Oil. Once shimmering, add the 0.5 whole Onion and cook for 3-4 minutes until softened and translucent. The onion should start to smell sweet and look slightly caramelized at the edges.
Add the 4 cloves Garlic Cloves, 0.5 tsp Red Pepper Flakes, and 1 whole Bay Leaf. Stir constantly for 30 seconds until the garlic becomes fragrant but not browned. This aromatic foundation infuses the dish with depth and a subtle heat that complements the squid beautifully.
Step 2: Deglaze and Add Squid with Seasonings
Pour in the 0.25 cup Dry White Wine to deglaze the pot, scraping up any browned bits from the bottom with a wooden spoon. Let the wine simmer for 2 minutes until reduced by half. This step ensures all the flavorful fond is incorporated into the dish.
Add the 1.5 lb Squid (both bodies and tentacles), 1 tsp Sea Salt, and 0.5 tsp Black Pepper. Stir gently to coat the squid evenly in the aromatic mixture. The squid should glisten and start to turn opaque at the edges within minutes.
Step 3: Pressure Cook to Tender Perfection
Secure the lid, set the valve to Sealing, and cook on High Pressure for 3 minutes. Yes, just three—this is the secret to preventing the squid from becoming rubbery. The Instant Pot’s precise pressure control ensures even cooking without overdoing it.
The squid is done when it turns completely opaque and feels tender when pierced with a fork. If you’re unsure, a quick-release check after 3 minutes will confirm it’s perfectly cooked. Overcooking by even a minute can toughen the squid, so timing is critical here.
Step 4: Finish with Bright, Fresh Flavors
Carefully quick-release the pressure, then open the lid. Stir in the zested and juiced 1 whole Lemon and the 0.5 cup Tomato Sauce, if using. The acidity from the lemon cuts through the richness and brightens the dish, while the tomato sauce adds a subtle depth.
Let the squid sit in the sauce for 2-3 minutes to absorb the flavors. The squid should be tender but still hold its shape, and the sauce should coat it lightly without being too thick or watery.
Step 5: Garnish and Serve Immediately
Transfer the squid to a serving dish and sprinkle with the 0.25 cup Fresh Parsley. The parsley adds a fresh, herbal note that balances the dish beautifully. Serve immediately while hot—the squid is best enjoyed fresh from the pot.
Each piece should be tender with a slight bite, infused with the garlic, lemon, and wine flavors. The sauce should pool slightly at the bottom of the dish, ready to be soaked up with crusty bread or served over pasta.
Pro Tips For Making Instant Pot Squid
- Sear the Squid First: I learned this the hard way—tossing raw squid straight into the Instant Pot makes it rubbery. Sear it in olive oil for 1-2 minutes per side first to lock in texture.
- Use Fresh Garlic: Sounds obvious, but pre-minced garlic from a jar just doesn’t cut it here. Crush 3-4 fresh cloves right before cooking for that sharp, bright flavor.
- Skip the Overcook: After pressure cooking, release the valve immediately—squid turns chewy fast if left sitting in residual heat. 3 minutes on high pressure is all it needs.
- Finish with Lemon Zest: A squeeze of lemon juice is fine, but zesting the peel directly over the finished dish adds a pop of citrus oil that actually changes the outcome.
Common Mistakes When Making Perfect Results
Overcooking the Squid
This is the most common mistake with calamari. Squid turns rubbery if cooked beyond 3 minutes under pressure. Set a timer and release pressure immediately. I learned this the hard way with my first batch.
Skipping the Sauté
Sautéing the onion and garlic first builds essential flavor. Don’t rush this step. Cook until fragrant but not browned—about 30 seconds for garlic. The aroma should fill your kitchen before adding squid.
Crowding the Pot
Use no more than 1.5 lb of squid at a time. Overcrowding prevents even cooking and steams the seafood instead of pressure-cooking it. If doubling, cook in batches. 💡
Improper Pressure Release
Always use quick-release for squid. Natural release continues cooking and can overcook the delicate meat. Turn the valve immediately when the timer beeps. The squid should stop cooking within 1-2 minutes.
Forgetting to Deglaze
Those browned bits on the bottom contain concentrated flavor. Use white wine or broth to scrape them up before pressure cooking. Skipping this step means losing depth in your final dish.
Using Frozen Squid
Thaw completely and pat dry before cooking. Frozen squid releases moisture that can dilute flavors. I prefer fresh from Whole Foods, but properly thawed frozen works in a pinch.
Nutrition Facts
Frequently Asked Questions
How do I prevent rubbery squid?
Cook for exactly 3 minutes on high pressure with quick release. Overcooking is the main cause of rubbery texture, as squid toughens rapidly beyond this point.
Can I use frozen squid?
Yes, but thaw completely in the fridge overnight and pat very dry first. Frozen squid releases moisture that can dilute flavors, so drying is critical for best results.
What can I substitute for white wine?
Use seafood stock or additional lemon juice for deglazing. For extra depth, try a splash of ouzo or Pernod. Each adds a unique but complementary flavor.
How long does cooked squid keep?
Store in the fridge for up to 2 days. For longer storage, freeze uncooked squid in its original packaging for up to 3 months. Always thaw in the fridge before cooking.

- 6 Oz Chocolate Chip Cookie Recipe: Perfectly Balanced Crispy Edges and Chewy Hearts - September 25, 2026
- 6-Inch Coffee Cake Recipe: Vanilla Bean Swirls and Buttery Streusel Topping - September 25, 2026
- 1 Hour Soup Recipe: Velvety Richness Without the Wait - September 25, 2026