
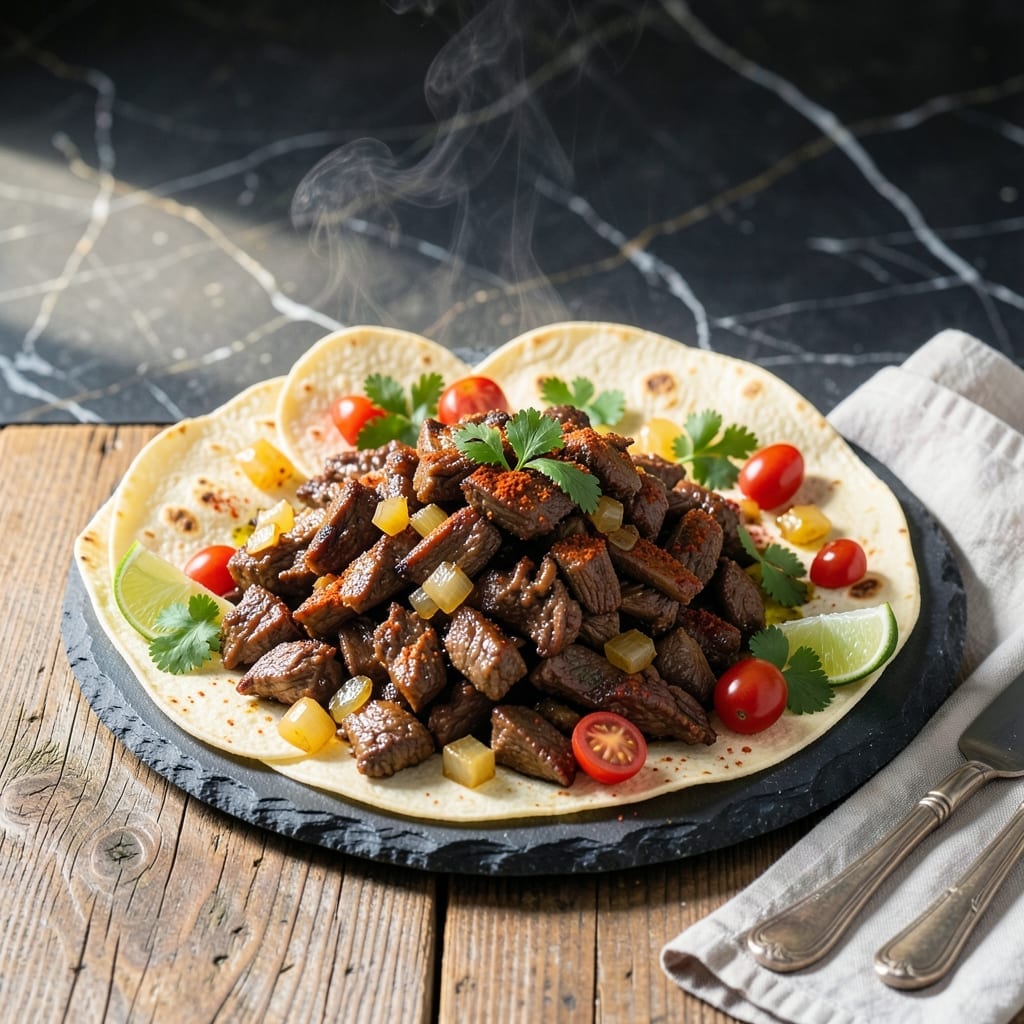
This recipe delivers restaurant-quality tacos with minimal effort and maximum flavor. The Instant Pot transforms affordable cuts of beef into tender, seasoned meat in under an hour.
The secret lies in the pressure cooking process, which infuses every bite with bold Mexican spices. I developed this method to achieve deep, complex flavors without the long simmering time of traditional methods.
What you’ll get is perfectly seasoned meat that shreds easily and soaks up all the aromatic spices. The result is consistently delicious tacos that taste like they’ve been cooking all day.
Serve with warm tortillas and your favorite toppings for a meal that’s quick, satisfying, and packed with authentic flavor.
Ingredients for Instant Pot Taco
Affordable beef and bold spices create this flavor-packed dish in no time.
| Ingredient | Amount | Notes |
|---|---|---|
| Beef Chuck Roast 🥩 | 2 lb | Trimmed of excess fat |
| Chili Powder 🌶️ | 2 tbsp | Mild or hot variety |
| Ground Cumin 🌿 | 1 tbsp | Toasted for deeper flavor |
| Dried Oregano 🍃 | 1 tsp | Mexican oregano preferred |
| Garlic Powder 🧄 | 1 tsp | Not garlic salt |
| Onion Powder 🧅 | 1 tsp | Fresh ground preferred |
| Paprika 🌶️ | 1 tsp | Smoked or sweet variety |
| Salt 🧂 | 1 tsp | Kosher or sea salt |
| Black Pepper 🌶️ | ½ tsp | Freshly ground preferred |
| Beef Broth 💧 | 1 cup | Low-sodium preferred |
| Tomato Paste 🍅 | 2 tbsp | For depth of flavor |
| Yellow Onion 🧅 | 1 whole | Diced for base flavor |
| Garlic Cloves 🧄 | 3 cloves | Minced for aroma |
| Lime 🍋 | 1 whole | Juiced for brightness |
| Corn Tortillas 🌮 | 8 pieces | Warm before serving |
The beef chuck is non-negotiable here—it shreds beautifully after pressure cooking. Costco has great prices on large cuts, or grab pre-cubed from your local grocery store. Look for good marbling; that fat renders down and keeps the meat juicy. I always buy a little extra and freeze it for next time (trust me, you’ll want to make this again).
No chili powder? Mix cumin, paprika, and a pinch of cayenne for a DIY version. Swap beef broth for chicken or vegetable broth—just cut the salt a bit. The tomato paste can be from a can or those Trader Joe’s squeeze tubes (so handy). Fresh garlic and onion are ideal, but powdered works in a pinch if you’re really stuck.
Leftovers keep in the fridge for up to 4 days or freeze for 3 months. The flavors actually deepen overnight, so it’s perfect for meal prep. Warm the tortillas just before serving—they’ll stay soft and pliable.
Why You’ll Love This Recipe
- Dump and Go: I just toss the chuck roast and spices in the Instant Pot and walk away—no pre-browning, no fuss.
- Deep, Smoky Flavor: The chili powder and cumin bloom in the pressure cooker, giving the beef that rich, authentic taco taste I crave.
- Taco Night, Anytime: Honestly, this works for weeknight dinners, game day spreads, or even meal prep—just shred and store.
- Stretches Further: One chuck roast makes enough for tacos, burrito bowls, and nachos for days, saving me both time and money.
Step-by-Step Instructions for Instant Pot Tacos
Here’s the method. Straightforward, tested, works every time.
Step 1: Sear and Season the Beef Chuck Roast
Set your Instant Pot to the sauté function and add the 2 lb Beef Chuck Roast in batches if needed. Sear for 3-4 minutes per side until browned on all sides. This step locks in juices and builds a flavor foundation.
While the beef sears, mix the 2 tbsp Chili Powder, 1 tbsp Ground Cumin, 1 tsp Dried Oregano, 1 tsp Garlic Powder, 1 tsp Onion Powder, 1 tsp Paprika, 1 tsp Salt, and 0.5 tsp Black Pepper in a small bowl. This spice blend creates the signature taco flavor.
Step 2: Build the Flavor Base
Remove the seared beef and set it aside. In the same pot, add the diced 1 whole Yellow Onion and minced 3 cloves Garlic Cloves. Sauté for 2-3 minutes until the onion softens and becomes translucent.
Stir in the 2 tbsp Tomato Paste and cook for 1 minute to deepen its flavor. Pour in the 1 cup Beef Broth and scrape the bottom of the pot to release any browned bits—this ensures nothing sticks and all the flavor is incorporated.
Step 3: Pressure Cook to Perfection
Return the beef to the Instant Pot and sprinkle the spice blend evenly over the top. Secure the lid, set the valve to sealing, and cook on high pressure for 60 minutes for fall-apart tender meat.
Let the pressure release naturally for 10 minutes, then quick-release any remaining pressure. Open the lid carefully, and you’ll see the beef is perfectly tender and the liquid has transformed into a rich, flavorful broth.
Step 4: Shred and Finish
Remove the beef to a cutting board and shred it using two forks. It should pull apart effortlessly. Return the shredded beef to the Instant Pot and stir to coat it in the cooking liquid.
Squeeze the juice of 1 whole Lime over the beef and stir to combine. This adds a bright, fresh finish that balances the rich spices. Taste and adjust seasoning if needed, though the blend should be spot-on.
Step 5: Serve on Warm Tortillas
Warm the 8 pieces Corn Tortillas by wrapping them in a damp towel and microwaving for 30 seconds, or warm them directly on a dry skillet for 10-15 seconds per side until pliable and slightly charred.
Fill the tortillas with the shredded beef and serve immediately. The beef should be juicy and packed with smoky, spiced flavor, while the tortillas provide the perfect chewy contrast. Enjoy as is, or add your favorite taco toppings.
Pro Tips For Making Instant Pot Taco
- Sear the Beef First: I learned this the hard way—skipping the sear leaves your taco meat bland and pale. Crank the Instant Pot to sauté, get a good brown crust on that chuck roast before pressure cooking.
- Bloom Your Spices: After searing, add a splash of oil and toast the chili powder, cumin, and oregano for 30 seconds until fragrant. Sounds small, but it wakes up those dried spices.
- Don’t Overfill the Pot: Resist the urge to double the batch—your Instant Pot needs at least 1 cup of liquid and room for the meat to cook evenly. I’ve ruined two meals by packing it too full.
- Shred While Warm: Let the beef rest 5 minutes after cooking, then shred it with two forks while it’s still hot. It soaks up the juices better than when it’s cooled, and you’ll get those perfect taco-textured strands.
Health Benefits of This Dish
Protein Powerhouse
This dish delivers 40 grams of protein per serving from the beef chuck roast, supporting muscle growth and repair. The pressure cooking preserves all amino acids, making it a complete protein source. I find it keeps me full for hours after eating. 💪
Iron Boost
Beef is naturally rich in heme iron, the most easily absorbed form. One serving provides about 20% of your daily iron needs, helping prevent fatigue and supporting red blood cell production. Pair with lime for enhanced absorption.
Spice Health Benefits
The chili powder and cumin aren’t just flavorful—they’re packed with antioxidants. Capsaicin in chili may boost metabolism, while cumin supports digestion. Together, they create a flavor-packed dish with functional benefits. ✨
Low-Carb Option
Skip the tortillas and serve the beef over lettuce wraps or cauliflower rice for a low-carb version. The meat itself has zero carbs, making it perfect for keto or diabetic meal plans.
Vitamin B Complex
Beef provides an excellent source of B vitamins, particularly B12, which supports nerve function and energy metabolism. The pressure cooking method helps retain these water-soluble vitamins better than boiling.
Quick Nutrient Delivery
The Instant Pot’s speed means fewer nutrients are lost to prolonged cooking. You get all the benefits of slow-cooked meat with the convenience of a 60-minute cook time. Perfect for busy weeknights when nutrition can’t be compromised.
Nutrition Facts
Frequently Asked Questions
Can I use chicken instead of beef?
Yes! Use 2 lb boneless chicken thighs and reduce pressure cooking time to 15 minutes. Chicken stays juicy and absorbs the spices well. Shredding is even easier than beef.
What if my meat isn’t tender enough?
If the beef isn’t fall-apart tender after 60 minutes, reseal the lid and cook for another 10-15 minutes. Older or leaner cuts may need extra time to break down.
Can I make this ahead of time?
The flavors deepen overnight! Store in an airtight container for up to 4 days in the fridge or freeze for 3 months. Reheat gently with a splash of broth.
Do I need to brown the meat first?
Highly recommended! Searing for 3-4 minutes per side builds a flavor foundation. Skipping this step may result in less depth, but it still works in a pinch.

- 4C Bread Crumbs Meatballs Recipe: Crispy Crust and Juicy Centers - September 25, 2026
- 6 Oz Chocolate Chip Cookie Recipe: Perfectly Balanced Crispy Edges and Chewy Hearts - September 25, 2026
- 6-Inch Coffee Cake Recipe: Vanilla Bean Swirls and Buttery Streusel Topping - September 25, 2026