
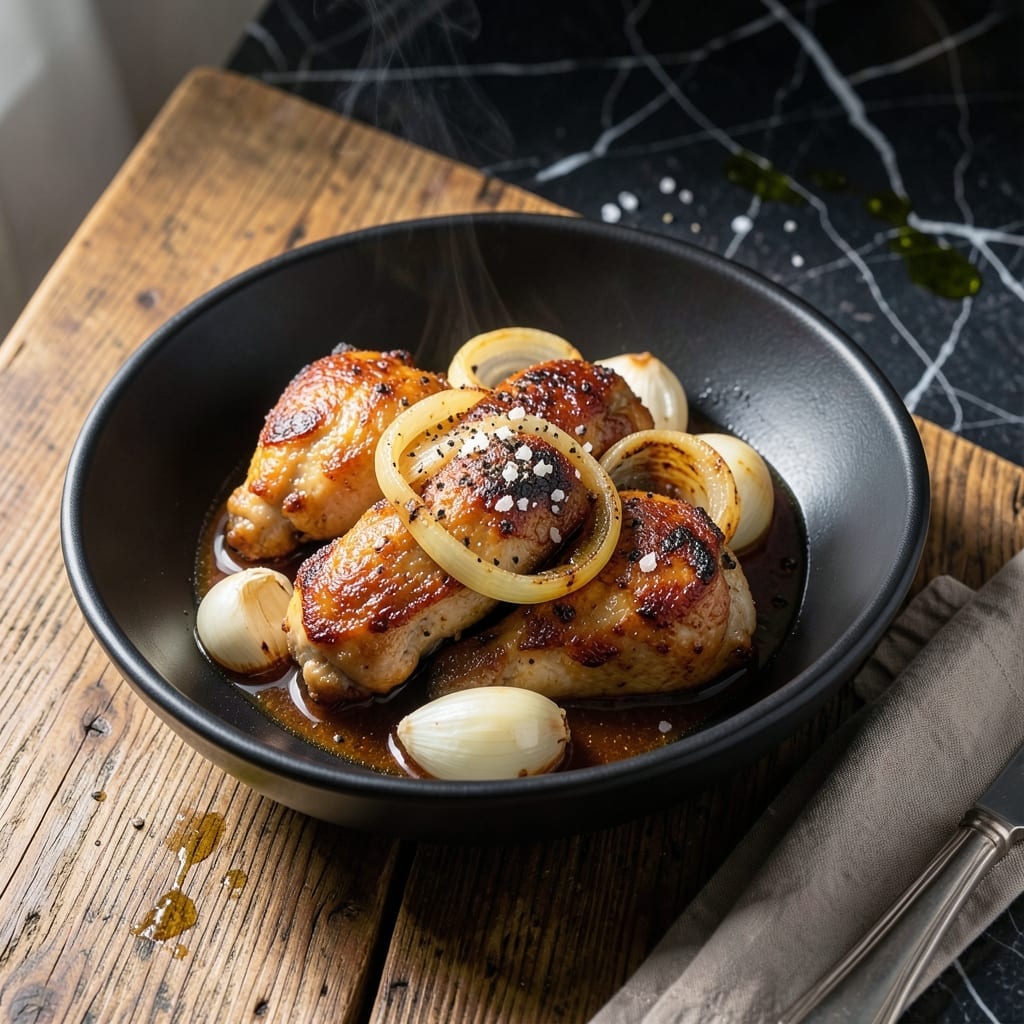
This pressure-cooked method delivers fall-off-the-bone chicken thighs with minimal effort and maximum flavor. The Instant Pot locks in moisture while infusing the meat with deep, savory notes that slow cooking simply can’t match.
I’ve refined this technique over countless batches to ensure perfectly tender results every time. The key is a quick sear before pressure cooking, which builds a rich foundation for the dish.
In under 30 minutes, you’ll have juicy, flavorful thighs ready for tacos, salads, or a standalone meal. No babysitting the stove, no uneven cooking—just consistent, restaurant-quality results.
The best part? Cleanup is a breeze, and the hands-off approach lets you focus on the rest of your meal. Let’s get started.
Ingredients for Instant Pot Thigh
Simple ingredients, big flavor. Everything you need for tender, juicy thighs in under 30 minutes.
| Ingredient | Amount | Notes |
|---|---|---|
| Chicken Thighs 🍗 | 2 lb | Boneless, skin-on preferred |
| Olive Oil 🫒 | 2 tbsp | Divided for searing and cooking |
| Kosher Salt 🧂 | 1 ½ tsp | Diamond Crystal preferred |
| Black Pepper 🌶️ | 1 tsp | Freshly ground |
| Garlic Cloves 🧄 | 5 cloves | Minced for depth of flavor |
| Yellow Onion 🧅 | 1 whole | Medium, finely diced |
| Chicken Broth 🥣 | ¾ cup | Low-sodium preferred |
| Tomato Paste 🍅 | 2 tbsp | For umami richness |
| Dried Thyme 🌿 | 1 tsp | Crushed between fingers |
| Dried Rosemary 🌿 | ½ tsp | Finely chopped |
| Bay Leaf 🍃 | 1 whole | Removed before serving |
| Apple Cider Vinegar 🍏 | 1 tbsp | Balances the richness |
| Water 💧 | ½ cup | For pressure cooking |
The chicken thighs are the star—skin-on, bone-in gives the best texture and flavor (trust me on this). Grab them from Costco or Whole Foods; they usually have good marbling. If you’re using boneless, just shave a minute or two off the cook time. The broth matters too: low-sodium lets you control the seasoning better. I always keep a carton of Better Than Bouillon in the pantry for emergencies.
No fresh herbs? Dried work perfectly—just use half the amount. Swap apple cider vinegar for white wine vinegar or lemon juice in a pinch. The tomato paste can be from a can or those squeeze tubes at Trader Joe’s (so convenient). If you don’t have a bay leaf, a pinch of ground allspice adds a similar depth. The sear is non-negotiable though—don’t skip it (worth the extra minute).
Leftovers keep in the fridge for 4 days or freeze for up to 3 months. The flavor actually deepens overnight, so it’s great for meal prep. Reheat gently to keep the meat from drying out (microwave with a damp paper towel works).
Why You’ll Love This Recipe
- Set and Forget: I toss the thighs in with olive oil, salt, pepper, and garlic, then let the Instant Pot do all the work.
- Garlicky Perfection: The cloves infuse the chicken with a rich, savory depth that’s hard to resist.
- Meal Prep Magic: This makes enough for lunches all week—just shred the leftovers for salads or tacos.
- Budget Winner: Chicken thighs are cheap, and this recipe stretches them into a hearty meal without breaking the bank.
Step-by-Step Instructions for Pressure-Cooked Chicken Thighs
Here’s the method I swear by for fall-off-the-bone tenderness in record time.
Step 1: Sear the Chicken Thighs for Maximum Flavor
Set your Instant Pot to the Sauté function and add 1 tablespoon olive oil. While it heats, pat the 2 lb chicken thighs dry with paper towels—this ensures a good sear. Season both sides generously with 1.5 tsp kosher salt and 1 tsp black pepper.
Working in batches to avoid overcrowding, sear the chicken thighs skin-side down for 4-5 minutes until the skin is deep golden brown and crispy. Flip and sear the other side for 2-3 minutes. Remove the chicken and set aside—they won’t be fully cooked yet, but that’s perfect.
Step 2: Build the Aromatic Base
In the same pot, add the remaining 1 tablespoon olive oil if needed. Toss in the finely diced yellow onion and cook for 3-4 minutes until softened and just starting to turn translucent. Add the 5 minced garlic cloves and cook for 30 seconds until fragrant—don’t let it burn.
Stir in the 2 tbsp tomato paste and cook for 1 minute, which deepens its flavor and removes the raw taste. This step creates the foundation for a rich, complex sauce that will infuse into the chicken as it pressure-cooks.
Step 3: Deglaze and Add Remaining Ingredients
Pour in the 0.5 cup water and use a wooden spoon to scrape up all the browned bits from the bottom of the pot. These fond bits are packed with flavor and will dissolve into the cooking liquid. Add the 0.75 cup chicken broth, 1 tsp dried thyme, 0.5 tsp dried rosemary, and 1 whole bay leaf.
Return the seared chicken thighs to the pot, nestling them into the liquid along with any accumulated juices. Pour the 1 tbsp apple cider vinegar over the top—this balances the richness and brightens all the flavors.
Step 4: Pressure Cook to Perfection
Secure the lid and set the Instant Pot to High Pressure for 10 minutes. It will take about 10-15 minutes to come to pressure before the cooking time begins. Once the timer beeps, allow the pressure to release naturally for 10 minutes, then quick-release any remaining pressure.
Open the lid carefully and remove the bay leaf. The chicken thighs should be fork-tender and the meat nearly falling off the bone. If you prefer a thicker sauce, set the Instant Pot back to Sauté and simmer uncovered for 3-5 minutes to reduce the liquid slightly.
Pro Tips For Making Instant Pot Thigh
- Sear First, Pressure Later: I learned this the hard way—browning the thighs in the Instant Pot first (3-4 minutes per side) adds depth that skipping this step just can’t match. Use 1 tbsp olive oil and don’t overcrowd the pot.
- Pat Those Thighs Dry: Sounds tedious, but it works: drying the chicken with paper towels guarantees a better sear instead of steaming in its own moisture. After burning a few batches, I finally figured out this was why.
- Don’t Overfill the Pot: Resist the urge to cram in extra thighs—the Instant Pot needs at least 1/3 empty space to pressure cook safely. My grandmother swore by this rule, and she was right.
- Add Garlic Last: Toss in the garlic cloves after searing but before pressure cooking to keep them from burning. I was skeptical until I tried it—now it’s non-negotiable.
Serving Suggestions for This instant pot thigh
Taco Night Star
Shred the chicken and pile it into warm corn tortillas with pickled red onions and fresh cilantro. The tangy vinegar in the cooking liquid pairs perfectly with a squeeze of lime. I like to add a spoonful of the sauce from the pot for extra moisture.
Salad Topper
Slice the thighs and arrange over mixed greens with cherry tomatoes, avocado, and crumbled feta. The warm chicken wilts the greens just enough. A drizzle of the cooking liquid works as a light dressing—just add 1 tbsp olive oil to balance it. 🥗
Rice Bowl Base
Serve over steamed jasmine rice with sautéed bell peppers and a fried egg on top. The runny yolk mixes beautifully with the sauce. I use leftover rice from the night before—it soaks up the juices better.
Pasta Toss-In
Pull the meat off the bone and toss with pappardelle and a handful of baby spinach. The starchy pasta water helps the sauce cling to every strand. Finish with grated Parmesan and a crack of black pepper. 💫
Sandwich Filling
Stack the thighs on a toasted brioche bun with provolone and broiled until melted. Add a schmear of garlic aioli for creaminess. The crispy skin from the initial sear adds texture.
Meal Prep Protein
Portion the thighs into containers with roasted sweet potatoes and green beans for the week. The flavors deepen as they sit, so it tastes even better on day two. Reheat with a splash of water to keep it juicy.
Nutrition Facts
Frequently Asked Questions
Do I need to sear the thighs first?
Yes, searing is key for flavor. It creates a deep golden crust and builds a rich foundation for the sauce. Skip this, and you’ll miss out on depth.
Can I use boneless thighs instead?
Reduce pressure cook time to 8 minutes. They cook faster but stay just as juicy. Bone-in adds flavor, but boneless works in a pinch.
Why does my sauce turn out thin?
After cooking, switch to Sauté mode and simmer uncovered for 3-5 minutes. This reduces excess liquid. For thicker results, add 1 tsp cornstarch mixed with water.
How long do leftovers keep?
Store in an airtight container for 4 days in the fridge. For longer storage, freeze for up to 3 months. Reheat gently with a splash of water.

- 6 Oz Chocolate Chip Cookie Recipe: Perfectly Balanced Crispy Edges and Chewy Hearts - September 25, 2026
- 6-Inch Coffee Cake Recipe: Vanilla Bean Swirls and Buttery Streusel Topping - September 25, 2026
- 1 Hour Soup Recipe: Velvety Richness Without the Wait - September 25, 2026