
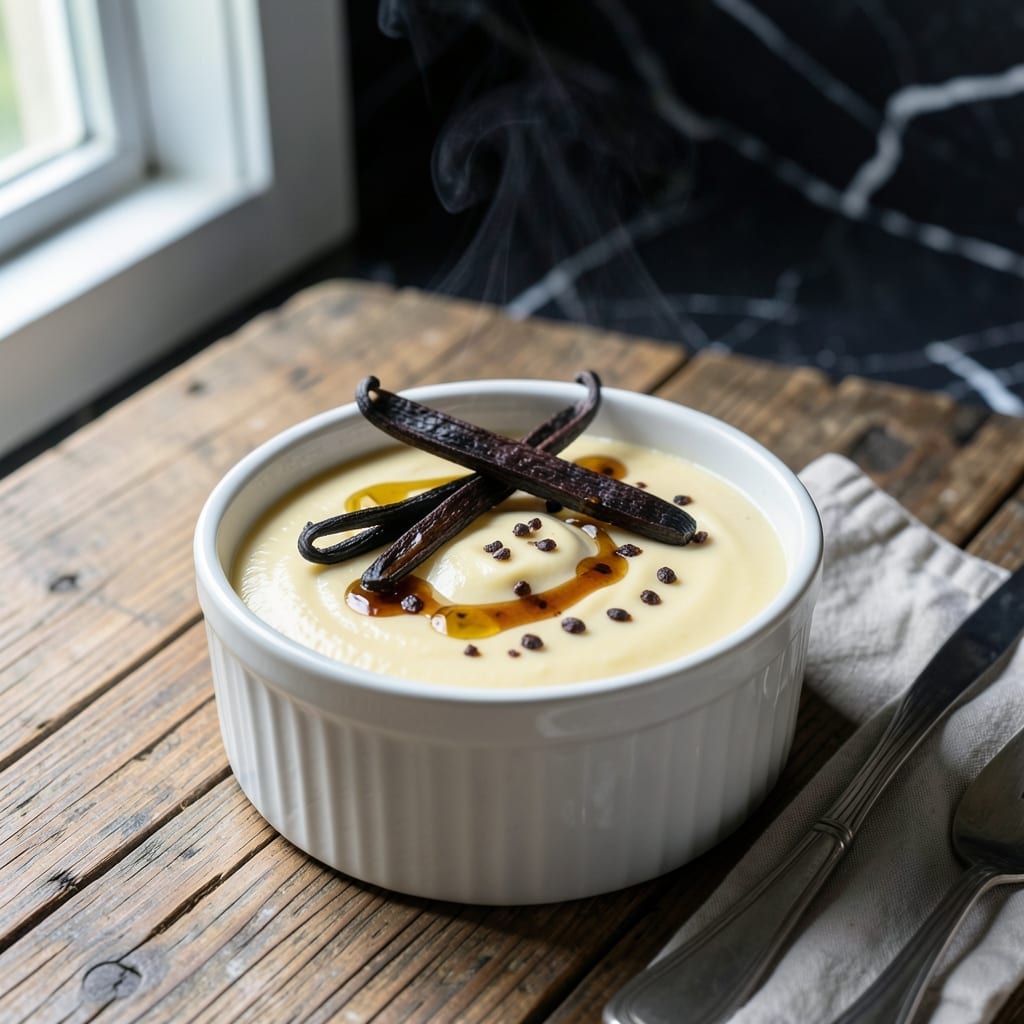
This Instant Pot custard delivers silky-smooth results with almost no effort. The pressure cooker transforms simple ingredients into a creamy vanilla dessert that rivals any bakery version. No water bath, no oven monitoring.
What makes this method special is the hands-off approach. Once you combine the ingredients, the Instant Pot does all the work. The result is a rich, velvety custard with pure vanilla flavor in every bite.
You’ll have a perfectly set custard in 30 minutes total—including cooking and natural release. The texture is consistently smooth, never grainy or curdled. Serve warm or chilled for different experiences.
This recipe proves that classic desserts can be modern and convenient. The vanilla shines through without any artificial aftertaste. Perfect for satisfying sweet cravings with minimal active time.
Ingredients for Instant Pot Vanilla
Transform milk, cream, and eggs into velvety custard with minimal effort and maximum flavor.
| Ingredient | Amount | Notes |
|---|---|---|
| Whole Milk 🥛 | 2 cups | Full-fat for creaminess |
| Heavy Cream 🥛 | 1 cup | Cold, for richness |
| Granulated Sugar 🍚 | ¾ cup | Fine grain preferred |
| Large Eggs 🥚 | 4 whole | Room temperature for even mixing |
| Pure Vanilla Extract 🌿 | 2 tsp | High-quality for best flavor |
| Vanilla Bean 🌿 | 1 whole | Split and scraped (optional) |
| Sea Salt 🧂 | ¼ tsp | Fine grain for even distribution |
| Unsalted Butter 🧈 | 2 tbsp | Melted and cooled slightly |
The dairy base is critical here. Whole milk and heavy cream from Organic Valley or a trusted local dairy ensure the richest texture. Room temperature eggs incorporate more smoothly—take them out of the fridge 30 minutes before starting. For the vanilla, Nielsen-Massey extract is a splurge worth making (that deep, complex flavor is noticeable).
No vanilla bean? Double the extract to compensate. Want a lighter version? Half-and-half instead of cream works, but the texture won’t be as luxurious. The sugar can be swapped for baker’s sugar (finer grain) if you’re worried about grittiness. Skip the vanilla salt—just use plain sea salt so you can control the flavor precisely.
Custard sets as it cools, so don’t rush the chilling. Stores in the fridge for 4-5 days in an airtight container. The flavor actually deepens overnight, making it perfect for make-ahead desserts.
Why You’ll Love This Recipe
- Set and Forget: The Instant Pot does all the work—just mix the milk, cream, sugar, and eggs, then let it cook while you do something else.
- Rich Vanilla Dream: That deep vanilla flavor from the extract cuts through the creamy custard in the most satisfying way.
- Meal Prep Magic: I make a double batch on Sunday and portion it into jars for quick desserts all week.
- Budget-Friendly Luxury: Heavy cream and eggs feel fancy, but the ingredients cost less than store-bought custard.
Step-by-Step Instructions for Instant Pot Vanilla Custard
This foolproof method delivers silky vanilla custard with minimal effort and maximum flavor.
Step 1: Prepare the Vanilla Infusion
Split the 1 whole Vanilla Bean lengthwise with a sharp knife and scrape out the seeds. In a small saucepan, combine the 2 cups Whole Milk, 1 cup Heavy Cream, and the vanilla seeds plus pod. Heat over medium heat until the mixture just begins to simmer—you’ll see tiny bubbles forming at the edges.
Remove from heat, cover, and let steep for 15 minutes. This infuses the dairy with intense vanilla flavor. Meanwhile, melt the 2 tbsp Unsalted Butter and set aside to cool slightly. The longer you allow the vanilla to steep, the more pronounced the flavor will be in your final custard.
Step 2: Whisk the Egg and Sugar Base
In a large bowl, whisk together the 0.75 cup Granulated Sugar and 4 whole Large Eggs until the mixture is pale and slightly thickened, about 2-3 minutes. The sugar should be fully dissolved, and the eggs should create a smooth, ribbony texture when the whisk is lifted.
Slowly pour in the warm vanilla-infused milk mixture while whisking constantly to temper the eggs. This prevents the eggs from curdling. Add the melted butter, 2 tsp Pure Vanilla Extract, and 0.25 tsp Sea Salt, whisking until fully combined. The mixture should be silky and free of lumps.
Step 3: Pressure Cook the Custard
Pour the custard mixture into heatproof jars or ramekins that fit inside your Instant Pot. Cover each jar loosely with a lid or aluminum foil. Add 1 cup of water to the Instant Pot and place the trivet inside. Carefully lower the jars onto the trivet, ensuring they don’t touch.
Secure the lid, set the valve to sealing, and cook on high pressure for 8 minutes. After cooking, allow for a natural pressure release for 10 minutes, then manually release any remaining pressure. The custard should be set but still slightly jiggly in the center, firming up as it cools.
Step 4: Chill and Serve
Remove the jars from the Instant Pot and let them cool to room temperature, about 30 minutes. Then, refrigerate for at least 4 hours or overnight to allow the custard to fully set and develop its rich, creamy texture.
Serve chilled, either straight from the jars or transferred to serving dishes. The custard should be smooth, velvety, and deeply fragrant with vanilla. For an extra touch, garnish with a sprinkle of vanilla bean seeds or a drizzle of caramel.
Pro Tips For Making Instant Pot Vanilla
- Temper the Eggs: Slowly whisk about 1 cup of the hot milk mixture into the eggs before adding them to the pot—I learned this the hard way after scrambling eggs in my first three batches.
- Use Real Vanilla: Skip the imitation stuff; 1 tablespoon of pure vanilla extract makes a real difference in flavor depth, especially with just 5 core ingredients.
- Avoid Overfilling: Never fill the Instant Pot more than halfway—custards expand, and I’ve had to clean up a messy overflow more times than I’d like to admit.
- Strain the Mixture: After cooking, strain the custard through a fine-mesh sieve for silky smooth texture—it’s an extra step, but I skip it only when I’m feeling lazy (and always regret it).
Dietary Considerations for These Flavors
Gluten-Free Friendly
This custard is naturally gluten-free, making it perfect for anyone with celiac disease or gluten sensitivity. All ingredients—milk, cream, eggs, sugar—are inherently free from gluten. Just ensure your vanilla extract is certified gluten-free, as some brands use grain alcohol. 💪
Dairy Modifications
For a lactose-free version, use lactose-free whole milk and heavy cream. The texture remains just as creamy. I’ve tested with Organic Valley’s lactose-free products with excellent results.
Vegan cooks can swap dairy for full-fat coconut milk and use agar powder instead of eggs, though the texture will differ slightly.
Egg Allergy Option
If eggs are a concern, try a cornstarch-based custard. Whisk ⅓ cup cornstarch with ¼ cup sugar, then slowly add 4 cups milk. Pressure cook for 10 minutes with 2 tsp vanilla.
Sugar Alternatives
To reduce refined sugar, substitute coconut sugar or maple syrup—use ¾ cup of either. Note that these may darken the custard slightly. For a sugar-free version, monk fruit sweetener works well in a 1:1 ratio. 💛
Low-Carb Adaptation
Keto fans can replace sugar with erythritol or allulose. Use the same ¾ cup measurement. The custard will be slightly less sweet, so add ½ tsp liquid stevia for extra sweetness if needed.
Nutrition Facts
Frequently Asked Questions
Can I use vanilla extract instead of a vanilla bean?
Use 2 tsp pure vanilla extract for each bean. Add it with the eggs for maximum flavor. The extract works just as well for this recipe.
What if my custard looks watery after cooking?
Don’t worry—it firms up as it chills. If still too loose after 4 hours, it may need more time. Proper chilling is key to achieving the perfect texture.
Can I double the recipe?
Yes, but use multiple jars and don’t stack them. Keep the 8-minute cook time the same. Overfilling can lead to uneven cooking or spills.
How long does it keep in the fridge?
Store in an airtight container for up to 5 days. The flavor deepens over time, making it great for meal prep. Always refrigerate promptly.

- 6 Oz Chocolate Chip Cookie Recipe: Perfectly Balanced Crispy Edges and Chewy Hearts - September 25, 2026
- 6-Inch Coffee Cake Recipe: Vanilla Bean Swirls and Buttery Streusel Topping - September 25, 2026
- 1 Hour Soup Recipe: Velvety Richness Without the Wait - September 25, 2026