
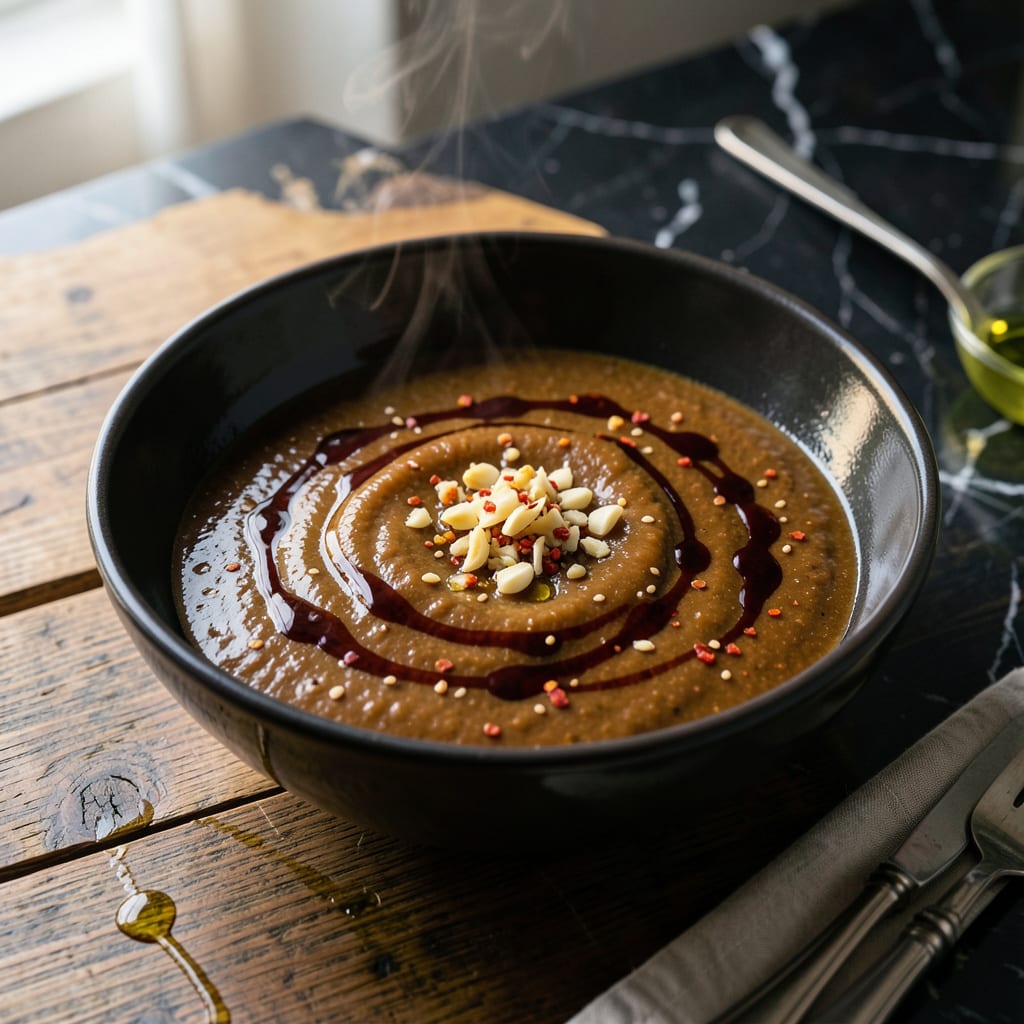
This versatile sauce transforms ordinary dishes into something extraordinary with its deep, savory flavor profile. I’ve refined this recipe to balance umami richness with just the right touch of sweetness and tang.
Use it as a marinade, dipping sauce, or stir-fry base to elevate everything from meats to vegetables. The preparation is straightforward, ensuring consistent results every time.
Ingredients for K Pot Sauce
Ten ingredients deliver complex umami with sweet, tangy, and savory harmony for versatile use.
| Ingredient | Amount | Notes |
|---|---|---|
| Soy Sauce 🫕 | ½ cup | Low-sodium for control |
| Oyster Sauce 🦪 | ¼ cup | Vegetarian version if needed |
| Hoisin Sauce 🥫 | 2 tbsp | Thick, sweet-salty base |
| Rice Vinegar 🍯 | 2 tbsp | Balances sweetness with acidity |
| Brown Sugar 🍚 | 2 tbsp | Packed for depth |
| Sesame Oil 🫒 | 1 tbsp | Toasted for aroma |
| Minced Garlic 🧄 | 3 cloves | Freshly minced preferred |
| Minced Ginger 🌿 | 1 tbsp | Fresh for zing |
| Chili Garlic Sauce 🌶️ | 1 tbsp | Adjust for heat preference |
| Chicken Broth 🍲 | ¼ cup | Low-sodium for balance |
The soy sauce is foundational—Kikkoman or Lee Kum Kee are reliable brands for consistent quality. Oyster sauce adds depth, but vegetarian oyster sauce works equally well for plant-based cooking. Look for hoisin sauce in the Asian aisle of most supermarkets; Koon Chun is a trusted brand. Fresh garlic and ginger are essential for vibrant flavor, so avoid the pre-minced versions in jars.
No hoisin? Mix 1 tbsp molasses with 1 tsp soy sauce and 1/2 tsp five-spice powder as a substitute. Out of rice vinegar? Apple cider vinegar at equal parts works in a pinch. For heat adjustments, reduce or omit the chili garlic sauce if serving sensitive palates, or add sriracha for extra kick. Brown sugar can be replaced with honey or maple syrup.
Store in an airtight container in the refrigerator for up to 2 weeks. The flavors meld and deepen over time, so making it a day ahead enhances the taste. Freeze for up to 3 months if needed—thaw in the fridge before using.
Why You’ll Love This Recipe
- Five Minute Mix: I just dump the soy, oyster, hoisin, vinegar, and sugar in one bowl and stir—no chopping, no fuss.
- Umami Bomb: Honestly, the combo of hoisin’s sweetness with the salty oyster sauce hits that perfect savory-sweet spot every time.
- Stir-Fry Swiss Army Knife: I use this on noodles, tofu, chicken, even roasted veggies—it’s my weeknight flavor shortcut.
- Budget Stretcher: A batch costs pennies and lasts a week in the fridge, so I’m not buying takeout sauces anymore.
Step-by-Step Instructions for Umami-Rich Sauce
Master the technique for building complex layers of flavor with precision and control.
Step 1: Bloom the Aromatics in Sesame Oil
Heat a medium saucepan over medium heat and add the 1 tbsp Sesame Oil. Once the oil begins to shimmer, add the 3 cloves Minced Garlic and 1 tbsp Minced Ginger, stirring constantly to prevent burning.
Cook for 30-45 seconds until the aromatics become fragrant and the garlic just begins to turn light golden at the edges. This blooming process unlocks their essential oils, creating the aromatic foundation for the sauce. Remove from heat immediately if they start to darken.
Step 2: Build the Sweet and Savory Base
Add the 2 tbsp Hoisin Sauce, 2 tbsp Brown Sugar, and 1 tbsp Chili Garlic Sauce to the pan. Stir to combine with the aromatics, then cook for 1-2 minutes until the mixture begins to bubble and thicken slightly.
The hoisin provides a thick, molasses-like consistency while the brown sugar caramelizes, creating depth. The chili garlic sauce adds a subtle heat that balances the sweetness. Watch for the mixture to turn a deeper shade of brown as the sugars begin to melt.
Step 3: Deglaze with Acid and Umami Liquids
Pour in the 2 tbsp Rice Vinegar, 0.5 cup Soy Sauce, 0.25 cup Oyster Sauce, and 0.25 cup Chicken Broth. Stir vigorously to incorporate all the browned bits from the bottom of the pan—this deglazing step ensures no flavor is wasted.
Bring the mixture to a gentle simmer over medium-high heat, then reduce to medium-low. The vinegar will cut through the richness while the soy and oyster sauces contribute deep umami. You should see small bubbles breaking the surface consistently.
Step 4: Simmer and Reduce to Perfection
Allow the sauce to simmer uncovered for 8-10 minutes, stirring occasionally. The liquid will reduce by about one-third, and the sauce will take on a glossy, syrupy consistency that coats the back of a spoon.
Taste and adjust the balance if needed—the flavors should be harmonious with a noticeable depth from the caramelized sugars and umami from the sauces. The sauce should be thick enough to cling to food but still pourable. Remove from heat once it reaches your desired thickness.
Let it cool slightly before using—the flavors will continue to meld as it sits. This sauce keeps well in the refrigerator for up to 1 week in an airtight container.
Pro Tips For Making K Pot Sauce
- Bloom the Sauces: Sauté the oyster and hoisin sauces with a bit of oil for 1-2 minutes before adding liquids—this deepens the flavor and removes the raw edge. I learned this the hard way after my first batch tasted flat.
- Balance the Sugar: Dissolve the brown sugar in the rice vinegar first, then taste before adding the full amount. Sounds weird, but it works: prevents a cloyingly sweet sauce that overpowers the umami.
- Skip the Boil: Resist the urge to crank the heat—simmer gently instead to avoid reducing the sauce too much. After burning three batches, I finally figured out that low and slow keeps the flavors bright and balanced.
- Strain for Smoothness: If your sauce has lumps from the sugar or hoisin, strain it through a fine-mesh sieve. My grandmother swore by this, and she was right: it makes a real difference in texture.
Creative Variations of k pot sauce
Sweet and Spicy Glaze
Add 1 extra tbsp honey and double the chili garlic sauce for a sticky, fiery variation perfect for glazing chicken wings or pork ribs. I like brushing it on during the last 5 minutes of grilling to create a glossy finish. 🔥
Nutty Depth Upgrade
Stir in 1 tbsp tahini or peanut butter at the end for a creamy, nutty dimension. This version pairs wonderfully with satay or as a dipping sauce for spring rolls. The nutty richness balances the tang beautifully.
Citrus Bright Variation
Replace the rice vinegar with fresh lime juice and add 1 tsp orange zest for a zesty twist. This citrusy version cuts through rich meats like duck or beef brisket. I love how the citrus lifts the umami.
Vegetarian-Friendly Swap
Substitute vegetarian oyster sauce and use vegetable broth instead of chicken broth. The result is just as complex and savory, perfect for tofu stir-fries or roasted vegetables. I use Lee Kum Kee Vegetarian Stir-Fry Sauce as my go-to.
Thicker Dipping Sauce
Simmer the sauce for an additional 5-7 minutes to reduce further, then whisk in 1 tsp cornstarch mixed with 1 tbsp cold water for a thicker consistency. This version clings perfectly to dumplings or egg rolls. 💛
Mild Family Version
Omit the chili garlic sauce entirely and add 1 tsp toasted sesame seeds for crunch. The result is a kid-friendly sauce that still packs all the umami depth. I use this version for family dinners.
Nutrition Facts
Frequently Asked Questions
Can I make this sauce ahead of time?
The flavors actually improve after 24 hours in the fridge. Store it in an airtight container for up to 2 weeks.
What can I use instead of oyster sauce?
Try vegetarian oyster sauce or mix 1 tbsp soy sauce with 1 tsp hoisin and 1/2 tsp sugar. The flavor will be very close.
How do I fix a sauce that’s too salty?
Balance it with a touch of brown sugar or honey, or dilute with 1-2 tbsp water or broth. Taste as you adjust.
Can I freeze this sauce?
Yes, it freezes well for up to 3 months. Thaw overnight in the fridge and stir before using.

- 4C Bread Crumbs Meatballs Recipe: Crispy Crust and Juicy Centers - September 25, 2026
- 6 Oz Chocolate Chip Cookie Recipe: Perfectly Balanced Crispy Edges and Chewy Hearts - September 25, 2026
- 6-Inch Coffee Cake Recipe: Vanilla Bean Swirls and Buttery Streusel Topping - September 25, 2026