
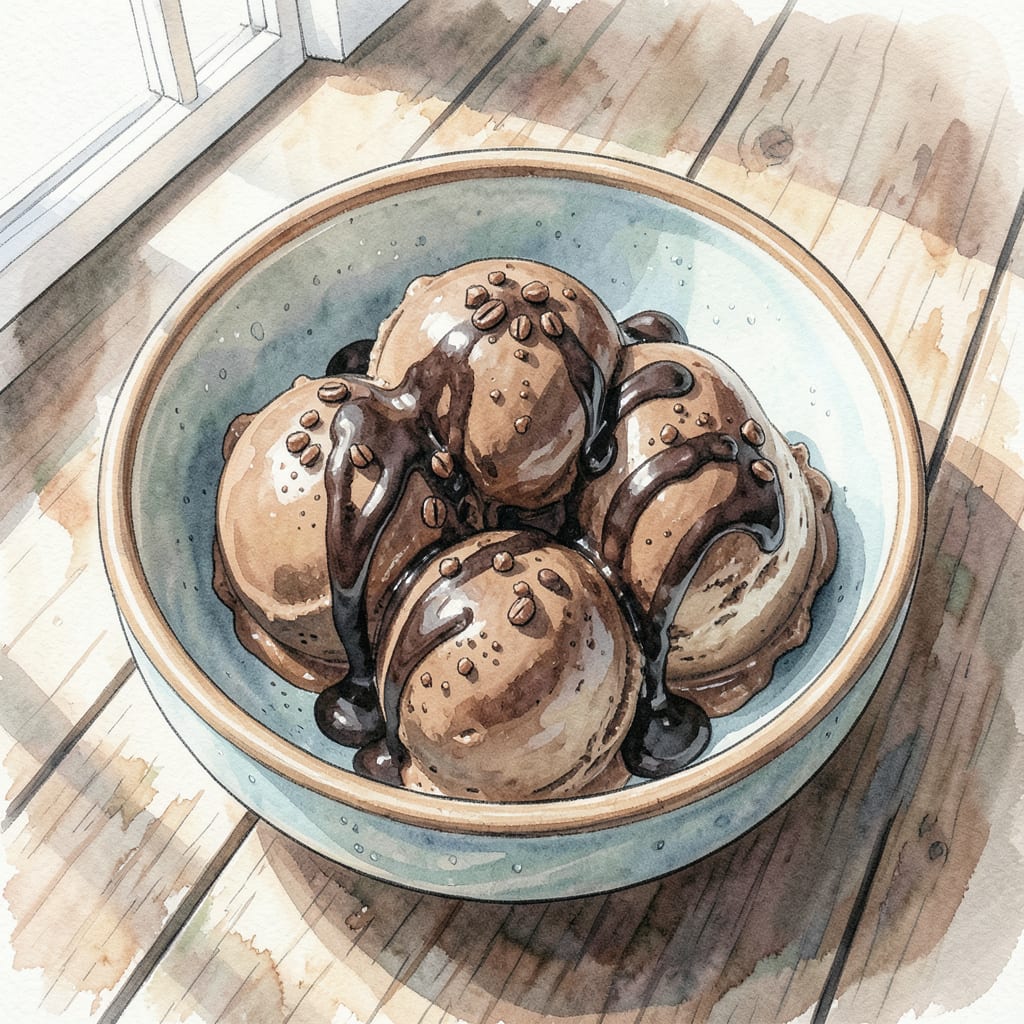
Coffee lovers will adore this creamy ice cream recipe made possible by your KitchenAid mixer. By combining rich coffee flavor with smooth cream, you’ll create a dessert that’s both decadent and refreshing.
Using your KitchenAid mixer simplifies the process, ensuring a smooth texture that’s hard to achieve by hand. The result is a luxurious coffee ice cream that’s sure to become a favorite treat.
Ingredients for Kitchenaid Coffee Ice Cream
Gather these simple ingredients for a rich coffee ice cream treat.
| Ingredient | Amount | Notes |
|---|---|---|
| Heavy Cream 🥛 | 2 cups | Chilled, for best results |
| Whole Milk 🥛 | 1 cup | Cold, full-fat preferred |
| Granulated Sugar 🍮 | 1 cup | Regular white sugar |
| Brown Sugar 🍮 | ½ cup | Packed light or dark |
| Strong Brewed Coffee ☕️ | ½ cup | Cool to room temperature |
| Vanilla Extract 🌿 | 2 tsp | High-quality pure extract |
| Kosher Salt 🧂 | ¼ tsp | Diamond Crystal preferred |
For the best flavor, use high-quality coffee beans—freshly brewed and cooled. The cream and milk should be well-chilled before churning. I always use Organic Valley heavy cream for its rich texture. If you’re using a different brand, make sure it’s ultra-pasteurized for best results in your KitchenAid mixer.
No KitchenAid? You can still make this using a hand mixer or whisk, but it’ll take more elbow grease. For a different twist, try espresso powder instead of brewed coffee for an intense coffee flavor. If you prefer a less sweet ice cream, reduce the granulated sugar to 3/4 cup. The vanilla extract enhances the coffee flavor—don’t skip it.
This ice cream keeps well in an airtight container in the freezer for up to 2 weeks. For the best texture, let it soften at room temperature for about 5 minutes before scooping. If you’re making this ahead, churn it just before serving for the creamiest results.
Step-by-Step Instructions for Creamy Coffee Ice Cream
Making this rich coffee ice cream is straightforward with your KitchenAid mixer. Let’s get started!
Step 1: Combine Cream, Milk, and Sugars
In your KitchenAid mixer bowl, whisk together the 2 cups Heavy Cream, 1 cup Whole Milk, 1 cup Granulated Sugar, and 0.5 cup Brown Sugar until the sugars are fully dissolved. This step is crucial for a smooth texture, so take your time to ensure the mixture is well combined and the sugars are fully incorporated. You’ll know it’s ready when the mixture feels smooth to the touch and there are no visible sugar granules.
I like to use the whisk attachment on my KitchenAid for this step, as it helps to break down the sugar crystals efficiently. Make sure to scrape down the sides of the bowl to incorporate all the ingredients evenly.
Step 2: Add Coffee and Flavorings
Once your cream and sugar mixture is ready, add the 0.5 cup Strong Brewed Coffee, 2 tsp Vanilla Extract, and 0.25 tsp Kosher Salt. Mix these ingredients in thoroughly using the whisk attachment on low speed. The coffee will infuse a deep flavor into your ice cream, while the vanilla extract adds a hint of sweetness and the kosher salt enhances the overall flavor profile.
Be sure to use high-quality coffee for the best flavor. I prefer using a dark roast coffee as it gives a robust flavor to the ice cream. Also, ensure that your brewed coffee has cooled to room temperature before adding it to the mixture to prevent any unwanted temperature fluctuations.
Step 3: Chill the Mixture
Cover the bowl with plastic wrap and refrigerate the mixture for at least 2 hours or overnight. Chilling the mixture is essential as it allows the flavors to meld together and the mixture to cool down, which is necessary for churning. The colder the mixture, the better the ice cream will churn in your KitchenAid ice cream maker.
During this time, the mixture will also thicken slightly, which helps in achieving a creamy texture. If you’re short on time, you can chill the mixture for 2 hours, but overnight is ideal for the best results.
Step 4: Churn the Ice Cream
Pour the chilled mixture into your KitchenAid ice cream maker and churn according to the manufacturer’s instructions. This usually takes about 20-25 minutes, depending on your specific model. The mixture will thicken and double in volume as it churns, giving it a creamy consistency.
You’ll know the ice cream is ready when it reaches a soft-serve consistency. At this point, it’s crucial to transfer it to an airtight container to harden in the freezer. I like to use a container with a tight-fitting lid to prevent freezer burn.
Step 5: Freeze and Enjoy
Transfer the churned ice cream to an airtight container and cover it with plastic wrap or aluminum foil. Place it in the freezer to harden for at least 2 hours. This step is important as it allows the ice cream to firm up to a scoopable consistency. Once hardened, scoop and serve your creamy coffee ice cream.
The result is a rich, creamy ice cream with a deep coffee flavor. You can enjoy it as is or customize it with your favorite toppings. I recommend serving it with a drizzle of chocolate sauce or a sprinkle of cocoa powder for an extra-special treat.
Dietary Considerations for This Recipe
Dietary Modifications
This coffee ice cream recipe is vegetarian-friendly as it doesn’t contain any meat products. However, it does contain dairy. For a vegan version, you can substitute the heavy cream and whole milk with coconut cream and non-dairy milk like almond or soy milk.
Gluten-Free Considerations
The recipe is naturally gluten-free as it doesn’t include any wheat products. Be sure to check that your vanilla extract and coffee are gluten-free if you’re serving someone with gluten intolerance.
Sugar Alternatives
For those watching their sugar intake, you can experiment with coconut sugar or maple syrup as alternatives to granulated and brown sugar. Keep in mind that these substitutions may affect the flavor and texture slightly.
Dairy-Free Options
To make this recipe dairy-free, replace the heavy cream and whole milk with non-dairy alternatives. Coconut cream works well for a rich texture, while cashew milk can provide a creamy base when blended with the coffee and sugar mixture.
Nut-Free Considerations
The basic recipe is nut-free, but be cautious with the type of non-dairy milk you choose if you’re making substitutions. Opt for oat milk or rice milk to keep it nut-free.
Low-Sugar Version
To reduce the sugar content, you can decrease the granulated sugar to 3/4 cup and omit the brown sugar entirely. This will still result in a delicious coffee ice cream that’s less sweet. You can also consider using sugar substitutes like stevia or erythritol, but be aware that these may affect the texture and flavor.
Nutrition Facts
340kcal

- 8 Bean Soup Recipe Crock Pot: Hearty Vegetable Medley in One Pot - September 25, 2026
- 4C Bread Crumbs Meatballs Recipe: Crispy Crust and Juicy Centers - September 25, 2026
- 6 Oz Chocolate Chip Cookie Recipe: Perfectly Balanced Crispy Edges and Chewy Hearts - September 25, 2026