
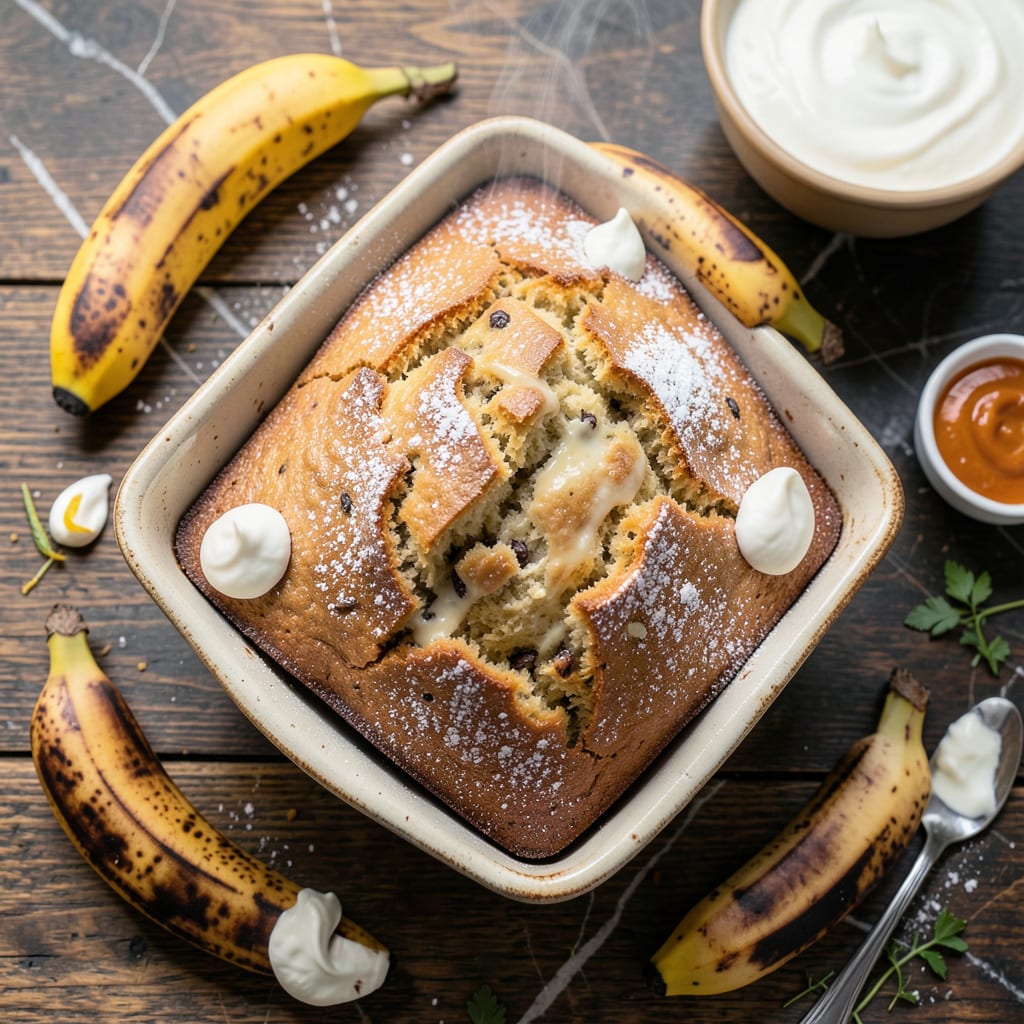
I’ve perfected a banana bread that stays moist without butter by using Greek yogurt as the secret ingredient. This low-fat version proves you can have rich flavor and a tender crumb without excess fat.
The yogurt replaces oil while keeping the texture soft and the flavor deep. Bake it at home for a lighter treat that still feels indulgent.
Ingredients for Low Fat Banana Bread Recipe with Greek Yogurt
Ripe bananas and Greek yogurt lead to a moist, tender crumb every time.
| Ingredient | Amount | Notes |
|---|---|---|
| Ripe Bananas 🍌 | 3 whole | Very ripe, mashed (about 1.5 cups) |
| Plain Greek Yogurt 🥛 | 1 cup | Non-fat or low-fat, unsweetened |
| All-Purpose Flour 🌾 | 1 ½ cups | Spoon and level for accuracy |
| Granulated Sugar 🍚 | ¾ cup | Or substitute coconut sugar |
| Large Eggs 🥚 | 2 whole | Room temperature preferred |
| Vanilla Extract 🌿 | 2 tsp | Pure vanilla for best flavor |
| Baking Soda 🧂 | 1 tsp | Ensures proper rise |
| Salt 🧂 | ½ tsp | Kosher or table salt |
| Ground Cinnamon 🌿 | 1 tsp | Adds warm spice flavor |
| Walnut Halves 🌰 | ½ cup | Chopped (optional, omit if preferred) |
| Vegetable Oil 🫒 | ¼ cup | For greasing pan |
The bananas need to be spotty and soft—the riper, the better (they’ll be sweeter and mash easier). Greek yogurt is the star here; Fage or Chobani are my go-tos for consistent thickness. For the flour, King Arthur or store brand works fine, but avoid self-rising. If you’re at Whole Foods, their 365 brand is a solid pick for organic options.
No Greek yogurt? Regular yogurt drained in a cheesecloth works in a pinch (just not as thick). Swap sugar for maple syrup at 3/4 the amount, but reduce other liquids slightly. For a gluten-free version, 1:1 GF flour blend does the trick. The walnuts can be pecans or omitted entirely—no need to dirty another bowl if you’re skipping them.
This bread stays fresh wrapped at room temp for 2 days, or in the fridge for 5 days. Freeze slices for up to 3 months (perfect for quick breakfasts). The yogurt keeps it moist longer than oil-based versions—trust me on this.
Why You’ll Love This Recipe
- One Bowl Wonder: I just mash the bananas, mix in the Greek yogurt and eggs, and fold in the dry ingredients—no fancy tools, no fuss.
- Moist & Rich: The Greek yogurt keeps it tender and rich without extra fat, and the ripe bananas add natural sweetness that makes every bite satisfying.
- Breakfast or Snack: I slice it thick for breakfast on the go or pack a piece in lunchboxes—it’s just as good at 7 a.m. as it is at 3 p.m.
- Stays Fresh: Honestly, it tastes even better the next day, and a loaf lasts us all week without drying out.
Step-by-Step Instructions for Low Fat Banana Bread With Greek Yogurt
This method ensures a tender, moist loaf with minimal fat—trust the process.
Step 1: Prep Bananas and Wet Ingredients
In a large mixing bowl, mash the 3 whole Ripe Bananas until mostly smooth with a few small lumps remaining. I like to use a fork for this—it gives me better control than a potato masher.
Add the 1 cup Plain Greek Yogurt, 2 whole Large Eggs, 0.75 cup Granulated Sugar, and 2 tsp Vanilla Extract. Whisk everything together until the mixture turns pale and slightly thickened. The sugar should dissolve completely during this step.
This wet mixture forms the base that keeps your bread incredibly moist without relying on butter. The Greek yogurt adds protein and richness while cutting fat significantly.
Step 2: Combine Dry Ingredients Separately
In a medium bowl, whisk together the 1.5 cups All-Purpose Flour, 1 tsp Baking Soda, 0.5 tsp Salt, and 1 tsp Ground Cinnamon. I always sift my flour first, but whisking vigorously for 30 seconds achieves the same result.
The cinnamon adds warm depth to balance the sweetness, while the baking soda ensures a proper rise. Make sure there are no lumps in your dry ingredients—this guarantees even distribution throughout the batter.
This separate mixing prevents overworking the gluten once the wet and dry ingredients combine, which would make your bread dense instead of tender.
Step 3: Fold Everything Together Gently
Pour the dry ingredients into the wet mixture. Using a silicone spatula, fold everything together with a gentle “J” motion until just combined. You’ll see streaks of flour disappear as you work—stop folding once they’re mostly incorporated.
Now add the 0.5 cup Walnut Halves (chopped if you prefer smaller pieces) and fold once or twice more to distribute them evenly. The walnuts add texture and healthy fats to complement the low-fat base.
Real talk: Overmixing is the enemy of light, fluffy bread. The batter will look slightly lumpy, and that’s perfect. Those lumps will disappear during baking while maintaining a tender crumb.
Step 4: Bake to Golden Perfection
Preheat your oven to 350°F. Use the 0.25 cup Vegetable Oil to grease a standard loaf pan, making sure to coat all surfaces, including the corners. This prevents sticking without adding much fat to the recipe.
Pour the batter into the prepared pan and smooth the top with your spatula. Bake for 50-60 minutes until a toothpick inserted in the center comes out clean and the top is golden brown with a slight dome.
Here’s the thing—if the top browns too quickly, tent the pan with foil after 30 minutes. Every oven runs differently, so start checking at the 50-minute mark. The bread is done when it springs back lightly when pressed.
Step 5: Cool Completely Before Slicing
Remove the pan from the oven and let it cool in the pan for 10 minutes. Then transfer the loaf to a wire rack to cool completely. I know it’s tempting to slice into that warm, fragrant loaf, but waiting ensures clean slices.
The bread will continue to set as it cools, and the flavors will meld together beautifully. If you slice too early, you’ll end up with a crumbly mess instead of neat, moist slices.
Once fully cooled, store in an airtight container at room temperature for up to 3 days, or freeze for longer storage. This bread actually tastes better the next day as the moisture redistributes.
Pro Tips For Making Low Fat Banana Bread Recipe With Greek Yogurt
- Test Banana Ripeness: Use bananas with plenty of brown speckles—they’re sweeter and mash easier, so you can cut the sugar by up to 2 tablespoons without losing flavor.
- Room-Temp Eggs: Pull your eggs out 30 minutes before mixing; they blend smoother into the yogurt and prevent a dense, gummy crumb.
- Skip Overmixing: Stir just until the flour disappears—after burning three batches, I finally figured out that overworking the batter makes the bread tough, not tender.
- Check at 45 Minutes: Start testing with a toothpick at 45 minutes; low-fat loaves bake faster than traditional ones, and pulling it too late dries them out.
Health Benefits of This low fat banana bread recipe with greek yogurt
Lower Fat Content
By using 1 cup Greek yogurt instead of butter or oil, you cut the fat content significantly while keeping the bread tender. Traditional recipes often use ½ cup oil or more, but this version reduces that without sacrificing texture. 💪
Protein Boost
Greek yogurt adds 15-20 grams of protein per cup, making this bread more satisfying and balanced. This extra protein helps stabilize blood sugar levels, preventing energy crashes after eating.
Natural Sweetness
The 3 ripe bananas provide natural sugars, reducing the need for added refined sugar. This means you get sweetness with additional nutrients like potassium and fiber that white sugar lacks.
Fiber Benefits
Bananas and whole wheat flour (if substituted) add dietary fiber that supports digestion. The fiber slows sugar absorption, keeping you fuller longer. I notice this version keeps me satisfied for hours.
Vitamin Rich
This bread is packed with vitamin B6 from bananas and calcium from Greek yogurt. These nutrients support energy metabolism and bone health, respectively. 🥛
Antioxidant Source
The cinnamon and bananas provide antioxidants that combat inflammation. Cinnamon, in particular, has been linked to improved blood sugar control, making this a smarter sweet treat option.
Frequently Asked Questions
Can I use regular yogurt instead of Greek?
Yes, but strain regular yogurt in a cheesecloth for 30 minutes to thicken it. Greek yogurt’s thickness is key for the right texture.
How do I store leftovers?
Keep wrapped at room temperature for 2 days or refrigerate for up to 5 days. For longer storage, freeze slices for 3 months.
Why did my bread turn out dense?
Overmixing develops gluten, making bread dense. Fold just until combined, and don’t skip the baking soda—it ensures a proper rise.
Can I make this gluten-free?
Use a 1:1 gluten-free flour blend in place of all-purpose flour. No other adjustments needed!

- 8 Bean Soup Recipe Crock Pot: Hearty Vegetable Medley in One Pot - September 25, 2026
- 4C Bread Crumbs Meatballs Recipe: Crispy Crust and Juicy Centers - September 25, 2026
- 6 Oz Chocolate Chip Cookie Recipe: Perfectly Balanced Crispy Edges and Chewy Hearts - September 25, 2026