
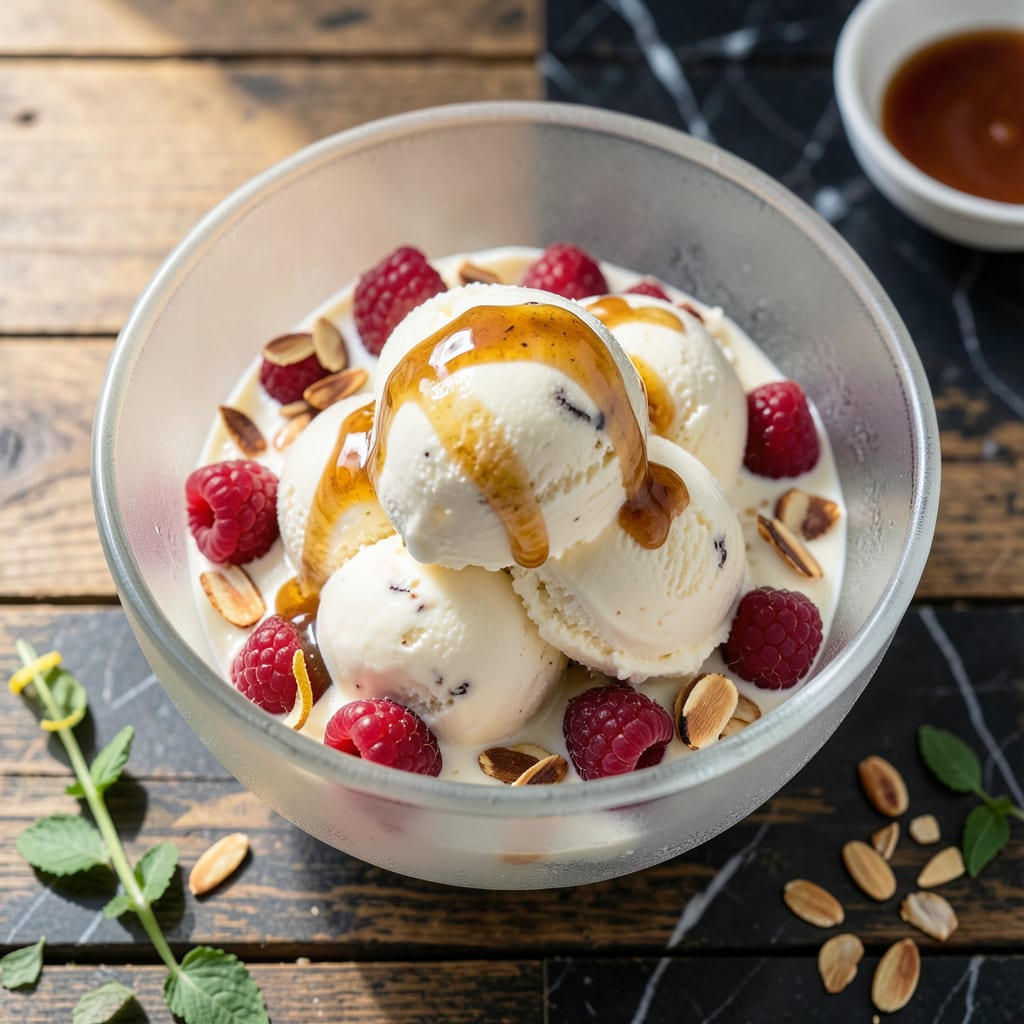
Achieving silky smooth ice cream with less fat is easier than you think. This method uses an ice cream maker to create a light yet creamy texture that rivals full-fat versions.
The secret is balancing dairy with air, creating a dessert that’s rich in flavor but gentle on calories. You’ll get perfect results every time with the right technique and ingredients.
Ingredients for Low Fat Ice Cream Recipe for Ice Cream Maker
Light ingredients create rich, creamy ice cream with your machine.
| Ingredient | Amount | Notes |
|---|---|---|
| Whole Milk 🥛 | 2 cups | Low-fat or skim for lighter texture |
| Heavy Cream 🥛 | ½ cup | Light cream works in a pinch |
| Granulated Sugar 🍚 | ¾ cup | Adjust to taste preference |
| Egg Yolks 🥚 | 3 whole | Large eggs, room temperature |
| Vanilla Extract 🌿 | 1 tsp | Pure extract for best flavor |
| Salt 🧂 | ¼ tsp | Enhances all flavors |
| Nonfat Dry Milk Powder 🥛 | ½ cup | Adds creaminess without fat |
| Corn Syrup 💧 | 2 tbsp | Light variety preferred |
| Vanilla Bean 🌿 | 1 whole | Scraped seeds, optional |
| Lemon Juice 🍋 | 1 tsp | Freshly squeezed brightens flavor |
The milk and cream are the foundation here. Whole Foods or Trader Joe’s carry quality dairy—look for organic if possible (worth the splurge). Egg yolks add richness without excess fat, so use fresh, high-quality eggs. Nonfat dry milk powder might seem old-school, but it’s the secret to that ultra-creamy texture without the calories. Most grocery stores stock it in the baking aisle.
Swapping heavy cream for half-and-half cuts fat further, but texture suffers slightly. No egg yolks? Cornstarch slurry can thicken, but the flavor won’t be as rich. Vanilla bean paste or pure extract both work—skip the imitation stuff. If sugar is a concern, half the amount with a sugar substitute (but expect a softer result).
Churn immediately after mixing for best texture. Stores in an airtight container for 1 week—if it lasts that long. Freeze leftovers for up to 3 months (cover surface with parchment first to prevent ice crystals).
Why You’ll Love This Recipe
- Dump and Churn: I just mix the milk, cream, sugar, and yolks, let the machine do the work, and boom—creamy vanilla in 20 minutes.
- Velvety Vanilla: That real vanilla extract shines through without any weird aftertaste, and the egg yolks add a richness that feels indulgent.
- Crowd Pleaser: Honestly, it’s my go-to for summer BBQs—everyone from kids to grandparents asks for seconds.
- Leftovers? None: Between us, I’ve never had a batch last more than two days in my freezer.
Step-by-Step Instructions for Low Fat Ice Cream for Ice Cream Maker
This method delivers a luxuriously smooth texture while keeping the fat content in check.
Step 1: Infuse the Base with Vanilla Flavor
In a medium saucepan, combine the 2 cups Whole Milk, 0.5 cup Heavy Cream, and 0.75 cup Granulated Sugar. If using the 1 whole Vanilla Bean, split it lengthwise, scrape the seeds into the milk mixture, and add the pod as well.
Heat over medium heat until the mixture reaches 170°F and the sugar fully dissolves. Stir occasionally to prevent scorching. The edges will begin to steam, and tiny bubbles will form around the pan’s perimeter—this is your cue that it’s hot enough.
Remove from heat, cover, and let the vanilla bean steep for 15 minutes to infuse maximum flavor. If not using the bean, proceed immediately to the next step.
Step 2: Temper the Egg Yolks for a Smooth Custard
In a separate bowl, whisk the 3 whole Egg Yolks until smooth and slightly pale. Slowly ladle about 1 cup of the hot milk mixture into the yolks while whisking constantly. This tempering step prevents the eggs from curdling when exposed to heat.
Pour the tempered yolk mixture back into the saucepan with the remaining milk. Add the 0.25 tsp Salt, 0.5 cup Nonfat Dry Milk Powder, 2 tbsp Corn Syrup, and 1 tsp Vanilla Extract. Stir until the dry milk powder dissolves completely.
Return the pan to medium-low heat and cook, stirring constantly, until the mixture thickens enough to coat the back of a spoon. This should take about 5-7 minutes—do not let it boil.
Step 3: Chill the Base Thoroughly
Strain the custard through a fine-mesh sieve into a clean bowl to remove any cooked bits or vanilla pod. Stir in the 1 tsp Lemon Juice to brighten the flavors. Press plastic wrap directly onto the surface to prevent a skin from forming.
Refrigerate for at least 4 hours, or preferably overnight. The base must be completely cold (below 40°F) before churning—this ensures a creamy texture and prevents ice crystals from forming in your ice cream maker.
Step 4: Churn to Silky Perfection
Pour the chilled base into your ice cream maker and churn according to the manufacturer’s instructions. This typically takes 20-25 minutes. The mixture will thicken to the consistency of soft-serve ice cream and hold its shape when scooped.
Watch for the moment when the ice cream starts pulling away from the sides of the bowl and forms a smooth, glossy mound. This visual cue means it’s ready. Avoid over-churning, which can incorporate too much air and create a fluffy texture.
Transfer to an airtight container and freeze for at least 4 hours to firm up completely. For the best texture, let it sit at room temperature for 5-10 minutes before scooping.
Pro Tips For Making Low Fat Ice Cream Recipe For Ice Cream Maker
- Chill the Base: I learned this the hard way—always refrigerate your custard base for at least 4 hours (overnight is better) before churning, or you’ll end up with icy, soupy ice cream.
- Temper the Yolks: Slowly whisk in 1 cup of the hot milk mixture into the egg yolks before combining everything, or you’ll scramble them—yes, even if you’re in a hurry.
- Swap Half the Cream: Replace half the heavy cream with whole milk to cut fat without sacrificing creaminess, but don’t skip the sugar—it keeps the texture smooth.
- Add Vanilla Last: Stir in the vanilla extract after the custard cools, not during cooking, or the alcohol can evaporate and take the flavor with it.
Storing and Reheating low fat ice cream recipe for ice cream maker
Freezing for Later
Transfer your freshly churned ice cream to an airtight container. Press plastic wrap directly against the surface to prevent ice crystals from forming. Freeze for up to 3 months at 0°F or below. I use Tupperware with snap-on lids for best results. ❄️
Short-Term Storage
For immediate enjoyment, store in the freezer for at least 4 hours to firm up completely. The texture will be perfect for scooping after this time. If you notice any ice crystals, it means the container wasn’t airtight.
Thawing Properly
When ready to serve, let the ice cream sit at room temperature for 5-10 minutes. This makes scooping easier and enhances the creamy texture. Don’t microwave or rush this process, as it can cause melting and refreezing issues.
Reviving Leftovers
If your ice cream has been in the freezer for a while and developed crystals, let it soften for 15 minutes, then give it a quick stir. This redistributes the moisture and restores that smooth texture.
Portion Control
For single servings, I portion into ½ cup containers before freezing. This way, you can grab one at a time without exposing the whole batch to air. Perfect for controlling portions and maintaining quality.
Flavor Preservation
Strong flavors like vanilla or chocolate hold up well, but delicate additions like fresh fruit may soften. Add mix-ins like chopped nuts or chocolate chips after churning but before freezing for best texture.
Nutrition Facts
Frequently Asked Questions
Can I use skim milk instead of whole?
Yes, but the texture will be slightly less creamy. Whole milk adds richness that skim lacks, so consider adding an extra 1 tablespoon of dry milk powder to compensate.
Why does the base need to be cold before churning?
Cold base prevents ice crystals from forming during churning. Below 40°F ensures a smooth, creamy texture in your final product.
Can I make this without egg yolks?
Yes, substitute with a cornstarch slurry (1 tbsp cornstarch + 2 tbsp cold milk). The texture won’t be as rich, but it will still be delicious.
How long can I store the churned ice cream?
It keeps for up to 3 months in an airtight container at 0°F. For best quality, press plastic wrap directly on the surface.

- 8 Bean Soup Recipe Crock Pot: Hearty Vegetable Medley in One Pot - September 25, 2026
- 4C Bread Crumbs Meatballs Recipe: Crispy Crust and Juicy Centers - September 25, 2026
- 6 Oz Chocolate Chip Cookie Recipe: Perfectly Balanced Crispy Edges and Chewy Hearts - September 25, 2026