
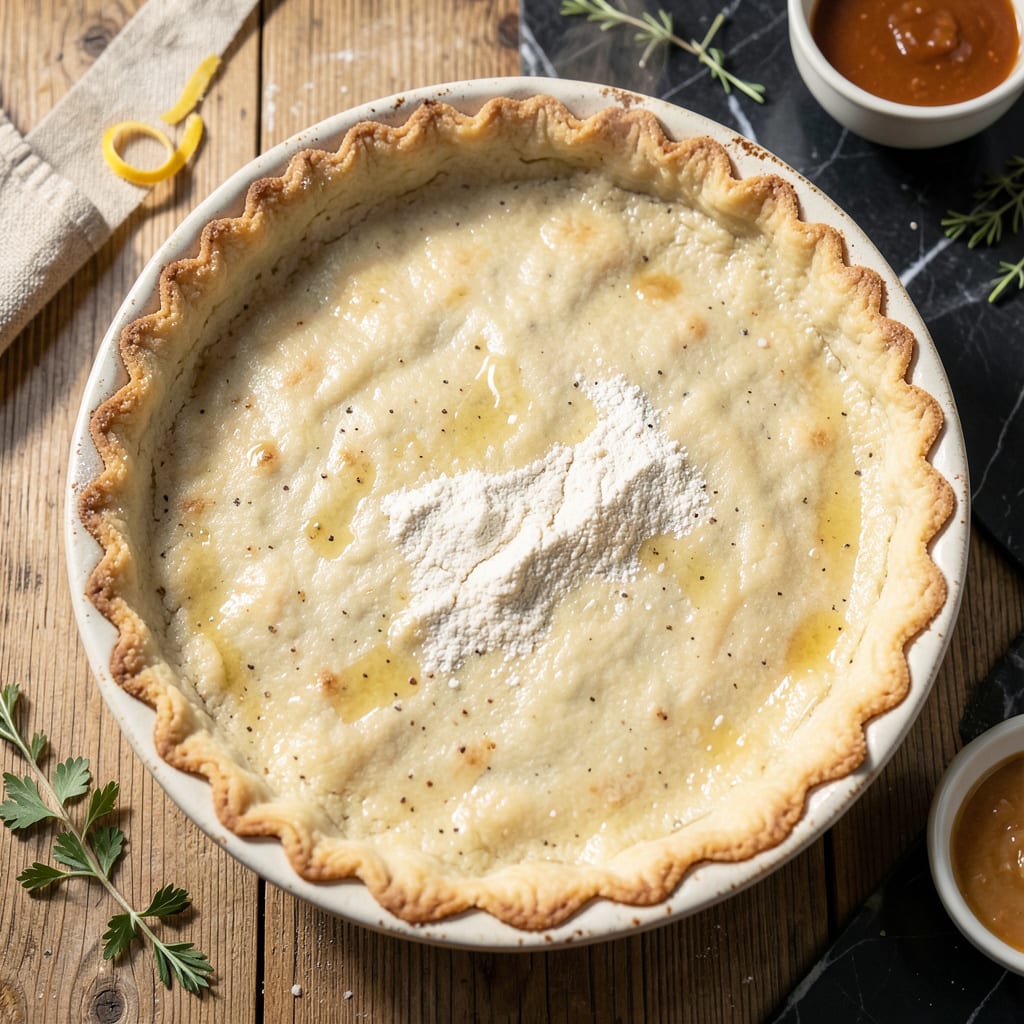
Creating a flaky pie crust without butter is simpler than you think. This method uses heart-healthy oil and cold water to achieve the perfect texture while cutting fat significantly.
The secret lies in minimal handling and precise chilling. You’ll get golden, tender layers that hold up beautifully—proof that lighter baking doesn’t mean sacrificing quality or taste.
Ingredients for Low Fat Pie Crust
Minimal ingredients, maximum flakiness. Oil and water do the magic here.
| Ingredient | Amount | Notes |
|---|---|---|
| All-Purpose Flour 🌾 | 2 ½ cups | Sifted for best texture |
| Vegetable Oil 🫒 | ½ cup | Cold, heart-healthy variety |
| Ice Water 💧 | ½ cup | As cold as possible |
| Salt 🧂 | 1 tsp | Fine grain preferred |
| Granulated Sugar 🍚 | 1 tsp | Optional, for sweet crusts |
| Apple Cider Vinegar 🍎 | 1 tsp | For tenderness |
| Baking Powder 🧂 | ¼ tsp | Ensures flakiness |
The oil is doing the work of butter here, so use a neutral, high-quality vegetable oil. I go with Crisco’s all-vegetable shortening (it’s oil-based, not lard) when I want that classic pie crust flake without the dairy. Cold is critical—pop your measured oil in the freezer for 10 minutes before mixing. Flour choice matters less than you’d think—just avoid the self-rising kind.
No vegetable oil? Melted coconut oil (chilled) works, but it’ll add a slight coconut flavor. Out of apple cider vinegar? White vinegar or lemon juice at the same ratio. If you’re making a sweet pie, the sugar is optional but worth it for that golden crust. For a more traditional taste, a pinch of nutmeg or cinnamon in the flour adds warmth.
The dough keeps in the fridge for up to 2 days or freezes for 3 months. Let it thaw in the fridge overnight before rolling. Cold dough = flaky layers, so don’t rush the chilling step (worth the extra minute).
Why You’ll Love This Recipe
- No Fuss Mixing: I just stir the flour, oil, and ice water together—no cutting in butter or chilling dough for hours.
- Crisp & Light: The oil makes it flaky without the heaviness, and a pinch of sugar balances the salt perfectly.
- Any Pie Works: I’ve used this for everything from apple to quiche, and it never lets me down.
- Pantry Staples: Flour, oil, water, salt, sugar—things I always have on hand, so I can make a crust anytime.
Step-by-Step Instructions for Low Fat Pie Crust
This method delivers crisp, flaky layers using oil instead of butter—simple but precise.
Step 1: Combine Dry Ingredients for Structure
In a large mixing bowl, whisk together the 2.5 cups All-Purpose Flour, 1 tsp Salt, 1 tsp Granulated Sugar, and 0.25 tsp Baking Powder until evenly distributed. Sifted flour works best here, as it incorporates air for a lighter texture.
I always taste the flour mixture at this stage—if it seems bland, add a pinch more salt. The sugar adds subtle sweetness for desserts, but omit it for savory pies. This dry blend forms the crust’s backbone, so don’t skip the whisking.
Step 2: Cut in Cold Vegetable Oil
Measure the 0.5 cup Vegetable Oil—use a cold, neutral variety like canola or sunflower. Pour it into the dry ingredients, then use a fork or pastry cutter to blend until the mixture resembles coarse crumbs with some pea-sized pieces remaining.
Here’s the thing—oil creates flakiness differently than butter. You want visible oil streaks in the dough, not a uniform blend. If it looks too dry, resist adding more oil; the water will bring it together. The colder the oil, the better the texture.
Step 3: Add Ice Water and Apple Cider Vinegar
Make a well in the center of the mixture. Pour in the 0.5 cup Ice Water and 1 tsp Apple Cider Vinegar. The vinegar tenderizes the gluten, ensuring a crisp rather than tough crust. Use water straight from the ice tray—cold prevents the oil from separating.
Stir gently with a fork until the dough just begins to come together. You’ll see moist clumps forming—this is your signal to stop mixing. Overworking develops gluten, which ruins the flaky texture we’re after. The dough should look shaggy, not smooth.
Step 4: Shape and Chill the Dough
Turn the dough onto a lightly floured surface and gently press it into a rough disk about 1 inch thick. Don’t knead it—just fold any loose edges inward. The disk shape makes rolling easier later.
Wrap the disk tightly in plastic wrap and refrigerate for at least 30 minutes. This resting period allows the flour to hydrate fully and the oil to redistribute. I’ve found that chilling for 1 hour yields even better results, as it relaxes the gluten completely.
Step 5: Roll and Blind-Bake for Perfection
On a floured surface, roll the chilled dough into a 12-inch circle about ⅛-inch thick. Transfer to a pie dish, press gently into the bottom and sides, then trim and crimp the edges. For a single-crust pie, dock the bottom with a fork to prevent air bubbles.
For pre-baking, line the crust with parchment paper and fill with pie weights or dried beans. Bake at 375°F for 15 minutes, then remove the weights and bake another 5-8 minutes until the edges are light golden brown. The crust should hold its shape without shrinking.
Pro Tips For Making Low Fat Pie Crust
- Chill the Dough: After mixing, refrigerate the dough for at least 30 minutes—this relaxes the gluten and makes it easier to roll out without cracking.
- Use Ice-Cold Water: I learned this the hard way: warm water makes the oil separate, so keep your water as cold as possible for a flakier crust.
- Don’t Overmix: Stir just until the dough comes together; overworking it develops tough gluten, and nobody wants a chewy pie crust.
- Roll Between Parchment: Skip the floured counter and roll the dough between two sheets of parchment—less mess, no sticking, and easier transfer to the pie dish.
Pro Cooking Tips for This Recipe
Chill Everything First
Cold ingredients are non-negotiable for flakiness. I freeze my 0.5 cup Vegetable Oil in the measuring cup for 10 minutes before mixing. Use the coldest 0.5 cup Ice Water possible—straight from the ice tray. This prevents the oil from separating or absorbing too quickly. 💡
Minimal Handling Rule
Overworking develops gluten, which makes crust tough. Stir just until the dough starts to clump when adding water. The mixture should look shaggy, not smooth. I use a fork and stop the second I see moist clumps forming.
Rest for Success
After shaping your dough disk, refrigerate it for at least 30 minutes. This allows the flour to hydrate fully and the oil to redistribute. I always chill mine for 1 hour—the extra time relaxes the gluten completely for the flakiest results.
Roll Evenly
On a floured surface, roll the dough to a 12-inch circle about ⅛-inch thick. Use light, even pressure and rotate the dough frequently to prevent sticking. If it tears, patch it with extra dough—it’ll blend in during baking.
Blind-Bake Properly
For pre-baking, line your crust with parchment and fill with pie weights or dried beans. Bake at 375°F for 15 minutes, then remove the weights and bake another 5-8 minutes until the edges turn light golden brown. This prevents sogginess. 🔥
Dock the Bottom
Before blind-baking, dock the bottom of your crust with a fork. This creates small holes that allow steam to escape, preventing air bubbles from forming. Do this gently—you don’t want to press too hard and compact the dough.
Nutrition Facts
Frequently Asked Questions
Can I use coconut oil instead of vegetable oil?
Yes, but chill melted coconut oil for 10 minutes first. It adds a slight coconut flavor that works well with tropical or chocolate pies. For neutral taste, stick with vegetable or canola oil.
Why does the dough need to rest before rolling?
Resting for 30-60 minutes lets flour absorb moisture and gluten relax. This prevents shrinking during baking and ensures flakier layers. Patience pays off here!
How do I prevent a soggy bottom crust?
Blind-bake at 375°F for 15 minutes with weights, then 5-8 minutes without. Docking the bottom with a fork also helps steam escape.
Can I make this dough ahead of time?
Wrapped tightly, it keeps in the fridge for 2 days or freezes for 3 months. Thaw overnight in the fridge before using.

- 8 Bean Soup Recipe Crock Pot: Hearty Vegetable Medley in One Pot - September 25, 2026
- 4C Bread Crumbs Meatballs Recipe: Crispy Crust and Juicy Centers - September 25, 2026
- 6 Oz Chocolate Chip Cookie Recipe: Perfectly Balanced Crispy Edges and Chewy Hearts - September 25, 2026