
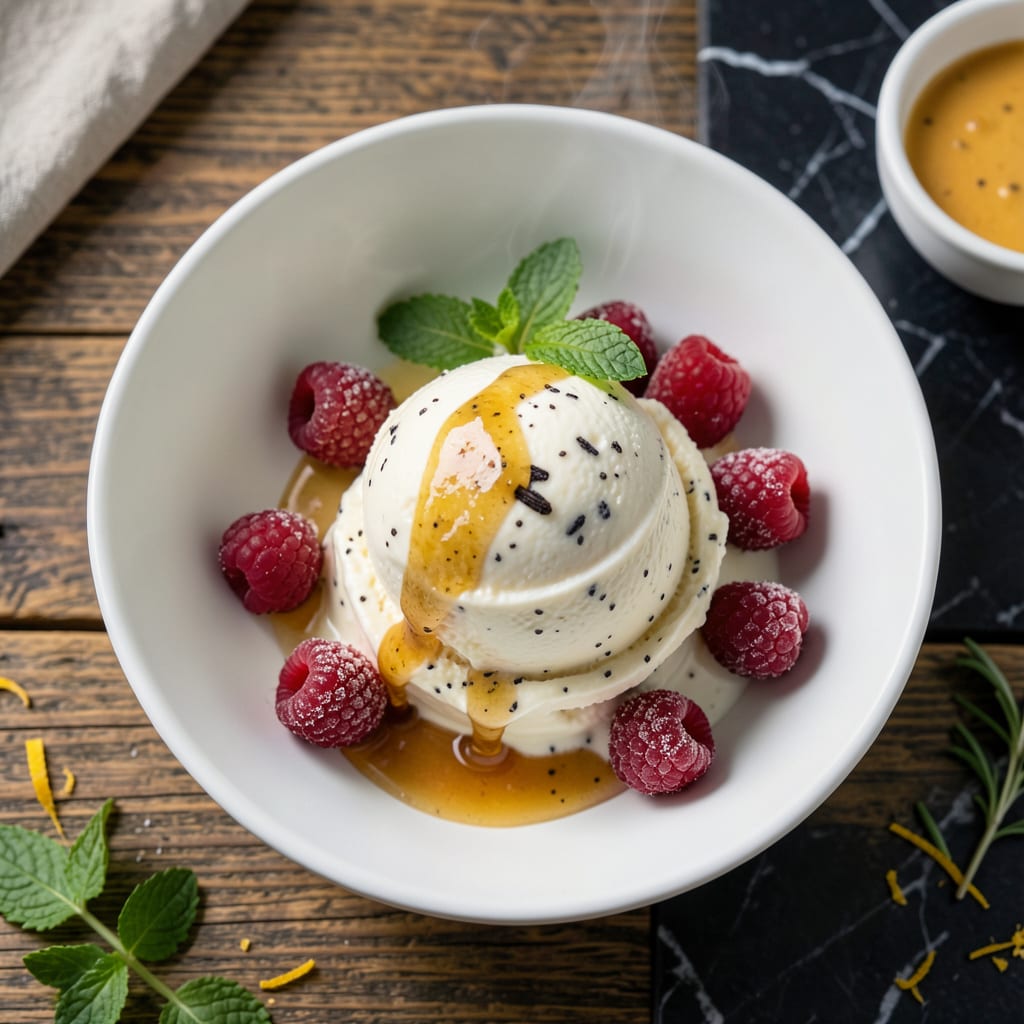
I’ve perfected a version of vanilla ice cream that proves you don’t need heavy cream to achieve that classic velvety texture.
This recipe uses simple ingredient swaps and a precise churning method to deliver smooth results with a fraction of the fat. The flavor remains rich and satisfying, with pure vanilla shining through in every bite.
Ingredients for Low Fat Vanilla Ice Cream
Creamy texture without the guilt. These ingredients make the impossible delicious.
| Ingredient | Amount | Notes |
|---|---|---|
| Whole Milk 🥛 | 2 cups | 2% or whole for creaminess |
| Granulated Sugar 🍚 | ¾ cup | Fine white sugar preferred |
| Nonfat Greek Yogurt 🥛 | 1 cup | Plain, full-fat works too |
| Pure Vanilla Extract 🌿 | 2 tsp | Real vanilla, not imitation |
| Egg Yolks 🥚 | 3 whole | Large eggs, room temperature |
| Cornstarch 🌾 | 1 tbsp | Thickens without cream |
| Salt 🧂 | ¼ tsp | Enhances vanilla flavor |
| Vanilla Bean 🌿 | 1 whole | Split and scraped |
| Light Corn Syrup 🧈 | 2 tbsp | Prevents ice crystals |
| Heavy Cream 🥛 | ¼ cup | Optional for richer texture |
The milk is key here—whole milk gives you that classic richness without the heavy cream. I always use organic 2% from Whole Foods (their store brand is reliable). The Greek yogurt adds body and tang—Fage or Chobani are my go-tos. For the vanilla, Nielsen-Massey extract is worth the splurge, but any pure vanilla works. The egg yolks are non-negotiable for that custard base.
No Greek yogurt? Skyr or strained plain yogurt at one-to-one ratio gets you close. Skip the vanilla bean? Double the extract instead. If you’re avoiding eggs, cornstarch slurry (mix 2 tbsp cornstarch with cold milk) can thicken it up, but the texture won’t be as velvety. The corn syrup is just for smoothness—agave or honey (if not strict vegan) works in a pinch.
This base keeps in an airtight container in the freezer for 1 week—best fresh though. The vanilla bean? Store it in a jar of sugar to make vanilla sugar for later. Always churn right after making the custard for that perfect smooth finish.
Why You’ll Love This Recipe
- One-Bowl Wonder: I love that I can mix everything—milk, sugar, yogurt—in a single bowl and still get that creamy texture.
- Rich Vanilla Punch: The pure vanilla extract shines through, giving it that deep, warm flavor without being heavy.
- Weeknight Treat: Between us, this is my go-to for last-minute dinner parties or a quick dessert fix.
- Leftover Friendly: Honestly, it freezes so well that I always make a double batch for later cravings.
Step-by-Step Instructions for Low Fat Vanilla Ice Cream
This method delivers creamy, rich flavor while keeping the texture smooth and satisfying.
Step 1: Infuse the Milk with Vanilla Bean
In a medium saucepan, heat the 2 cups Whole Milk over medium heat until small bubbles form at the edges—this should take about 3-4 minutes. Meanwhile, split the 1 whole Vanilla Bean lengthwise with a sharp knife and scrape out the seeds.
Add both the seeds and the pod to the warming milk. Reduce heat to low and let it steep for 10 minutes, stirring occasionally. This slow infusion extracts maximum vanilla flavor without scorching the milk. Remove from heat once you see tiny steam wisps and smell the aromatic vanilla.
Step 2: Temper the Egg Yolks and Thicken the Base
In a separate bowl, whisk together the 3 whole Egg Yolks, 0.75 cup Granulated Sugar, 1 tbsp Cornstarch, and 0.25 tsp Salt until the mixture turns pale yellow and slightly thickens—about 2 minutes of vigorous whisking. This creates a stable base that won’t curdle when combined with hot liquid.
Slowly pour about ½ cup of the hot milk mixture into the egg yolk mixture while whisking constantly. Then return the tempered egg mixture to the saucepan with the remaining milk. Cook over medium-low heat, stirring continuously with a wooden spoon, for 5-7 minutes until the mixture thickens enough to coat the back of the spoon.
Step 3: Incorporate Remaining Ingredients
Remove the saucepan from heat and stir in the 1 cup Nonfat Greek Yogurt, 2 tbsp Light Corn Syrup, 2 tsp Pure Vanilla Extract, and 0.25 cup Heavy Cream. The yogurt adds tang and creaminess without extra fat, while the corn syrup prevents ice crystals from forming during freezing.
Strain the mixture through a fine-mesh sieve into a clean bowl to remove the vanilla pod and any cooked egg bits. This ensures an ultra-smooth texture. Press plastic wrap directly onto the surface of the custard to prevent a skin from forming, then chill in the refrigerator for at least 4 hours or overnight.
Step 4: Churn and Freeze to Perfection
Pour the chilled mixture into your ice cream maker and churn according to the manufacturer’s instructions—typically 20-25 minutes. The ice cream is ready when it resembles soft-serve and holds its shape briefly when scooped.
Transfer to a lidded container and freeze for at least 4 hours to firm up completely. For the creamiest texture, let it sit at room temperature for 5-10 minutes before scooping. The final product should be smooth, with a rich vanilla aroma and no icy patches.
Pro Tips For Making Low Fat Vanilla Ice Cream
- Temper the Eggs: Slowly whisk about a cup of the hot milk mixture into the egg yolks before combining everything. I learned this the hard way—scrambled eggs in ice cream are nobody’s idea of a good time.
- Strain the Custard: After cooking, run the custard through a fine-mesh sieve to remove any cooked egg bits. Sounds tedious, but it makes the texture silky smooth—worth the extra minute.
- Chill Thoroughly: Give the custard at least 4 hours in the fridge before churning, or overnight if you can wait. I was skeptical until I tried it—cold custard churns faster and creamier.
- Use Full-Fat Yogurt: Swap nonfat Greek yogurt for 2% if you want a richer texture without going overboard. My first batch with nonfat turned out a little icy, and this small tweak fixed it.
Common Mistakes When Making Perfect Results
Overheating the Milk
Heating the milk too quickly or at too high a temperature can scorch it, giving your ice cream an off flavor. Keep it at a gentle medium heat and watch for those first tiny bubbles at the edges—never let it boil. I learned this the hard way with a burnt batch that tasted like regret. 🔥
Skipping the Tempering
Adding hot milk directly to egg yolks without tempering will curdle them instantly. Always drizzle in that ½ cup of hot milk slowly while whisking constantly. This gradual method prevents scrambled eggs in your custard base.
Under-Chilling the Base
The custard must be completely cold before churning—at least 4 hours in the fridge. Warm mixtures churn poorly and create icy textures. I often chill mine overnight for the best results.
Overfilling the Machine
Your ice cream maker needs room to work its magic. Never exceed the maximum fill line—usually about ¾ full. Overfilling leads to uneven freezing and a messy, sticky situation. 💡
Skipping the Straining
Those little cooked egg bits and vanilla pod pieces might seem harmless, but they create textural issues. Always strain through a fine-mesh sieve for that silky-smooth finish we all want.
Rushing the Freeze
After churning, the ice cream needs at least 4 hours in the freezer to firm up properly. Scooping too early gives you soft, soupy results. Patience pays off with perfect scoops.
Nutrition Facts
Frequently Asked Questions
Can I make this without an ice cream maker?
Yes! Pour the chilled base into a shallow airtight container and freeze. Stir vigorously with a fork every 30 minutes for 3-4 hours to break up ice crystals.
Why use Greek yogurt instead of heavy cream?
Greek yogurt adds thickness and a subtle tang while keeping fat low. It mimics cream’s richness but with protein instead of fat. The result is just as creamy!
How long does homemade low-fat ice cream last?
Store in an airtight container for up to 2 weeks. For best texture, consume within 1 week. Let it sit at room temp for 5-10 minutes before scooping.
Can I use vanilla extract instead of a bean?
Replace 1 vanilla bean with 1 tbsp pure vanilla extract. Add it in Step 3 with the other flavorings. The flavor will be slightly less complex but still delicious.

- 8 Bean Soup Recipe Crock Pot: Hearty Vegetable Medley in One Pot - September 25, 2026
- 4C Bread Crumbs Meatballs Recipe: Crispy Crust and Juicy Centers - September 25, 2026
- 6 Oz Chocolate Chip Cookie Recipe: Perfectly Balanced Crispy Edges and Chewy Hearts - September 25, 2026