
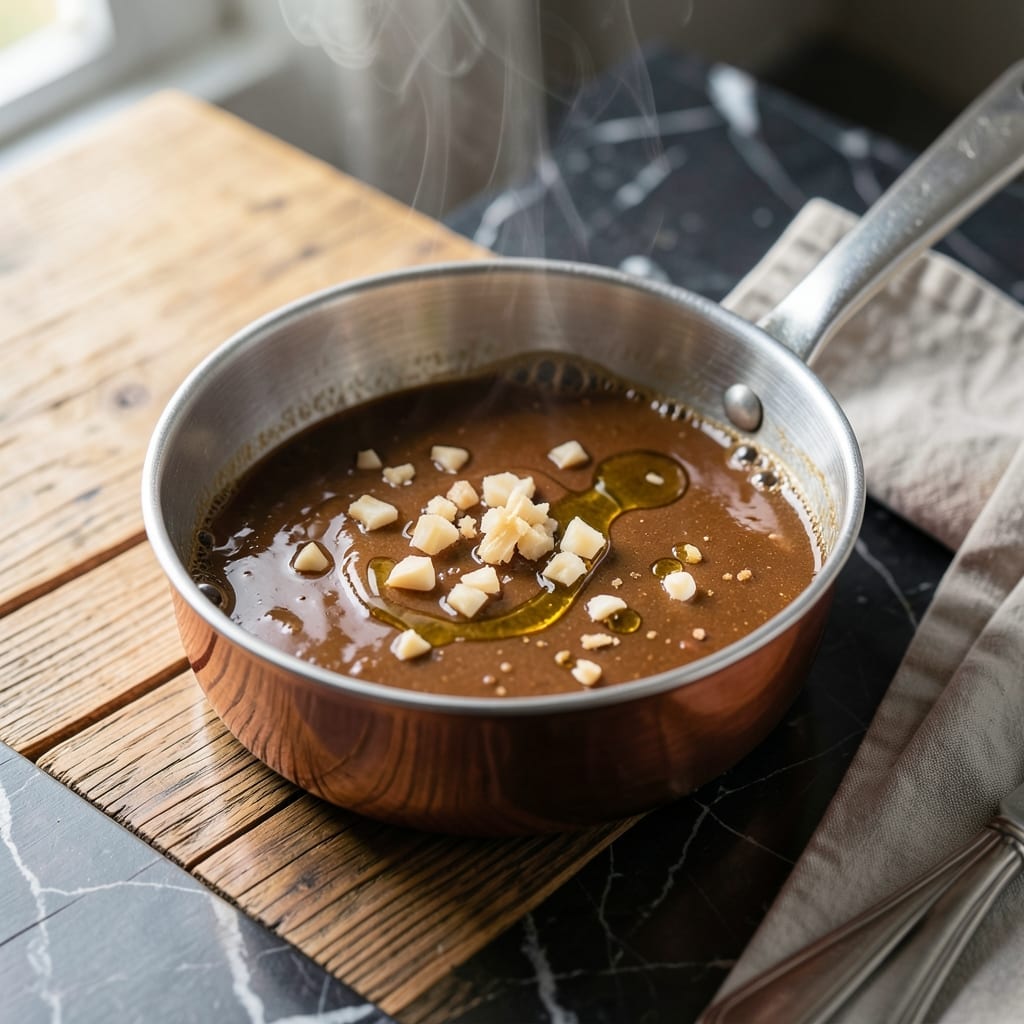
This teriyaki sauce brings the signature sweet-savory flavor of Melting Pot to your kitchen with a perfect balance of soy, ginger, and garlic. No special equipment required—just a saucepan and a few pantry staples.
The secret lies in reducing the sauce to the right consistency, creating a glossy glaze that clings to proteins and vegetables alike. I’ve streamlined the process to ensure restaurant-quality results every time.
Use it as a marinade, dipping sauce, or finishing glaze for meats, seafood, or stir-fries. The versatility makes it a staple for any home cook.
Store in an airtight container for up to two weeks, so it’s always ready when you need a quick flavor boost.
Ingredients for Melting Pot Teriyaki Sauce
A few pantry staples transform into that signature sweet-savory glaze you crave.
| Ingredient | Amount | Notes |
|---|---|---|
| Low-Sodium Soy Sauce 🥢 | ¾ cup | Kikkoman or San-J brand preferred |
| Brown Sugar 🍚 | ½ cup | Packed, light or dark |
| Rice Vinegar 🍶 | ¼ cup | Unseasoned variety |
| Fresh Ginger Root 🌿 | 1 tbsp | Peeled and finely grated |
| Garlic Cloves 🧄 | 3 cloves | Minced or pressed |
| Honey 🍯 | 2 tbsp | Clové or local variety |
| Cornstarch 🌾 | 1 tbsp | For thickening glaze |
| Water 💧 | 2 tbsp | Cold, for slurry |
| Sesame Oil 🫒 | 1 tsp | Toasted for depth |
The soy sauce is the backbone here. Kikkoman or San-J are what most restaurants use—avoid the cheap stuff with additives. Brown sugar adds that caramelized depth, but coconut sugar works if you want a darker color. Fresh ginger is non-negotiable for that zing (the jarred stuff lacks punch). I grab mine from Whole Foods when I want guaranteed freshness, but any supermarket’s produce section is fine.
No rice vinegar? Apple cider vinegar at the same amount works in a pinch, but the flavor shifts slightly. Out of honey? Maple syrup or agave keeps it vegan-friendly. The cornstarch slurry is key for that glossy finish—don’t skip it. If you’re doubling the batch, use 1.5 tbsp cornstarch to maintain the right consistency. Sesame oil adds that final touch, but skip if you’re allergic.
This keeps beautifully in the fridge for up to 2 weeks in an airtight container. The flavors actually deepen over time. Freeze for 3 months if you’ve made a big batch—just thaw overnight before using. Give it a good stir before drizzling since it thickens as it cools.
Why You’ll Love This Recipe
- 5-Minute Magic: Honestly, I can simmer this together faster than it takes to order takeout.
- Sweet & Tangy: The brown sugar caramelizes with the rice vinegar for that sticky, finger-licking glaze.
- Dinner or Dip: I slather it on chicken one night, then serve it as a dumpling dipping sauce the next.
- Pantry Staples: Between us, I always have soy sauce and brown sugar—this costs pennies and keeps for weeks.
Step-by-Step Instructions for Melting Pot Teriyaki Sauce
This simple method yields a glossy, restaurant-quality glaze with perfect balance of sweet and savory.
Step 1: Combine Base Ingredients for the Sauce
In a medium saucepan, combine the 0.75 cup Low-Sodium Soy Sauce, 0.5 cup Brown Sugar, 0.25 cup Rice Vinegar, 2 tbsp Honey, 1 tbsp Fresh Ginger Root, and 3 cloves Garlic Cloves.
I always use finely grated ginger and minced garlic to ensure they distribute evenly and infuse maximum flavor. Stir well to dissolve the brown sugar, which may take a minute or two as it breaks down in the liquid. This forms the aromatic foundation of your teriyaki sauce.
Step 2: Simmer and Infuse the Flavors
Place the saucepan over medium heat and bring the mixture to a gentle simmer. You’ll see small bubbles forming at the edges first—this is your cue to reduce the heat slightly to maintain a steady but gentle simmer.
Let it cook for 5-7 minutes, stirring occasionally, until the ginger and garlic have fully infused their flavors and the mixture begins to thicken slightly. The aroma will be incredible—sweet, tangy, and deeply savory. Watch carefully to prevent boiling over, as the sugar can cause it to foam.
Step 3: Create and Add the Cornstarch Slurry
In a small bowl, whisk together the 1 tbsp Cornstarch and 2 tbsp Water until smooth and free of lumps. This slurry will thicken the sauce to that signature glossy consistency we love in teriyaki.
Slowly pour the slurry into the simmering sauce while stirring constantly. This prevents the cornstarch from clumping as it hits the hot liquid. You’ll notice the sauce begin to thicken almost immediately—this is the slurry working its magic.
Step 4: Thicken and Finish the Sauce
Continue simmering for an additional 2-3 minutes until the sauce has thickened enough to coat the back of a spoon. It should look glossy and slightly syrupy, not thin and watery.
Remove the saucepan from heat and stir in the 1 tsp Sesame Oil. This adds a nutty depth that rounds out the flavor profile beautifully. The sauce is now ready to use, but it will thicken slightly more as it cools.
Step 5: Cool and Store for Later Use
Let the sauce cool to room temperature before transferring it to an airtight container. It will keep in the refrigerator for up to 2 weeks, though I doubt it will last that long.
The sauce will continue to thicken as it cools. If it becomes too thick after refrigeration, simply warm it gently with a splash of water to restore the perfect consistency. Use it as a glaze for meats, a stir-fry sauce, or a marinade for your favorite proteins.
Pro Tips For Making Melting Pot Teriyaki Sauce
- Simmer, Don’t Boil: Keep the heat at a gentle simmer—boiling will make the brown sugar caramelize too fast and turn your teriyaki bitter. I learned this the hard way after ruining two batches that tasted like burnt candy.
- Grate the Ginger: Skip the powder and use freshly grated ginger root for that bright, zingy kick. About 1 tablespoon does the trick, and it actually changes the outcome compared to the dried stuff.
- Bloom the Garlic: Cook the minced garlic in a little oil for 30 seconds before adding liquids—it mellows the sharpness and deepens the flavor. Sounds weird, but it works.
- Balance with Vinegar: If your sauce tastes too sweet, add a splash more rice vinegar to cut through the sugar. My grandmother swore by this, and she was right: it keeps the flavors bright and balanced.
Make-Ahead Tips for This Recipe
Prep Ahead Strategy
I always mix the 0.75 cup Low-Sodium Soy Sauce, 0.5 cup Brown Sugar, and 0.25 cup Rice Vinegar the night before. This lets the flavors start mingling in the fridge. Just cover and refrigerate the mixture overnight. 💡
Ginger-Garlic Prep
Peel and grate the 1 tbsp Fresh Ginger Root and mince the 3 cloves Garlic Cloves up to 2 days ahead. Store them together in a small airtight container. This saves time and keeps the aromatics fresh.
Slurry Shortcut
Pre-mix the 1 tbsp Cornstarch and 2 tbsp Water in a tiny jar and refrigerate. Shake well before adding to the hot sauce—it stays effective for 24 hours if sealed tightly.
Batch Cooking
Double or triple the recipe and store in mason jars. The sauce freezes beautifully for up to 3 months. Thaw overnight in the fridge before using. ✨
Reheating Tip
When ready to use, warm the sauce over low heat with 1-2 tbsp water to restore its glossy consistency. Stir frequently to prevent sticking.
Last-Minute Hack
If you’re really short on time, combine all ingredients except cornstarch in a jar, shake, and refrigerate. Add the slurry fresh when you’re ready to cook.
Nutrition Facts
Frequently Asked Questions
Can I use regular soy sauce instead of low-sodium?
Yes, but reduce the amount by 1-2 tablespoons to avoid an overly salty flavor. The sauce will still be delicious, just more assertive. Taste as you go to adjust seasoning perfectly.
What’s the best way to fix a too-thick sauce?
Simply whisk in 1-2 tablespoons warm water over low heat until it reaches your desired consistency. Avoid adding too much at once—it’s easier to thin gradually than to thicken again.
Is this sauce gluten-free?
No, traditional soy sauce contains wheat. For a gluten-free version, use tamari instead of soy sauce and ensure all other ingredients are certified gluten-free.
How long does homemade teriyaki sauce last?
Stored in an airtight container in the fridge, it stays fresh for up to 2 weeks. For longer storage, freeze for up to 3 months. Thaw overnight before using.

- 6 Oz Chocolate Chip Cookie Recipe: Perfectly Balanced Crispy Edges and Chewy Hearts - September 25, 2026
- 6-Inch Coffee Cake Recipe: Vanilla Bean Swirls and Buttery Streusel Topping - September 25, 2026
- 1 Hour Soup Recipe: Velvety Richness Without the Wait - September 25, 2026