
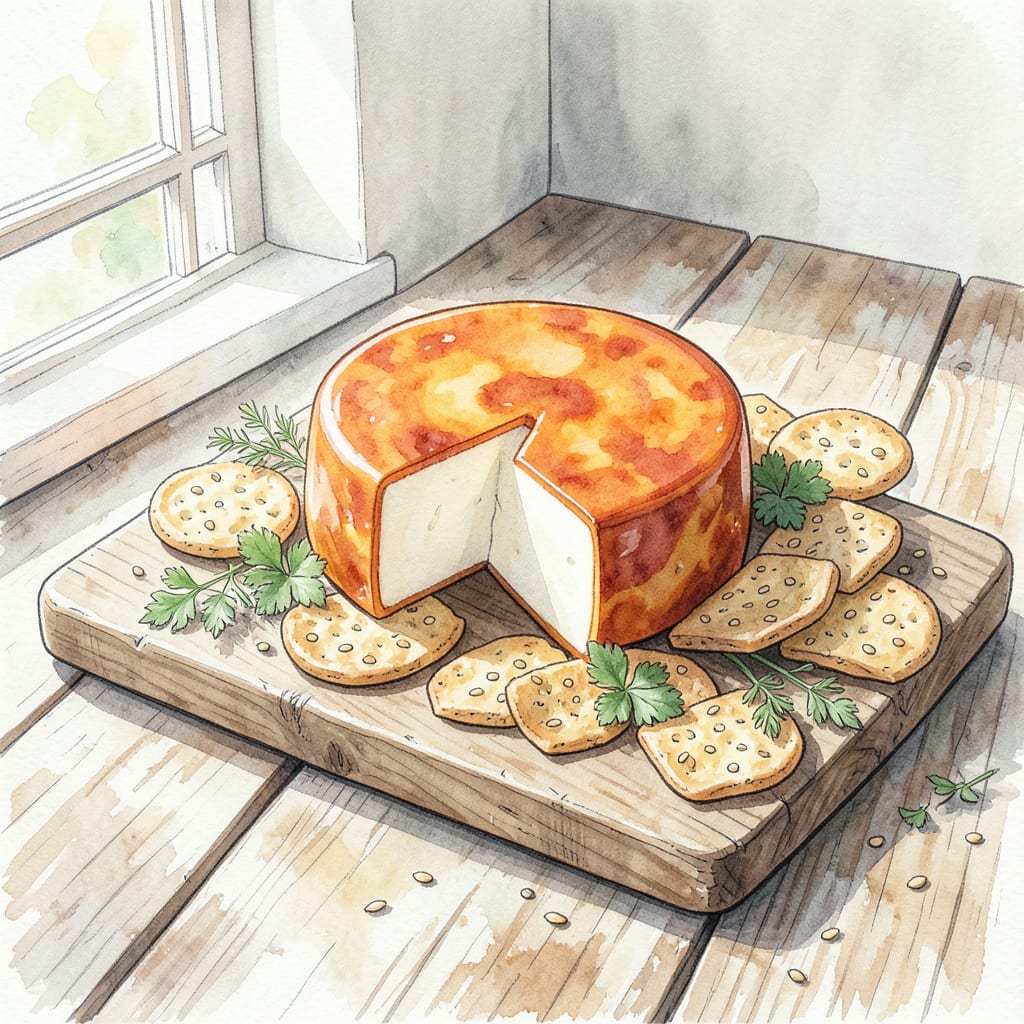
I’ve simplified homemade cheese making with this Monterey Jack recipe that’s perfect for any meal. 🔥 Using just a few ingredients and basic equipment, you’ll achieve restaurant-quality results with a flavor that’s both rich and approachable.
This recipe delivers a tender and creamy cheese that’s ideal for snacking, cooking, or entertaining. With clear instructions and precise temperatures, you’ll be making homemade Monterey Jack like a pro in no time.
Ingredients for Monterey Jack Cheese
Simple, quality ingredients make this Monterey Jack recipe shine with rich flavor.
| Ingredient | Amount | Notes |
|---|---|---|
| Whole Milk 🥛 | 1 gal | High-quality, fresh milk |
| Cheese Salt 🧂 | 2 tbsp | Non-iodized salt preferred |
| Mesophilic Cheese Culture 🧬 | 1 package | Direct-set culture |
| Rennet 🌱 | ¼ tsp | Vegetable rennet |
| Calcium Chloride ⚗️ | 0.125 tsp | Optional, for calcium boost |
| Annatto 🌼 | ¼ tsp | For color, optional |
| Cheese Wax or Vacuum Sealer 🕯️ | 1 piece | For aging and storage |
The milk quality matters here. Whole milk from local dairy gives better flavor than store-brand gallon jugs. If you’re using store-bought, look for Organic Valley or similar high-quality brands. Non-iodized cheese salt is a must—regular salt can affect texture and taste.
No mesophilic culture? You can substitute with buttermilk (1 cup per gallon milk) as a makeshift alternative. For rennet, vegetable rennet is essential for vegetarian diets. If you can’t find annatto, skip it—the cheese will be white, but flavor stays the same. Calcium chloride helps with curd firmness if using store-bought milk.
Wrap your finished cheese in cheese wax or use a vacuum sealer for aging. Store in the fridge at 35-40°F. This cheese ages well for up to 6 months—the longer it ages, the sharper it gets. Keep it away from strong-smelling foods as it absorbs odors easily.
Step-by-Step Instructions for Homemade Monterey Jack Cheese
Follow these detailed steps to create your own delicious Monterey Jack cheese at home.
👨🍳 Step 1: Prepare the Milk and Culture
Begin by heating the 1 gal Whole Milk to 86°F in a large, heavy-bottomed pot. I use a thermometer to ensure precise temperature control, as this is crucial for proper culturing. Once the milk reaches the correct temperature, remove it from the heat and stir in the 1 package Mesophilic Cheese Culture. Allow the mixture to sit undisturbed for 5 minutes to allow the culture to fully hydrate and distribute evenly throughout the milk.
After the 5-minute ripening period, gently stir the milk to distribute the culture evenly. If you’re using 0.25 tsp Annatto for color, now is the time to add it. I like to mix it with a small amount of water first to ensure it disperses properly. Continue to let the milk sit at room temperature for 45 minutes to allow the culture to fully develop. You’ll notice a slight thickening and a tangy aroma developing during this time.
🍳 Step 2: Add Rennet and Coagulate the Milk
Add 0.25 tsp Rennet diluted in ¼ cup of cool, non-chlorinated water to the milk. I gently stir the mixture for about 30 seconds using an up-and-down motion with my spoon to distribute the rennet evenly. Then, I let it sit undisturbed for 30-40 minutes until you see a clean break. A clean break is when the curd splits cleanly when you cut into it with a knife or your finger – this indicates proper coagulation.
During this coagulation period, the milk will transform into a gel-like consistency. You’ll notice whey starting to separate from the curds. If you don’t achieve a clean break, let it sit for another 10-15 minutes and check again. This step is critical for developing the right texture in your final cheese.
🔪 Step 3: Cut and Cook the Curds
Once you have a clean break, cut the curds into ½-inch pieces using a sharp knife or curd cutter. I start by cutting in one direction, then perpendicular to that, creating uniform pieces. Let the curds sit for 5 minutes to firm up slightly after cutting. Then, gently stir them for 10 minutes while gradually increasing the temperature to 100°F. This cooking process helps release more whey and develops the curds’ texture.
During the cooking process, you’ll notice the curds shrinking and becoming firmer. I stir gently and continuously to prevent matting. If the curds seem too soft, continue cooking for another 5-10 minutes until they reach the desired firmness. The goal is to have curds that are firm enough to hold their shape but still yield to pressure.
🥘 Step 4: Drain and Press the Cheese
Line a colander with cheesecloth and place it over a large pot or sink. Carefully pour the curds and whey into the cheesecloth-lined colander. Let the whey drain for 30-40 minutes until most of the liquid has been removed. Then, gather the corners of the cheesecloth and give the curds a gentle squeeze to remove any remaining whey.
Transfer the curds to a cheese mold or a form lined with cheesecloth. I use a gentle pressing motion to shape the cheese into a smooth, even wheel. Apply 10-15 pounds of pressure for 30 minutes to start, then increase to 20-25 pounds for 2 hours. This pressure helps expel any remaining whey and gives the cheese its final shape.
⏰ Step 5: Age the Cheese
Remove the cheese from the press and submerge it in a brine solution made with 2 tbsp Cheese Salt dissolved in 1 gallon of water for 2 hours per pound of cheese. After brining, dry the cheese surface with a clean cloth and let it air-dry at room temperature for 1-2 days until a dry surface, or “rind,” forms.
Finally, age the cheese at 50-55°F with 80-90% humidity for at least 3 weeks, turning it regularly to prevent uneven aging. I use a cheese cave or a temperature-controlled refrigerator for this step. The longer you age it, the sharper the flavor will become. Once aged to your liking, seal the cheese with 1 piece Cheese Wax or Vacuum Sealer to prevent further moisture loss and store it in the refrigerator.
Storing and Reheating This monterey jack cheese
Refrigerator Storage Tips
Store your homemade Monterey Jack cheese in the refrigerator at 35-40°F. Wrap it tightly in plastic wrap or aluminum foil to prevent moisture loss and contamination. For longer storage, consider using a vacuum sealer to remove air and prevent mold growth. 🔥
Freezer Storage Options
You can freeze Monterey Jack cheese for up to 6 months. Grate or slice the cheese before freezing to make it easier to use later. Wrap the grated or sliced cheese in plastic wrap or aluminum foil, then place it in a freezer-safe bag. Label the bag with the date and contents. ❄️
Reheating Techniques
To reheat Monterey Jack cheese, use gentle heat to prevent it from becoming too melted or separated. For grated cheese, sprinkle it on top of dishes and bake in the oven at 350°F until melted and bubbly. For sliced cheese, place it between two slices of bread and grill until golden brown and crispy.
Best Practices for Long-Term Storage
For aging Monterey Jack cheese, maintain a temperature between 50-55°F and humidity at 80-90%. Turn the cheese regularly to prevent uneven aging. You can age it for up to 6 months, which will develop a sharper flavor. Use cheese wax or a vacuum sealer to prevent moisture loss during aging.
Handling and Safety
Always handle your homemade cheese with clean hands and utensils to prevent contamination. Check your cheese regularly for signs of mold or spoilage. If you notice any off smells or visible mold, discard the cheese immediately.
Tips for Maintaining Quality
To maintain the quality of your Monterey Jack cheese, keep it away from strong-smelling foods, as it can absorb odors easily. Use a cheese cave or a temperature-controlled refrigerator for optimal storage conditions. Regularly inspect your cheese for any signs of deterioration. 💡
Nutrition Facts
120kcal

- 8 Bean Soup Recipe Crock Pot: Hearty Vegetable Medley in One Pot - September 25, 2026
- 4C Bread Crumbs Meatballs Recipe: Crispy Crust and Juicy Centers - September 25, 2026
- 6 Oz Chocolate Chip Cookie Recipe: Perfectly Balanced Crispy Edges and Chewy Hearts - September 25, 2026