
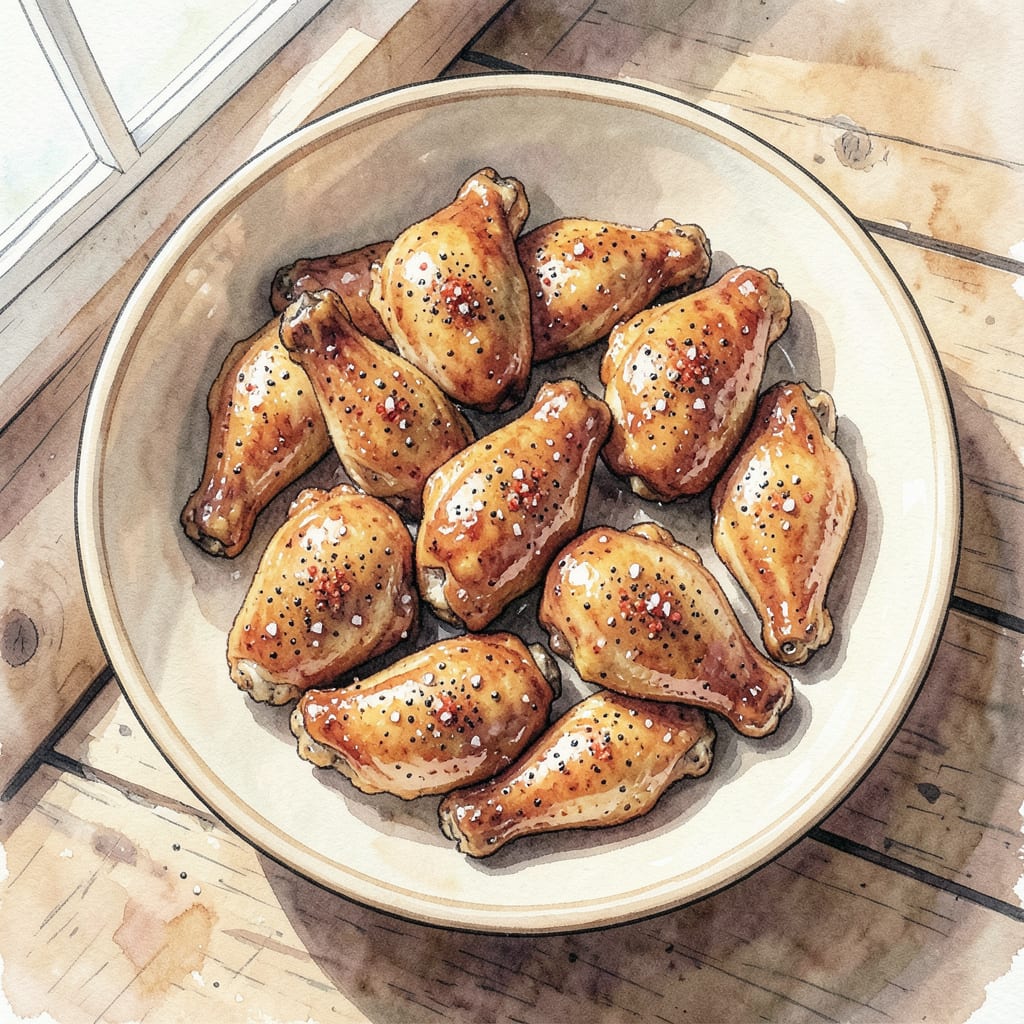
I’ve perfected my naked chicken wings recipe to achieve crispy perfection every time. By baking instead of frying, we eliminate excess grease while maintaining that signature crunch. The secret lies in proper preparation and precise temperature control.
These baked wings come out golden and crispy on the outside, tender on the inside, and packed with flavor. With simple ingredients and straightforward instructions, you’ll achieve perfect results every time. Let’s get started with this game-changing appetizer recipe!
Ingredients for Naked Chicken Wings
Simple ingredients come together for crispy baked perfection in this game-changing appetizer recipe.
| Ingredient | Amount | Notes |
|---|---|---|
| Chicken Wings 🍗 | 2 lb | Fresh or frozen, thawed |
| Baking Powder 🧂 | 2 tbsp | Aluminum-free preferred |
| Kosher Salt 🧂 | 1 tsp | Diamond Crystal recommended |
| Black Pepper 🌶️ | ½ tsp | Freshly ground preferred |
| Garlic Powder 🧄 | 1 tsp | Or 2 cloves minced fresh |
| Paprika 🌿 | 1 tsp | Smoked or sweet variety |
| Cayenne Pepper 🔥 | ¼ tsp | Optional, for heat |
| Olive Oil 🫒 | 2 tbsp | For coating wings |
| Unsalted Butter 🧈 | 4 tbsp | Melted, for serving |
| Hot Sauce 🌶️ | ½ cup | Frank's RedHot or similar |
| Blue Cheese Dressing 🥛 | 1 cup | For serving |
| Celery Sticks 🥗 | 4 whole | For serving |
For the crispiest results, Diamond Crystal kosher salt is essential—other salts vary in density. Fresh or frozen wings work equally well; just ensure they’re fully thawed before baking. I prefer Frank’s RedHot for that authentic buffalo flavor, but any hot sauce will do. If you’re feeling fancy, try adding a sprinkle of blue cheese crumbles on top before serving.
No baking powder? Mix 1 tablespoon cornstarch with 1 tablespoon flour as a substitute. For extra crispy skin, pat wings completely dry before seasoning. If you prefer a milder version, reduce or omit the cayenne pepper. You can also experiment with different seasonings like garlic parmesan or lemon pepper for a unique twist.
These wings keep well in an airtight container for up to 3 days in the fridge. Reheat at 350°F for about 10 minutes to regain crispiness. The blue cheese dressing can be made ahead and stored for 5 days—just give it a good stir before serving.
Step-by-Step Instructions for Crispy Baked Chicken Wings
Follow these precise steps to achieve perfectly crispy baked chicken wings every time.
Step 1: Prepare the Chicken Wings
Start by prepping the 2 lb Chicken Wings. If they’re frozen, make sure they’re completely thawed. Pat them dry with paper towels to remove excess moisture. This step is crucial for achieving crispy skin.
Next, mix together the 2 tbsp Baking Powder, 1 tsp Kosher Salt, 0.5 tsp Black Pepper, 1 tsp Garlic Powder, 1 tsp Paprika, and 0.25 tsp Cayenne Pepper in a bowl. The baking powder is key to getting that crispy exterior, so ensure you’re using aluminum-free.
Step 2: Coat the Chicken Wings
In a large bowl, combine the chicken wings and the dry spice mixture. Toss until the wings are evenly coated. I like to use my hands or a silicone spatula to ensure every wing is fully covered.
Drizzle the 2 tbsp Olive Oil over the wings and toss again to distribute evenly. The oil helps the seasoning stick and promotes browning during baking.
Step 3: Bake to Crispy Perfection
Preheat your oven to 425°F. Line a baking sheet with aluminum foil and place a wire rack on top. Arrange the coated chicken wings on the rack in a single layer, leaving some space between each wing for even cooking.
Bake the wings for 40-45 minutes until they reach an internal temperature of 165°F and the skin is golden brown and crispy. For extra crispiness, you can broil them for an additional 2-3 minutes after baking. Watch closely to prevent burning.
Step 4: Serve with Hot Sauce and Blue Cheese
While the wings are baking, melt the 4 tbsp Unsalted Butter in a small saucepan over low heat or in the microwave. Once the wings are done, transfer them to a large bowl. Pour the melted butter over the wings and toss to coat.
If desired, toss the butter-coated wings in the 0.5 cup Hot Sauce until they’re fully coated. Serve immediately with the 1 cup Blue Cheese Dressing and 4 whole Celery Sticks on the side. The cool, creamy dressing and crunchy celery provide a perfect contrast to the spicy, crispy wings.
Storing and Reheating This Recipe
Refrigerator Storage Tips
Store leftover naked chicken wings in an airtight container within 2 hours of cooking. They’ll keep in the refrigerator for up to 3 days. To maintain crispiness, store them in a single layer on a paper towel-lined plate. ❄️
Freezer Storage Options
For longer storage, freeze wings on a baking sheet in a single layer until solid, then transfer to a freezer-safe bag or container. They’ll keep for up to 3 months. When you’re ready to eat them, there’s no need to thaw before reheating.
Reheating for Maximum Crispiness
The key to restoring crispiness is high heat. Reheat wings in a 400°F oven for 10-12 minutes, or until they reach an internal temperature of 165°F. For extra crunch, broil for an additional 1-2 minutes after baking. Watch closely to prevent burning. 🔥
Alternative Reheating Methods
If you’re short on time, you can reheat wings in an air fryer at 375°F for 5-7 minutes. This method produces excellent results with minimal effort. You can also use a microwave, but be aware that the texture may not be as crispy. Heat on high for 20-30 seconds at a time until hot.
Serving After Reheating
Once reheated, toss wings in your favorite sauce or seasoning blend. I like to serve them with a side of blue cheese dressing and celery sticks for a classic combination. You can also add some ranch dressing or carrot sticks for variety.
Tips for Best Results
To maintain the best texture, avoid overcrowding the container or baking sheet when storing or reheating. This ensures that the wings stay crispy. If you have a lot of wings, consider reheating them in batches.
Nutrition Facts
540kcal

- 8 Bean Soup Recipe Crock Pot: Hearty Vegetable Medley in One Pot - September 25, 2026
- 4C Bread Crumbs Meatballs Recipe: Crispy Crust and Juicy Centers - September 25, 2026
- 6 Oz Chocolate Chip Cookie Recipe: Perfectly Balanced Crispy Edges and Chewy Hearts - September 25, 2026