
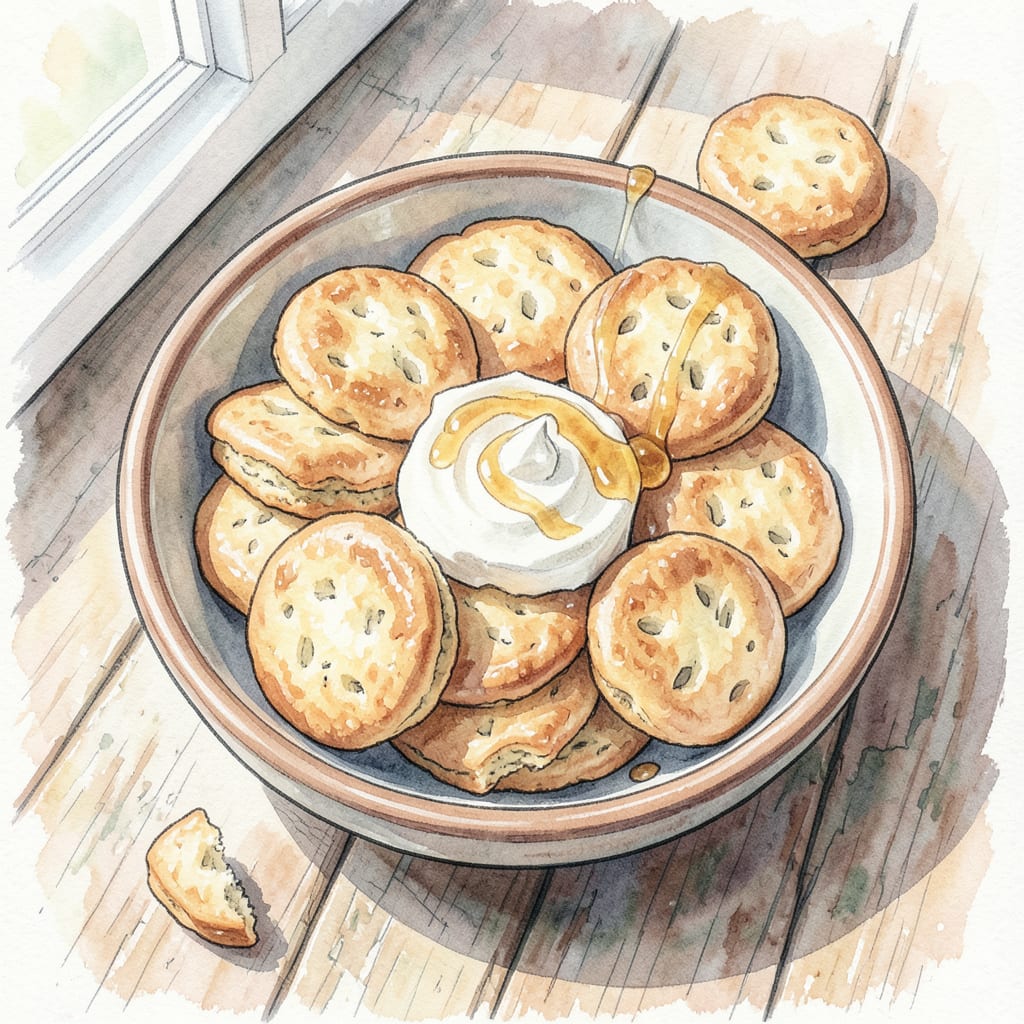
I’ve perfected a Namaste-inspired biscuit recipe that delivers on its promise of flaky layers and rich, buttery goodness. The secret lies in the technique: cold ingredients, gentle dough handling, and precise temperature control.
These biscuits emerge from the oven with golden brown tops and tender, layered interiors. Serve warm with your favorite accompaniments for a truly satisfying treat that’s ready in under 30 minutes. The result is a crispy exterior giving way to tender layers inside.
Ingredients for Namaste Biscuit
These essential ingredients create the flaky, buttery Namaste-inspired biscuits you love.
| Ingredient | Amount | Notes |
|---|---|---|
| All-Purpose Flour 🌾 | 2 ½ cups | Unbleached, all-purpose variety |
| Cold Unsalted Butter 🧈 | 1 cup | Frozen, grated for flaky layers |
| Baking Powder 🧂 | 4 tsp | Fresh, aluminum-free |
| Kosher Salt 🧂 | 1 tsp | Diamond Crystal preferred |
| Granulated Sugar 🍮 | 1 tbsp | Optional, for subtle sweetness |
| Heavy Cream 🥛 | ¾ cup | Chilled, for best results |
| Large Egg 🥚 | 1 whole | Beaten, for egg wash |
For the best results, use high-quality all-purpose flour with a good protein content. King Arthur or Bob’s Red Mill work well. The butter should be frozen solid before grating—this creates those beautiful flaky layers. If you’re feeling fancy, try European-style butter for extra richness.
No heavy cream? Whole milk with a splash of sour cream gets you close. The egg wash makes a difference—don’t skip it. For an extra-flaky texture, try folding the dough multiple times during preparation. If you’re out of granulated sugar, you can omit it or substitute with a bit of honey (though that’ll change the flavor slightly).
These biscuits freeze beautifully before baking. Simply wrap the shaped biscuits tightly and freeze for up to 3 months. To bake, add a few extra minutes to the cooking time straight from frozen. Leftovers keep well in an airtight container at room temperature for 2 days—just refresh in the oven before serving.
Step-by-Step Instructions for Namaste Biscuits
Creating these tender, layered biscuits requires precision and patience, but the result is well worth the effort.
Step 1: Combine Dry Ingredients
In a large mixing bowl, whisk together the 2.5 cups All-Purpose Flour, 4 tsp Baking Powder, 1 tsp Kosher Salt, and 1 tbsp Granulated Sugar. I like to use a balloon whisk for this task as it incorporates air and ensures even distribution of the leavening agents. The mixture should be well combined and free of lumps.
To ensure the dry ingredients are properly incorporated, I gently sift the mixture through a fine-mesh sieve into the bowl. This step is crucial for achieving a uniform texture in the final product. After sifting, I whisk the mixture again to re-combine the ingredients.
Step 2: Incorporate Cold Butter
Add the 1 cup Cold Unsalted Butter to the dry ingredients. Using a pastry blender or your fingertips, work the butter into the flour mixture until it resembles coarse crumbs with some larger pea-sized pieces of butter remaining. I prefer to use a pastry blender for this step as it allows for better control over the butter size. The cold butter is essential for creating the flaky layers that characterize these biscuits.
To achieve the perfect consistency, I gently press the butter pieces between my thumb and forefinger, breaking them into smaller fragments while maintaining some larger pieces. This technique helps to create the desired layering effect in the biscuits. Be careful not to overwork the butter into the flour, as this can lead to a tough biscuit.
Step 3: Add Heavy Cream and Mix
Pour in the 0.75 cup Heavy Cream and gently fold the mixture using a silicone spatula until it forms a shaggy dough. I like to use a gentle cutting motion to combine the cream with the dry ingredients, being careful not to overmix. The dough should still appear somewhat crumbly and not fully cohesive at this stage.
To ensure the dough comes together properly, I gently press the mixture against the sides of the bowl, folding it back onto itself. This helps to distribute the cream evenly throughout the dough. If the mixture seems too dry, I add a small amount of additional cream, but be cautious not to add too much, as this can result in a biscuit that’s more akin to a scone.
Step 4: Laminate the Dough
Turn the dough out onto a lightly floured surface and gently knead it a few times until it comes together. Then, roll the dough out to a thickness of about 1 inch. I like to use a rolling pin with a gentle touch to achieve an even thickness. Fold the dough in half onto itself, rotate it 90 degrees, and roll it out again to the same thickness. This process, known as lamination, is crucial for creating the flaky layers in the biscuits.
To ensure the dough remains cold and the butter doesn’t start to melt, I work quickly and efficiently during the lamination process. If the dough starts to become too warm or sticky, I refrigerate it for 10-15 minutes to firm it up before continuing.
Step 5: Cut and Bake the Biscuits
Use a biscuit cutter or the rim of a glass to cut out the biscuits. I like to cut them as closely together as possible to minimize waste and maximize the number of biscuits. Gather the scraps, re-roll the dough, and cut out additional biscuits. Place the biscuits on a baking sheet lined with parchment paper.
Brush the tops of the biscuits with the beaten 1 whole Large Egg for a golden glaze. Bake in a preheated oven at 400°F for 15-20 minutes, or until the biscuits are golden brown. I like to rotate the baking sheet halfway through the baking time to ensure even browning. The biscuits are done when they are golden and firm to the touch.
Make-Ahead Tips for This namaste biscuit
Preparing Dough Ahead
You can prepare the biscuit dough in advance to save time during busy mornings. Mix the dry ingredients and store them in an airtight container at room temperature for up to 24 hours. The cold butter can be grated and stored separately in the refrigerator.
Refrigerating Shaped Biscuits
After cutting out the biscuits, place them on a baking sheet lined with parchment paper and refrigerate uncovered for up to 2 hours. Once firm, transfer them to an airtight container or freezer bag and store in the refrigerator for up to 24 hours before baking.
Freezing for Later
For longer storage, freeze the shaped biscuits on a baking sheet until solid, then transfer to a freezer-safe bag or container. They can be stored in the freezer for up to 3 months. When ready to bake, simply add a few extra minutes to the baking time straight from frozen. ❄️
Baking from Chilled Dough
If you’ve refrigerated the shaped biscuits, let them sit at room temperature for 5-10 minutes before baking to help them rise properly. Brush with egg wash just before baking as usual. The chilled dough will actually help create a better texture.
Make-Ahead Tips for Best Results
To get the best results from your make-ahead preparation,
Nutrition Facts

- 8 Bean Soup Recipe Crock Pot: Hearty Vegetable Medley in One Pot - September 25, 2026
- 4C Bread Crumbs Meatballs Recipe: Crispy Crust and Juicy Centers - September 25, 2026
- 6 Oz Chocolate Chip Cookie Recipe: Perfectly Balanced Crispy Edges and Chewy Hearts - September 25, 2026