
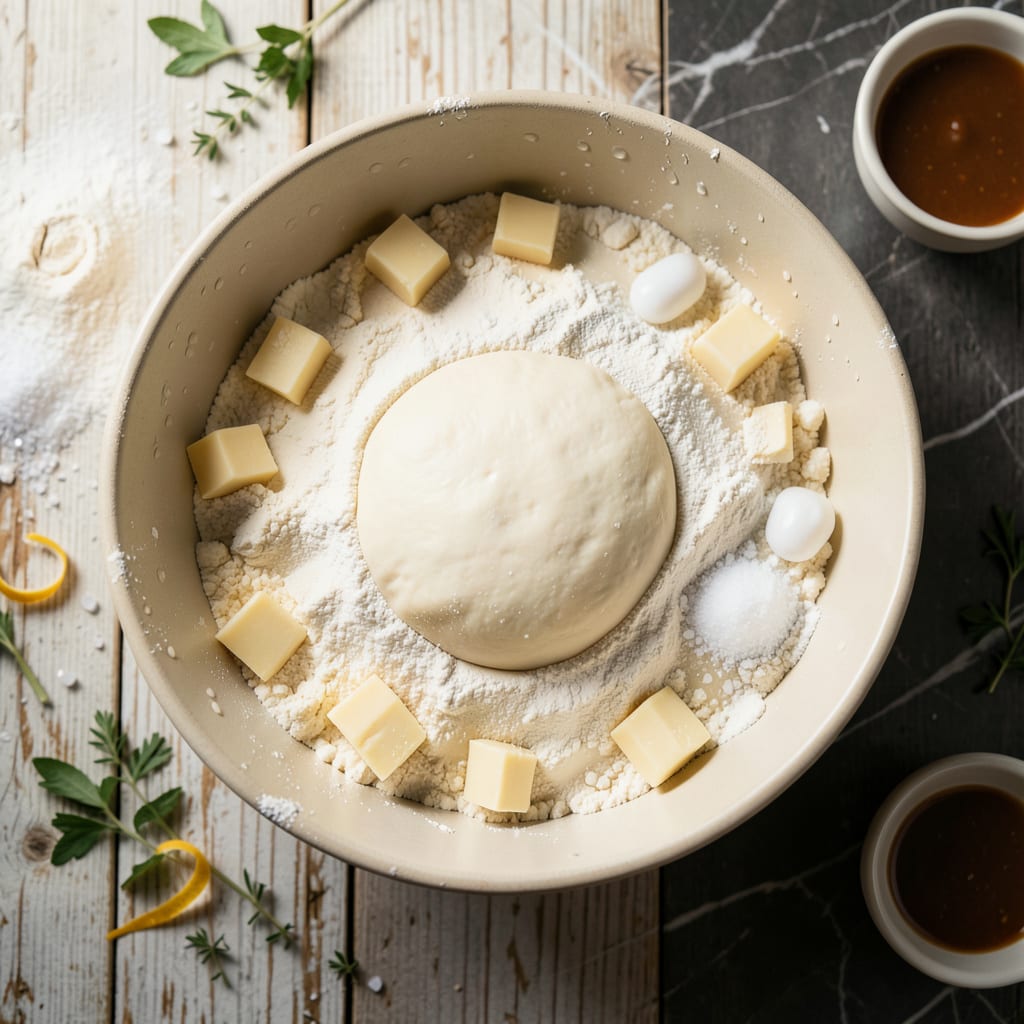
There’s nothing quite like homemade pot pie dough to elevate classic comfort food. This recipe delivers flaky layers and buttery richness that store-bought versions simply can’t match.
With a simple technique and basic ingredients, you’ll create a golden crust that perfectly encases hearty fillings. The result is a nostalgic dish that tastes as good as it feels to make.
Ingredients for Old Fashioned Pot Pie Dough
Basic ingredients transform into flaky, golden crust with buttery layers for classic comfort.
| Ingredient | Amount | Notes |
|---|---|---|
| All-Purpose Flour 🌾 | 2 ½ cups | Sifted for lightness |
| Unsalted Butter 🧈 | 1 cup | Cold, cubed into 1/2-inch pieces |
| Shortening 🧈 | ¼ cup | Cold, for extra flakiness |
| Ice Water 💧 | ½ cup | Plus additional as needed |
| Fine Sea Salt 🧂 | 1 tsp | Diamond Crystal preferred |
| Granulated Sugar 🍚 | 1 tsp | Optional, enhances browning |
| Large Egg 🥚 | 1 whole | For egg wash finish |
| Heavy Cream 🥛 | 2 tbsp | For richer egg wash |
| White Vinegar 🍋 | 1 tsp | Helps tenderize crust |
| Baking Powder 🧂 | ½ tsp | Ensures light texture |
[recipeingredientscaler]
The butter is non-negotiable for that old-fashioned flakiness. European-style butter (like Plugrá or Kerrygold) has higher fat content, which creates more distinct layers. Most grocery stores carry it near the specialty cheeses. For the shortening, Crisco is the gold standard—its melting point is higher than butter’s, which helps create those perfect pockets. Always keep both fats ice-cold until use, or the dough will be tough.
No shortening? Use all butter (1 1/4 cups total) but expect slightly less flakiness. For a dietary swap, coconut oil (solid, not melted) works in a pinch, though the flavor will differ. The vinegar tenderizes the gluten—apple cider vinegar is a fine substitute. If you skip the egg wash, brush with melted butter for browning. The dough freezes beautifully for up to 3 months.
Wrap the dough tightly in plastic wrap and refrigerate for at least 1 hour before rolling. It keeps in the fridge for 2-3 days. For longer storage, freeze in a disk shape (wrapped well) for up to 3 months. Thaw overnight in the fridge before using. Always work on a well-floured surface to prevent sticking.
Why You’ll Love This Recipe
- No-Fuss Mixing: I just dump the flour, butter, shortening, and salt in a bowl—no fancy gadgets, no fuss.
- Buttery Crisp: That combo of butter and shortening gives it a flaky crust with a rich, savory depth.
- Freezer Friendly: I make a double batch, wrap the extra dough, and it keeps for months.
- Budget Stretcher: Flour, butter, and shortening cost pennies but taste like a million bucks.
Step-by-Step Instructions for Old Fashioned Pot Pie Dough
This method ensures flaky, buttery layers every time with professional precision.
Step 1: Combine Dry Ingredients for Foundation
In a large mixing bowl, whisk together the 2.5 cups All-Purpose Flour, 1 tsp Fine Sea Salt, 1 tsp Granulated Sugar, and 0.5 tsp Baking Powder until uniformly distributed. The sugar enhances browning while the baking powder guarantees a light, airy texture.
I sift the flour first to eliminate lumps and create a lighter structure. This step prevents dense dough and ensures even distribution of leavening agents. The salt balances flavors, so don’t omit it.
Step 2: Cut in Cold Fats for Flakiness
Add the 1 cup Unsalted Butter (cubed into 1/2-inch pieces) and 0.25 cup Shortening to the dry ingredients. Using a pastry cutter or your fingertips, work the fats into the flour until the mixture resembles coarse crumbs with pea-sized butter pieces visible.
The shortening adds extra flakiness, while the butter provides rich flavor. Keep the fats cold—warm butter will melt and create a tough crust instead of distinct layers. Work quickly to prevent the butter from softening.
Step 3: Hydrate Dough with Ice Water and Vinegar
Create a well in the center of the mixture and add the 0.5 cup Ice Water and 1 tsp White Vinegar. Using a fork, gently toss the flour mixture with the liquid until it just begins to come together. The vinegar tenderizes the gluten, creating a more forgiving dough.
Add additional ice water 1 tablespoon at a time only if the dough seems too dry. It should hold together when pressed but not be sticky. Overworking at this stage develops gluten, resulting in a tough crust.
Step 4: Chill Dough for Optimal Texture
Turn the dough onto a lightly floured surface and gently shape it into a disk. Wrap it tightly in plastic wrap and refrigerate for at least 1 hour (or up to 2 days). This chilling period allows the gluten to relax and the fats to firm up.
Cold dough is essential for flaky layers—it prevents the butter from melting too soon during baking. If the dough feels warm at any point, return it to the refrigerator for 15-20 minutes before continuing.
Step 5: Prepare Egg Wash for Golden Finish
Before rolling out the dough, whisk together the 1 whole Large Egg and 2 tbsp Heavy Cream until smooth. This rich egg wash will give your pot pie a deep golden-brown finish with a glossy sheen.
Brush the wash evenly over the dough just before baking. The heavy cream adds extra richness and promotes better browning than water alone. For best results, apply a second coat halfway through baking.
Pro Tips For Making Old Fashioned Pot Pie Dough
- Chill the Fat: Keep your butter and shortening ice-cold until the very last moment—I learned this the hard way after my first few pies turned out tough. The colder the fat, the flakier the crust.
- Use Both Fats: Don’t skip the shortening just because butter tastes better. The combo of butter (for flavor) and shortening (for texture) actually changes the outcome.
- Measure Water Right: Ice water should be exactly that—ice cold, and just 1-2 tablespoons at a time. Too much or too warm and your dough will turn gummy before it even hits the oven.
- Rest the Dough: Give it a solid 30 minutes in the fridge after mixing. Sounds weird, but it works—your crust will roll out smoother and hold its shape better.
Wine and Beer Pairings for This Dish
White Wine Pairings
A crisp Chardonnay from Burgundy cuts through the buttery richness beautifully. I prefer unoaked versions with bright acidity to balance the crust’s richness. Look for bottles from Domaine Leflaive or Louis Latour for exceptional quality. 🍷
Red Wine Options
A light-bodied Pinot Noir from Oregon or France complements without overpowering. The earthy notes of Domaine Drouhin or Eyrie Vineyards work wonderfully with the savory filling. Serve slightly chilled for best results.
Beer Pairings
An English-style ESL (Extra Special Bitter) like Fuller’s ESB offers the perfect malty balance. The caramel notes enhance the crust’s buttery flavor while the moderate hop bitterness cleanses your palate between bites. 🍺
Non-Alcoholic Choices
A sparkling apple cider provides refreshing acidity that mirrors wine pairings. I love Downeast Cider House for its authentic, unpasteurized taste. Alternatively, a ginger beer like Fever-Tree adds a spicy kick.
Coffee and Tea
For a cozy pairing, serve with a dark roast coffee or a robust Earl Grey tea. The bitterness of Peet’s Major Dickason’s Blend complements the dish’s richness, while the bergamot in tea adds a citrusy contrast.
Nutrition Facts
Frequently Asked Questions
Why use both butter and shortening?
Butter adds rich flavor while shortening creates extra flakiness. The combo gives you the best of both textures. Shortening has a higher melting point, which helps create those perfect layers.
Can I make this dough ahead?
Wrap the dough tightly and refrigerate for up to 2 days or freeze for 3 months. Thaw overnight in the fridge before using for best results.
How do I prevent a soggy bottom crust?
Pre-bake (blind bake) the bottom crust for 10 minutes before adding filling. Also, brush the crust with a thin layer of beaten egg white before adding wet fillings.
What if my dough cracks when rolling?
Let it warm slightly at room temperature for 5-10 minutes, then try again. If cracks persist, patch with extra dough and press gently to seal.

- 4C Bread Crumbs Meatballs Recipe: Crispy Crust and Juicy Centers - September 25, 2026
- 6 Oz Chocolate Chip Cookie Recipe: Perfectly Balanced Crispy Edges and Chewy Hearts - September 25, 2026
- 6-Inch Coffee Cake Recipe: Vanilla Bean Swirls and Buttery Streusel Topping - September 25, 2026