
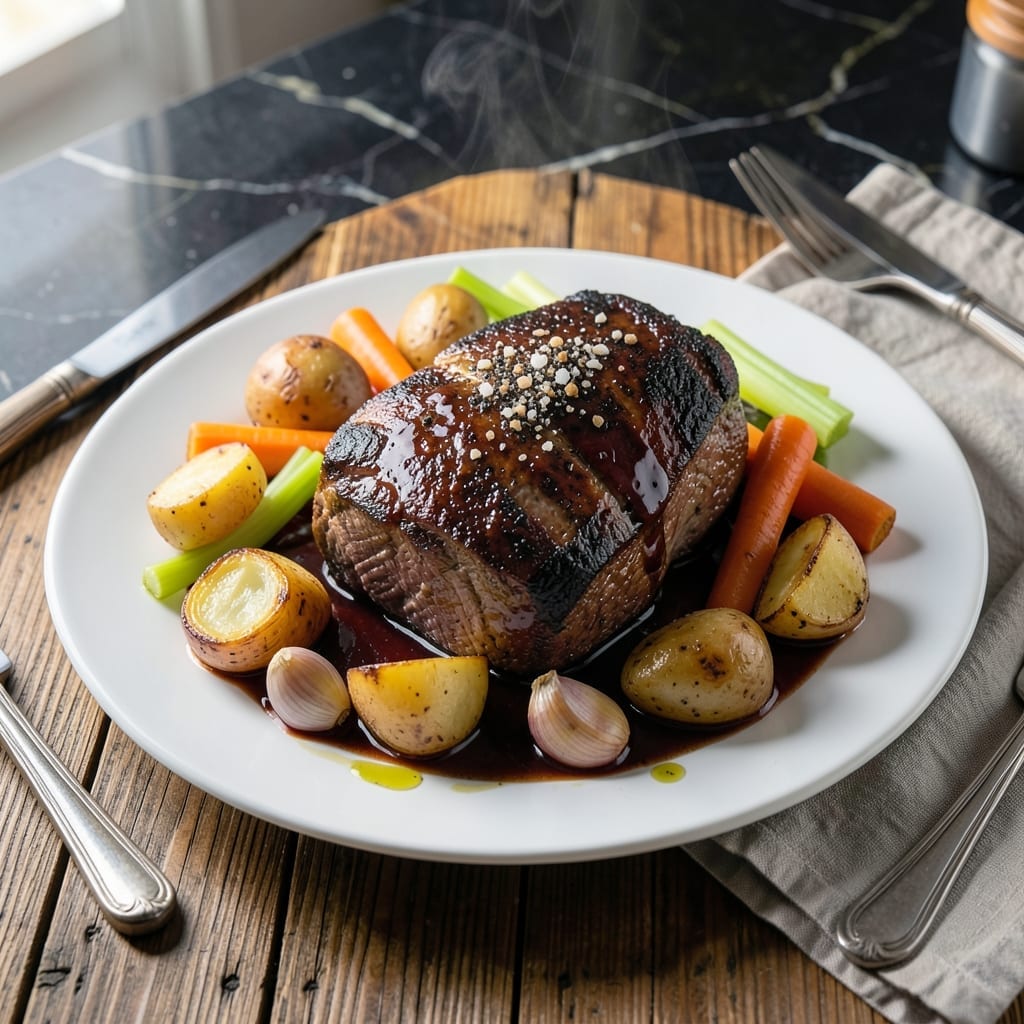
Sunday suppers deserve the comfort of a perfectly cooked pot roast, and an electric roaster makes it effortlessly achievable. This hands-off method ensures tender meat and rich, savory flavors with minimal supervision.
The electric roaster maintains consistent heat, allowing the beef to cook evenly while vegetables absorb the deep, aromatic broth. It’s the ideal way to create a hearty, home-cooked meal without hovering over the stove.
You’ll end up with fall-apart meat, caramelized vegetables, and a rich gravy that ties everything together. The best part? It frees up your oven for other dishes.
Perfect for feeding a crowd or enjoying leftovers all week long.
Ingredients for Pot Roast in Electric Roaster
A few good ingredients, an electric roaster, and time make this Sunday supper unforgettable.
| Ingredient | Amount | Notes |
|---|---|---|
| Beef Chuck Roast 🥩 | 3 ½ lb | Well-marbled, trimmed of excess fat |
| Kosher Salt 🧂 | 1 ½ tbsp | Diamond Crystal preferred |
| Black Pepper 🌶️ | 1 tsp | Freshly ground |
| Garlic Cloves 🧄 | 6 cloves | Smashed, peeled |
| Yellow Onions 🧅 | 2 whole | Large, quartered |
| Carrots 🥕 | 4 whole | Peeled, cut into 3-inch pieces |
| Russet Potatoes 🥔 | 3 whole | Peeled, halved |
| Celery Stalks 🌿 | 3 whole | Cut into 2-inch pieces |
| Beef Broth 💧 | 2 cups | Low-sodium preferred |
| Red Wine 🍷 | 1 cup | Dry variety like Cabernet |
| Tomato Paste 🍅 | 2 tbsp | For depth of flavor |
| Fresh Thyme Sprigs 🌿 | 4 whole | Plus 1 tsp dried if needed |
| Fresh Rosemary Sprigs 🌿 | 2 whole | Plus 1 tsp dried if needed |
| Bay Leaves 🍃 | 2 whole | Dried, for aroma |
| Olive Oil 🫒 | 2 tbsp | For searing roast |
The beef is the star—chuck roast with good marbling ensures that fall-apart texture. I grab mine from Costco for consistent quality, but any supermarket with a solid butcher counter works. Look for a roast that’s at least 3 inches thick so it doesn’t dry out. The Diamond Crystal kosher salt is my go-to (it’s lighter by volume, so you season more evenly without overdoing it).
No red wine? Substitute an extra cup of beef broth with 1 tbsp of balsamic vinegar. Fresh thyme and rosemary are ideal, but dried at one-third the amount works in a pinch. If you’re missing tomato paste, a tablespoon of ketchup (yes, really) adds similar depth. For the potatoes, Yukon Golds hold up better than russets if you prefer a creamier bite.
Leftovers actually improve overnight—3-4 days in the fridge, 3 months in the freezer. Store the roast in its juices to keep it moist. Reheat gently on the stove or in the microwave, adding a splash of broth if needed. Perfect for sandwiches, tacos, or just reheating with the veggies.
Why You’ll Love This Recipe
- Set and Forget: I toss in the chuck roast, onions, garlic, salt, and pepper, then let the electric roaster do all the work—no babysitting required.
- Feeds the Whole Crew: One roast makes enough for Sunday dinner, plus leftovers for sandwiches or tacos the next day.
- Budget Stretch: A tough, affordable cut like chuck becomes pure comfort food with almost no effort. Honestly, it’s my favorite way to save without sacrificing flavor.
Step-by-Step Instructions for Pot Roast in Electric Roaster
Here’s the no-fuss method that delivers tender meat and vegetables with minimal effort.
Step 1: Sear and Season the Beef Chuck Roast
Pat the 3.5 lb Beef Chuck Roast dry with paper towels. This step ensures a proper sear. Heat the 2 tbsp Olive Oil in a large skillet over medium-high heat until shimmering.
Sear the roast on all sides for 3-4 minutes per side until deeply browned. This builds the flavor foundation. Transfer the seared roast to your electric roaster and season generously with the 1.5 tbsp Kosher Salt and 1 tsp Black Pepper, pressing the seasoning into the meat so it adheres well.
Step 2: Build the Aromatic Base
Add the 6 cloves Garlic Cloves, 2 whole Yellow Onions, 4 whole Carrots, 3 whole Russet Potatoes, and 3 whole Celery Stalks to the electric roaster, arranging them around the roast. These vegetables will absorb the meat’s rich flavors as they cook.
Pour in the 2 cups Beef Broth and 1 cup Red Wine, then stir in the 2 tbsp Tomato Paste to dissolve it completely. This liquid combination ensures the roast stays moist and infuses every bite with depth.
Step 3: Add Herbs and Begin Cooking
Tuck the 4 whole Fresh Thyme Sprigs, 2 whole Fresh Rosemary Sprigs, and 2 whole Bay Leaves into the liquid around the roast. These herbs will perfume the dish as it cooks. Cover the electric roaster tightly with its lid.
Set the roaster to 300°F and let it cook undisturbed for 3 hours. The low, steady heat is what transforms this cut into fall-apart tender perfection. You’ll know it’s working when the aroma fills your kitchen.
Step 4: Finish Cooking and Serve
After 3 hours, check the roast. It should pull apart easily with a fork. If it’s not quite there, cook for another 30-60 minutes. The vegetables should be tender, too—a knife should slide in without resistance.
Once done, discard the herb sprigs and bay leaves. Serve the pot roast directly from the electric roaster, spooning the rich, savory juices and vegetables over the top. The meat will be fork-tender, and the broth will have reduced into a light, flavorful au jus that ties everything together perfectly.
Pro Tips For Making Pot Roast In Electric Roaster
- Sear the Roast First: I learned this the hard way—skipping the sear leaves your pot roast lacking depth. A quick brown in a hot pan before the electric roaster adds a rich crust that deepens the flavor.
- Use Chunky Onions: Sounds weird, but it works: cut your yellow onions into large chunks instead of small dice. They hold their shape better during the long cook and add sweetness to the broth.
- Don’t Overcrowd: Resist the urge to pack the roaster with too many vegetables or liquid. The beef needs space to cook evenly, and overcrowding just steams it instead of roasting.
- Rest Before Slicing: Give it a solid 15-20 minutes under foil after cooking. I used to slice right away and wondered why my pot roast was dry—resting lets the juices redistribute.
Wine and Beer Pairings for This pot roast in electric roaster
Bold Red Wines
A Cabernet Sauvignon with its bold tannins and dark fruit notes stands up beautifully to the richness of this dish. I prefer a Napa Valley bottle for its balanced acidity. A Malbec from Argentina offers a fruitier profile with a touch of smokiness. 🍷
Medium-Bodied Reds
For something slightly lighter, try a Merlot with its plush texture and red fruit flavors. A Syrah from the Rhône Valley brings peppery notes that complement the herbs in the roast. Both pair wonderfully without overpowering the meal.
Craft Beer Options
A dark lager like Negra Modelo has the malt backbone to match the beef’s depth. For hop lovers, a brown ale such as Newcastle offers caramel and nutty undertones that harmonize with the caramelized vegetables. 🍺
Non-Alcoholic Choices
For a non-alcoholic pairing, try sparkling apple cider with its crisp effervescence cutting through the richness. A ginger beer like Fever-Tree provides a spicy kick that refreshes the palate between bites.
Nutrition Facts
Frequently Asked Questions
Do I need to sear the roast first?
Yes, searing creates a flavorful crust and deepens the taste. Use medium-high heat for 3-4 minutes per side in a skillet before transferring to the roaster. It’s a quick step that makes a big difference.
Can I use a different cut of beef?
Chuck roast is ideal for its marbling, but brisket or round roast work too. Avoid lean cuts like sirloin—they dry out. Stick to well-marbled, tougher cuts that become tender with slow cooking.
How do I prevent the vegetables from turning mushy?
Cut vegetables into larger pieces (3-inch chunks) and add them after the first 1.5 hours of cooking. This ensures they cook through without breaking apart.
What if my roaster doesn’t have a temperature setting?
Most electric roasters default to 300-325°F. If yours has only “low” and “high,” use low for this recipe. Check doneness with a fork after 3 hours.

- 4C Bread Crumbs Meatballs Recipe: Crispy Crust and Juicy Centers - September 25, 2026
- 6 Oz Chocolate Chip Cookie Recipe: Perfectly Balanced Crispy Edges and Chewy Hearts - September 25, 2026
- 6-Inch Coffee Cake Recipe: Vanilla Bean Swirls and Buttery Streusel Topping - September 25, 2026