
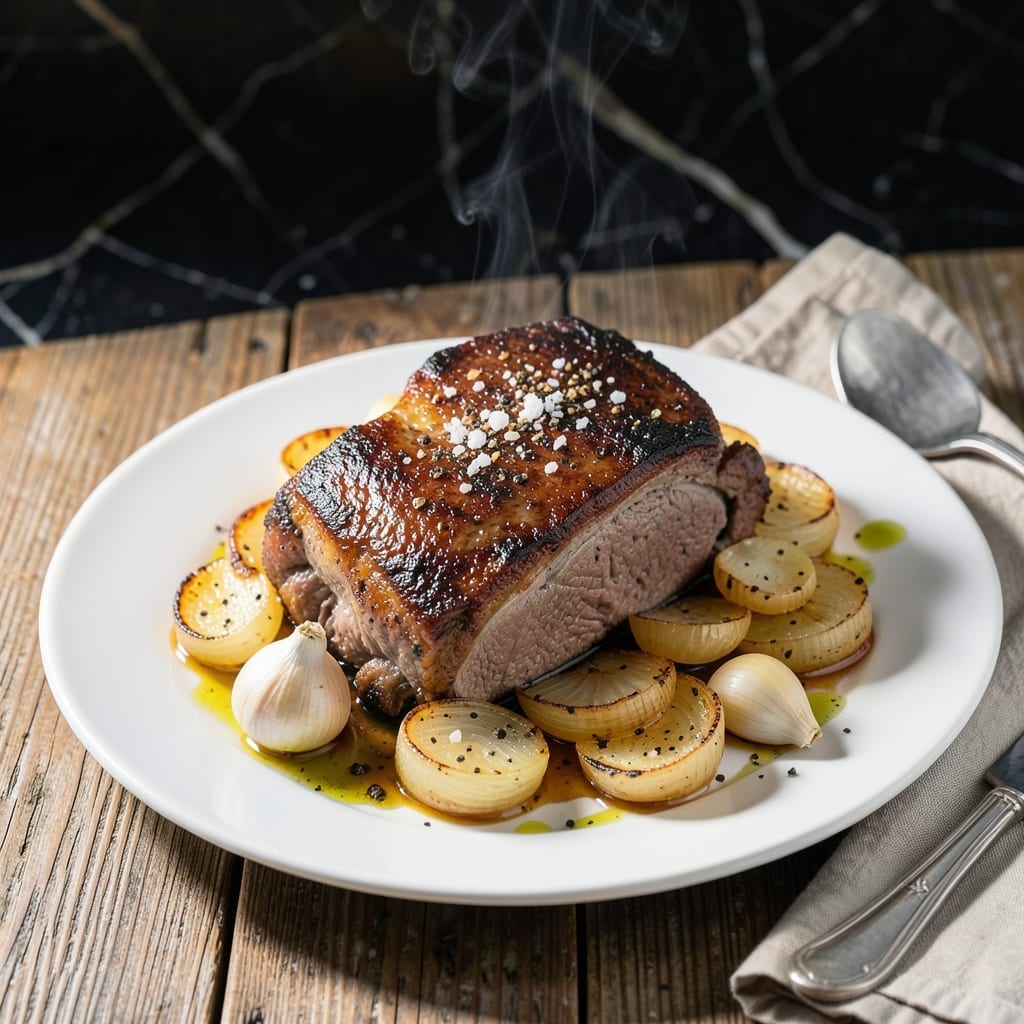
This power pressure cooker pot roast delivers fall-off-the-bone results in just 60 minutes, without sacrificing flavor or tenderness.
The secret lies in the sealed environment, which breaks down tough cuts quickly while locking in moisture. I’ve tested this method extensively and it consistently outperforms traditional slow-cooking.
You’ll get rich, deeply flavored meat with vegetables that absorb every savory note. The pressure cooker transforms an all-day project into a weeknight-ready meal.
Perfect for busy schedules or when you crave comfort food fast. Here’s how to make it.
Ingredients for Pot Roast Power Pressure Cooker
Rich, hearty ingredients for that slow-cooked taste in record time. Comfort in every bite.
| Ingredient | Amount | Notes |
|---|---|---|
| Beef Chuck Roast 🥩 | 3 lb | Boneless, well-marbled preferred |
| Kosher Salt 🧂 | 2 tsp | Diamond Crystal preferred |
| Black Pepper 🌶️ | 1 tsp | Freshly ground preferred |
| Olive Oil 🫒 | 2 tbsp | Divided for searing and sautéing |
| Yellow Onion 🧅 | 1 whole | Large, diced into chunks |
| Garlic Cloves 🧄 | 5 cloves | Minced for depth of flavor |
| Carrots 🥕 | 3 whole | Peeled, cut into chunks |
| Russet Potatoes 🥔 | 1 ½ lb | Peeled, cubed into even pieces |
| Beef Broth 💧 | 2 cups | Low-sodium preferred for control |
| Tomato Paste 🍅 | 2 tbsp | For rich, concentrated flavor |
| Worcestershire Sauce 🍶 | 1 tbsp | Adds umami depth to sauce |
| Dried Thyme 🌿 | 1 tsp | Crushed between fingers |
| Dried Rosemary 🌿 | 1 tsp | Crushed for better distribution |
| Bay Leaf 🍃 | 1 whole | For aromatic infusion |
The beef is everything here. Chuck roast with good marbling breaks down beautifully under pressure—avoid lean cuts like round which stay tough. I source mine from Costco for consistent quality, but any supermarket with a decent butcher counter works. Look for pieces labeled ‘chuck pot roast’ or ‘chuck shoulder.’ The fat cap can stay on; it renders down and adds flavor (you’ll skim it later).
No chuck roast? Brisket or short ribs work too, but adjust cooking time slightly. Out of fresh garlic? Garlic powder at one-third the amount saves the day. Vegetable broth can sub for beef broth, though the flavor won’t be as deep. The Worcestershire sauce is non-negotiable for that signature tang—Annie’s makes a great vegetarian version if needed. Frozen veggies? Skip ‘em—fresh hold up better.
Leftovers taste even better the next day once flavors meld. Store in the fridge for up to 4 days or freeze for 3 months. I like to shred the meat and mix it with the veggies for sandwiches—makes killer leftovers. The broth freezes beautifully for soups later.
Why You’ll Love This Recipe
- Set and Forget: I toss in the chuck roast, onions, and a few seasonings, then let the pressure cooker do all the work.
- Feeds the Crew: I make this for Sunday dinner, then use leftovers for sandwiches or tacos all week.
- Budget Stretcher: A tough cut like chuck roast becomes a star dish, and it’s way cheaper than fancy steaks.
Step-by-Step Instructions for Power Pressure Cooker Pot Roast
This method delivers tender meat and rich flavors in a fraction of the traditional time.
Step 1: Sear the Beef Chuck Roast
Set your power pressure cooker to the sauté function and add 1 tablespoon olive oil. While it heats, pat the 3 lb Beef Chuck Roast dry with paper towels—this ensures a good sear. Season generously with the 2 tsp Kosher Salt and 1 tsp Black Pepper, pressing the spices into the meat so they adhere well.
When the oil is shimmering, add the roast and sear for 4-5 minutes per side until deeply browned. Don’t rush this step; a proper sear builds the foundation for rich, complex flavors in your final dish. You’ll know it’s ready to flip when the meat releases easily from the pot. Remove the roast and set it aside.
Step 2: Sauté the Aromatics
In the same pot, add the remaining 1 tablespoon olive oil if needed. Toss in the 1 whole Yellow Onion (diced into chunks) and cook for 3 minutes until softened and just beginning to caramelize. Add the 5 cloves Garlic Cloves and cook for 30 seconds until fragrant—don’t let it burn.
Next, stir in the 2 tbsp Tomato Paste and cook for 1 minute to deepen its flavor. This step is crucial; cooking the tomato paste removes its raw taste and enhances its natural sweetness. Pour in 1 tablespoon Worcestershire Sauce and stir to combine, scraping up any browned bits from the bottom of the pot.
Step 3: Deglaze and Add Remaining Ingredients
Pour in 2 cups Beef Broth and use a wooden spoon to deglaze the pot, scraping up all the flavorful browned bits. This liquid will become the base of your braising sauce, so make sure to get every last bit. Add the 1 tsp Dried Thyme, 1 tsp Dried Rosemary, and 1 whole Bay Leaf, crushing the dried herbs between your fingers to release their oils.
Return the seared roast to the pot. Add the 3 whole Carrots and 1.5 lb Russet Potatoes (peeled and cut into even chunks) around the meat. The vegetables should be partially submerged in the liquid. Stir gently to combine, ensuring everything is evenly distributed.
Step 4: Pressure Cook to Perfection
Secure the lid on your power pressure cooker and set it to high pressure for 60 minutes. It’ll take about 10-15 minutes to come to pressure before the cooking time begins. Once the timer goes off, allow the pressure to release naturally for 15 minutes, then quick-release any remaining pressure.
Open the lid carefully, tilting it away from you to avoid the steam. The roast should be fork-tender, with meat that easily pulls apart. If it’s not quite there, re-seal the lid and cook for an additional 10-15 minutes on high pressure.
Step 5: Rest and Serve
Transfer the roast to a cutting board and let it rest for 10 minutes before slicing. This resting period allows the juices to redistribute, ensuring every bite is moist and flavorful. Meanwhile, use a slotted spoon to transfer the vegetables to a serving platter.
If you’d like a thicker sauce, switch the pressure cooker back to the sauté function and simmer the remaining liquid for 5-7 minutes until it reduces slightly. Remove the bay leaf before serving. Slice the roast against the grain and arrange it on the platter with the vegetables. Spoon the sauce over the top and serve warm.
Pro Tips For Making Pot Roast Power Pressure Cooker
- Sear the Chuck: I learned this the hard way—skipping the sear gives you a bland, gray roast. Use 2 tablespoons olive oil and get that beef browned on all sides before pressure cooking; it adds depth you can’t fake.
- Cut Onions Large: Sounds weird, but it works: chop the yellow onion into big chunks instead of dice. They hold up better under pressure and won’t turn to mush in the final dish.
- Skip the Cold Meat: Resist the urge to pressure cook straight from the fridge. Let the chuck roast sit out for 20-30 minutes first so it cooks more evenly and doesn’t seize up.
- Use Natural Release: After cooking, let the pressure release naturally for 10 minutes before quick-releasing. This keeps the beef from tightening up and drying out—I was skeptical until I tried it.
Common Mistakes When Making Perfect Results
Overfilling the Cooker
Never exceed the ⅔ max fill line for pressure cooking. With this recipe, the 3 lb Beef Chuck Roast plus vegetables and broth should fit comfortably in a 6-quart cooker. Overfilling risks clogging the pressure valve or uneven cooking. I learned this the hard way with a messy stovetop incident. 💡
Skipping the Sear
The 4-5 minutes per side searing step builds the Maillard reaction flavors that define great pot roast. Without it, your meat will taste steamed rather than rich and complex. Use medium-high heat and don’t move the roast until it releases naturally from the pot.
Using the Wrong Cut
Lean cuts like round roast won’t break down properly under pressure. Stick with well-marbled chuck roast—the fat renders into the sauce and keeps the meat moist. I’ve tried short ribs here too, but they need 75 minutes to get equally tender.
Quick Releasing Too Soon
Always let the pressure release naturally for 15 minutes before quick-releasing. Opening too soon can cause the meat to seize up and toughen. The natural release also lets the vegetables finish cooking through without turning to mush. 🔥
Neglecting the Deglaze
Those browned bits at the bottom are pure flavor. After searing and sautéing, pour in the 2 cups Beef Broth and scrape aggressively with a wooden spoon. Skipping this means losing the fond—the foundation of your sauce’s depth.
Underseasoning
Don’t be shy with the 2 tsp Kosher Salt and 1 tsp Black Pepper. The pressure cooker concentrates flavors, so season as boldly as you would for slow cooking. I often add an extra pinch of salt right before serving.
Nutrition Facts
Frequently Asked Questions
Can I use a different cut of beef?
Stick with well-marbled cuts like chuck roast for best results. Lean cuts won’t break down properly. Short ribs work but need 75 minutes to get tender.
Why is my meat tough after pressure cooking?
Likely from quick-releasing too soon. Always let pressure release naturally for 15 minutes first. Also, ensure you’re using the right cut—chuck roast is ideal.
Can I add frozen vegetables?
Not recommended. Fresh vegetables hold up better under pressure. Frozen can turn mushy and water down the sauce.
How do I thicken the sauce?
After cooking, switch to sauté mode and simmer the liquid for 5-7 minutes. This reduces and thickens it naturally without adding flour.

- 6 Oz Chocolate Chip Cookie Recipe: Perfectly Balanced Crispy Edges and Chewy Hearts - September 25, 2026
- 6-Inch Coffee Cake Recipe: Vanilla Bean Swirls and Buttery Streusel Topping - September 25, 2026
- 1 Hour Soup Recipe: Velvety Richness Without the Wait - September 25, 2026