
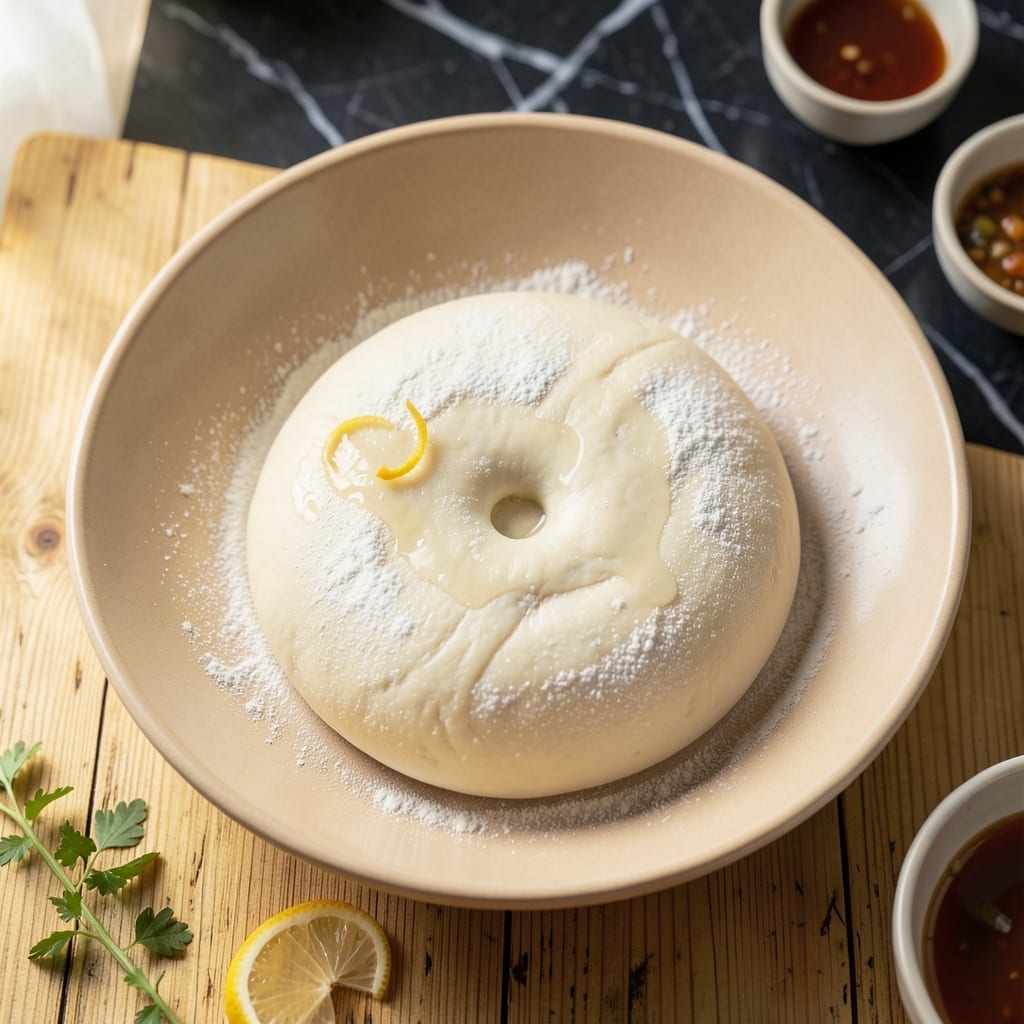
Making homemade pot sticker dough transforms your dumpling game with perfect texture and flavor control. The difference between store-bought wrappers and fresh dough is undeniable.
This simple recipe requires just two ingredients and 10 minutes of active prep. The key is achieving the right consistency—too dry and it cracks, too wet and it sticks.
After kneading and resting, the dough becomes smooth and elastic, ideal for pleating and folding. It rolls out thin enough for delicate wrappers while maintaining strength to hold fillings.
Use it immediately or refrigerate for later. The results will justify the minimal effort every time.
Ingredients for Pot Sticker Dough
Just four ingredients for dough that outperforms any store-bought wrapper every time.
| Ingredient | Amount | Notes |
|---|---|---|
| All-Purpose Flour 🌾 | 2 cups | Plus extra for dusting |
| Hot Water 💧 | ¾ cup | Just boiled, about 180°F |
| Kosher Salt 🧂 | ½ tsp | Diamond Crystal preferred |
| Neutral Oil 🫒 | 1 tbsp | Vegetable or canola oil |
The flour quality matters here. King Arthur or Bob’s Red Mill all-purpose give consistent results—avoid cake flour or bread flour as they alter the texture. Hot water is non-negotiable; cold water won’t activate the gluten properly. I use a thermometer to hit 180°F precisely (just off the boil), but you can eyeball it if the water’s steaming with tiny bubbles.
No all-purpose flour? Bread flour at 80% the amount works but yields a chewier texture. Out of kosher salt? Table salt at half the quantity, but Dissolve it in the water first to distribute evenly. The oil prevents sticking during kneading—melted coconut oil adds a subtle sweetness if you prefer.
Use the dough immediately or wrap tightly in plastic. Stays fresh in the fridge for 24 hours, but best used same-day. Freeze portions for up to 1 month if needed (thaw in the fridge before using).
Why You’ll Love This Recipe
- 5-Minute Mix: I love that I can have fresh dough ready before the filling is even prepped—just flour, hot water, and a pinch of salt.
- Chewy Perfection: The hot water creates that ideal tender-yet-bouncy texture that makes pot stickers irresistible.
- Endless Fillings: Honestly, I’ve used this dough for everything from classic pork to quick veggie versions without a single tweak.
- Pantry Staples: Between us, it’s just four ingredients I always have on hand, so I can make these on a whim.
Step-by-Step Instructions for Pot Sticker Dough
This method ensures consistent, elastic wrappers that hold their shape during folding and cooking.
Step 1: Combine Dry Ingredients and Create a Well
Place the 2 cups All-Purpose Flour in a large mixing bowl. Create a well in the center by pushing the flour toward the edges, leaving a 3-inch diameter depression in the middle. This traditional technique helps evenly distribute liquid throughout the flour.
Add the 0.5 tsp Kosher Salt to the flour and whisk briefly to incorporate. The salt strengthens the gluten network, contributing to the dough’s elasticity and chewiness—essential qualities for pot stickers that hold up to pan-frying and steaming.
Step 2: Incorporate Hot Water Gradually
Slowly pour the 0.75 cup Hot Water into the well while stirring with chopsticks or a wooden spoon. Begin at the center and gradually spiral outward, pulling flour into the liquid until a shaggy dough forms. The water should be just boiled, about 180°F, to properly activate the gluten.
Stop adding water when the mixture comes together in clumps with no dry flour remaining. You may not need all the water—adjust based on your flour’s absorption capacity. The dough should look rough and slightly sticky at this stage, not smooth.
Step 3: Knead to Develop Elasticity
Turn the dough onto a clean surface and knead for 8-10 minutes until silky smooth. I press the heel of my hand into the dough, push forward, then fold it back onto itself in a rhythmic motion. The dough will initially be sticky but becomes more manageable as gluten develops.
You’ll know it’s ready when it springs back immediately when poked and has a satiny sheen. This extensive kneading creates the strong gluten structure that gives pot stickers their characteristic chew and allows the wrappers to stretch thin without tearing during folding.
Step 4: Rest and Relax the Gluten
Shape the dough into a ball, place it in a lightly oiled bowl, and cover with a damp towel. Let it rest at room temperature for 30 minutes. This resting period allows the gluten strands to relax, making the dough easier to roll out and preventing it from shrinking back during shaping.
During this time, the dough will also absorb any remaining moisture, resulting in a more uniform texture. The surface should appear smooth and slightly tacky but not sticky after resting.
Step 5: Divide and Shape for Filling
After resting, divide the dough into 4 equal portions (about 140g each for this quantity). Roll each portion into a 1-inch thick log, then cut into 1-inch pieces. Shape each piece into a ball, then flatten slightly with your palm.
Dust the pieces with additional all-purpose flour to prevent sticking as you work. The dough is now ready to be rolled into thin circles for filling. Each wrapper should roll out to about 3-4 inches in diameter for standard pot stickers, with slightly thicker edges to ensure they hold their shape during cooking.
Pro Tips For Making Pot Sticker Dough
- Use Boiling Water: Pour just-boiled water over the flour—this gives the dough its signature chewy texture. I learned this the hard way when my first batch turned out gummy from lukewarm water.
- Knead Long Enough: Work the dough for a full 5-7 minutes until smooth, even if your arms get tired. After burning through a few under-kneaded batches, I realized this is what prevents cracking when rolling.
- Skip Cold Water: Resist the urge to use cold water for the dough—it makes the gluten too tight and the wrappers brittle. Hot water relaxes the gluten for that perfect stretchy consistency.
- Rest the Dough: Let the dough rest for at least 30 minutes under a damp towel. My grandmother swore by this, and she was right: it makes rolling out the wrappers effortless.
Storing and Reheating pot sticker dough
Refrigerator Storage
After making your dough, wrap it tightly in plastic wrap or place in an airtight container. It stays fresh in the fridge at 40°F or below for up to 24 hours. I find it’s best to use it same-day for optimal texture, but it works in a pinch. ❄️
Freezer Storage
For longer storage, freeze portions wrapped in plastic and placed in a freezer bag. It keeps well for up to 1 month without losing quality. Thaw overnight in the fridge before rolling out—never microwave, as this can dry it out.
Room Temperature Rest
If the dough has been refrigerated, let it sit at room temperature for 30 minutes before rolling. This relaxes the gluten, making it easier to work with. Cold dough resists stretching and may crack during shaping.
Reheating Uncooked Dough
Uncooked dough doesn’t need reheating, but if it’s too cold to handle, a brief 10-second microwave burst can soften it. Avoid overheating, as this can start cooking the dough prematurely. 🔥
Storing Filled Wrappers
If you’ve already filled and shaped your pot stickers, place them on a floured tray, cover with a damp towel, and refrigerate for up to 4 hours before cooking. For freezing, arrange in a single layer, freeze solid, then transfer to a bag.
Reviving Dry Dough
If your dough dries out slightly, sprinkle 1-2 tsp water and knead briefly to restore elasticity. Too much water makes it sticky, so add sparingly. This trick saves dough that’s been left uncovered too long.
Nutrition Facts
Frequently Asked Questions
Can I use cold water instead of hot?
No, hot water at 180°F is essential for activating the gluten properly. Cold water won’t create the same elastic texture.
Why does my dough crack when rolling?
This usually means it’s too dry or didn’t rest enough. Cover and let rest another 15 minutes, or add 1 tsp water and knead briefly.
How thin should I roll the wrappers?
Aim for 1/16-inch thickness in the center, slightly thicker at the edges. This ensures they hold fillings while cooking crisply.
Can I make this dough in a stand mixer?
Yes! Use the dough hook on low speed for 6-8 minutes. The dough should pull away from the bowl and be smooth.

- 6 Oz Chocolate Chip Cookie Recipe: Perfectly Balanced Crispy Edges and Chewy Hearts - September 25, 2026
- 6-Inch Coffee Cake Recipe: Vanilla Bean Swirls and Buttery Streusel Topping - September 25, 2026
- 1 Hour Soup Recipe: Velvety Richness Without the Wait - September 25, 2026