
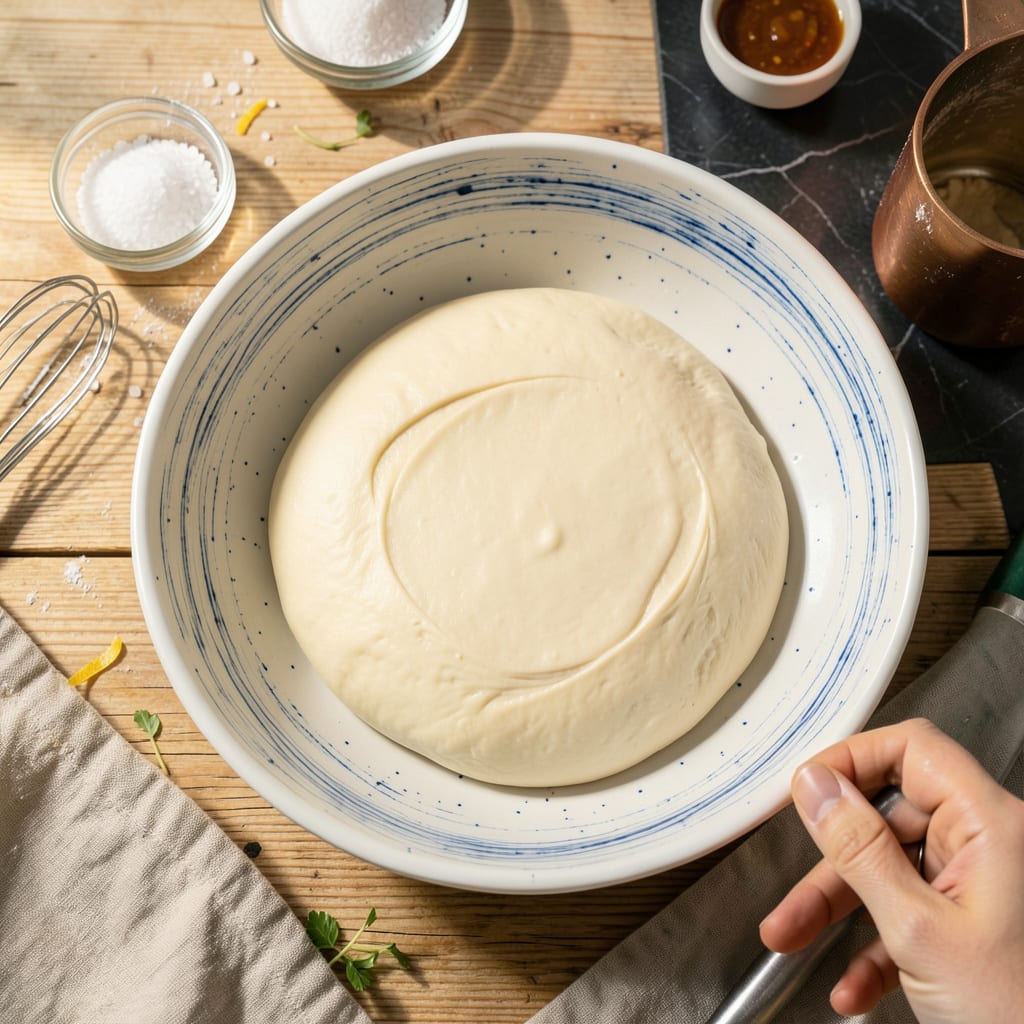
Creating homemade potsticker wrappers transforms your dumpling game from good to exceptional. This recipe delivers thin, elastic dough that holds fillings perfectly without tearing—a quality store-bought versions rarely match. The secret lies in precise flour-to-water ratios and proper resting time, which develops the gluten for that ideal chewy texture.
With just two ingredients and minimal equipment, you’ll master wrappers that work for potstickers, gyoza, or wontons. The dough rolls out smoothly to paper-thin consistency while maintaining enough strength to pleat beautifully. Whether you’re making a small batch or prepping for a crowd, this method ensures consistent results every time.
Ingredients for Potsticker Wrappers
Three fundamental ingredients yield professional-quality wrappers with superior texture and elasticity for perfect dumpling construction.
| Ingredient | Amount | Notes |
|---|---|---|
| All-Purpose Flour 🌾 | 2 cups | Bleached or unbleached, sifted |
| Boiling Water 💧 | ¾ cup | Freshly boiled, measured precisely |
| Fine Sea Salt 🧂 | ½ tsp | Optional, for flavor enhancement |
[recipeingredientscaler]
The flour quality directly impacts dough performance. King Arthur All-Purpose provides consistent protein content (11.7%) for optimal gluten development. For professional results, weight measurement (250g per 2 cups) ensures precision—volume measurements can vary by 20% based on flour packing. The water must reach a full rolling boil to properly gelatinize starches, creating the signature chewy texture. Use filtered water if your tap water has strong mineral content that could affect dough color or flavor.
While the classic recipe requires only flour and water, adding 1/4 tsp baking soda to the boiling water increases alkalinity, enhancing wrapper elasticity (common in commercial production). For gluten-free versions, a 1:1 blend of rice flour and tapioca starch works, though the texture differs. The salt is technically optional but recommended—Diamond Crystal kosher salt dissolves most evenly. Avoid whole wheat flour as its bran particles disrupt the smooth rolling required for thin wrappers.
Rest the dough 30 minutes minimum (up to 2 hours) covered with damp towel to prevent drying. Store unused wrappers between layers of parchment in airtight container—3 days refrigerated or 1 month frozen. For freezing, dust with cornstarch before stacking to prevent sticking. Thaw frozen wrappers at room temperature 15 minutes before using to restore flexibility.
Why You’ll Love This Recipe
- No Kneading Required: Honestly, the first time I made these, I couldn’t believe how simple it was—just pour boiling water into flour, stir, and rest. No sticky dough clinging to my hands, no countertop covered in flour dust. It’s the kind of recipe that makes you wonder why you ever bought store wrappers.
- That Chewy Bite: Here’s what sold me—the texture. The boiling water trick gives these wrappers a slight chew that’s exactly what potstickers need, not too thick or gummy. Paired with a crispy sear? That contrast is what keeps me making batch after batch.
- Freezer-Friendly Magic: I double the recipe every time because these freeze like a dream. Stack them with parchment, toss in a bag, and boom—homemade dumplings are always 10 minutes away. (Yes, even on a Tuesday night when takeout sounds tempting.)
- Pennies Per Wrapper: Between us, a bag of store-bought wrappers costs more than the flour and salt for four batches of these. And the flavor? No comparison. My grocery budget thanks me every time I skip the Asian aisle and just mix this up instead.
Step-by-Step Instructions for Potsticker Wrappers
Creating perfect homemade wrappers requires precision and attention to dough texture.
Step 1: Prepare the Dough Mixture
In a large mixing bowl, combine the 2 cups All-Purpose Flour and 0.5 tsp Fine Sea Salt. Use a whisk to distribute the salt evenly throughout the flour. This ensures consistent seasoning in every wrapper. The salt enhances flavor but can be omitted if you prefer neutral-tasting wrappers for versatile fillings.
Create a well in the center of the flour mixture. This traditional technique helps contain the liquid when you begin combining the ingredients. The well should be wide enough to hold all the 0.75 cup Boiling Water without spilling over the edges of the flour.
Step 2: Incorporate the Boiling Water
Pour the 0.75 cup Boiling Water directly into the well you’ve created. Immediately begin stirring with chopsticks or a wooden spoon, working from the center outward. The boiling water will partially cook the flour, creating a dough that’s simultaneously tender and elastic.
Continue mixing until the dough forms shaggy clumps and the bowl is mostly clean. You’ll notice the dough transforms from a sticky mass to a more cohesive ball as the flour hydrates. This process should take about 1-2 minutes of continuous stirring. The dough will be hot initially—this is normal and indicates proper gluten development.
Step 3: Knead to Develop Elasticity
Turn the dough onto a lightly floured surface and knead for 8-10 minutes until smooth and elastic. The dough should start out rough and sticky but will gradually become silky as you work it. Use the heel of your hand to push the dough away, then fold it back over itself in a rhythmic motion.
You’ll know the dough is properly kneaded when it springs back immediately when poked and has a smooth, almost glossy surface. If the dough feels too sticky, resist the temptation to add more flour—instead, lightly oil your hands and continue kneading. The finished dough should be firm but pliable, similar in texture to playdough.
Step 4: Rest and Portion the Dough
Wrap the kneaded dough in plastic wrap and let it rest at room temperature for 30 minutes. This resting period allows the gluten to relax, making the dough easier to roll thin without springing back. The dough will also become more extensible, which is crucial for achieving those paper-thin wrappers.
After resting, divide the dough into 4 equal portions (about 120g each for standard 3-inch wrappers). Roll each portion into a 1-inch diameter log. Cut each log into 8 equal pieces, giving you 32 pieces total—enough for 4 servings of potstickers with 8 wrappers each. Keep the dough pieces covered with a damp towel to prevent drying as you work.
Step 5: Roll and Shape the Wrappers
Working with one piece at a time, flatten it slightly with your palm, then roll it out on a lightly floured surface to a 3-inch diameter circle, about 1/16-inch thick. The edges should be slightly thinner than the center to ensure even cooking. Use a small rolling pin for better control over the thinness.
As you roll each wrapper, stack them between sheets of parchment paper to prevent sticking. The finished wrappers should be translucent enough to see your hand through when held up to light, yet sturdy enough to hold fillings without tearing. Use immediately or refrigerate for up to 24 hours in an airtight container with parchment between layers.
Regional Styles of These Flavors
Northern Chinese Style
In Northern China, potsticker wrappers tend to be slightly thicker—about 1/8-inch—to withstand pan-frying in generous amounts of oil. The dough often includes a touch of alkaline water (kan sui) for extra chewiness. I learned this technique from a Beijing street vendor who swore by 1 tsp lye water mixed into the boiling water. 🌾
These wrappers create that signature crispy bottom while maintaining a tender top. The larger size (about 3.5 inches in diameter) accommodates heartier fillings like pork and napa cabbage. Roll them slightly thicker at the edges to prevent filling leakage during cooking.
Cantonese Tradition
Southern Chinese versions prioritize delicate, almost translucent wrappers made with low-protein flour (around 8-9% protein content). The dough uses warm water (180°F) instead of boiling to create a more tender bite. I use Hong Kong Flour brand for authentic results.
These wrappers are ideal for steamed dumplings and require precise rolling—aim for 1/16-inch thickness throughout. The thinner texture allows for more intricate pleating patterns, which is essential for presentation in Cantonese cuisine.
Japanese Gyoza
Japanese gyoza wrappers are thinner than Chinese versions but slightly sturdier to hold the juicy fillings. The dough typically includes 1 tsp sugar in the water, which caramelizes beautifully when pan-fried. I’ve found Nisshin brand flour produces the perfect balance of elasticity and crispness.
Roll these to exactly 3 inches in diameter with edges slightly thinner than the center. This creates the ideal ratio of wrapper to filling that Japanese gyoza are known for, with that perfect crispy bottom and tender top. 🥟
Korean Mandu
Korean mandu wrappers are the most versatile—slightly thicker at 1/8-inch to accommodate various cooking methods (steaming, frying, or boiling). The dough often includes 1 tbsp potato starch for extra flexibility. I learned this trick from my Korean aunt who makes hundreds for family gatherings.
These wrappers can be made larger (up to 4 inches) for hearty fillings like kimchi and beef. The potato starch helps them hold up to freezing and reheating better than other styles, making them perfect for meal prep.
Shanghai Soup Dumplings
For xiao long bao, the wrappers must be exceptionally thin yet strong enough to hold hot broth. The dough uses hot water (190°F) and requires 15 minutes of resting time. I use a 1:1 ratio of bread flour to cake flour for the perfect balance of strength and tenderness.
Roll these to 3.5 inches but keep them slightly thicker in the center to prevent broth leakage. The high hydration dough (about 45%) creates the signature gelatinous texture that’s essential for soup dumplings.
Modern Fusion
For creative twists, I’ve experimented with adding 1 tbsp matcha powder for green wrappers or 1 tsp turmeric for golden ones. These colored wrappers add visual appeal while maintaining the classic texture. The key is to adjust liquid slightly—add 1-2 tsp extra water for dry additives like matcha.
These fusion wrappers work beautifully with non-traditional fillings like Thai curry or Mexican-inspired combinations. Just maintain the 1/16-inch thickness for proper cooking and texture balance. ✨
Nutrition Facts
Frequently Asked Questions
Why use boiling water instead of cold?
The boiling water partially cooks the flour, creating a dough that’s both tender and elastic. This technique, called “tang mian,” develops gluten differently than cold water, resulting in wrappers that stretch without tearing. The heat also helps eliminate raw flour taste.
Can I make these without a rolling pin?
Use a smooth, flat-bottomed wine bottle or glass as a substitute. For even thinner wrappers, try the “palm press” method: flatten each dough ball between your palms, then stretch gently with your fingers. The key is maintaining 1/16-inch thickness for even cooking.
How do I prevent wrappers from sticking together?
Dust each wrapper generously with cornstarch or potato starch before stacking. Store between sheets of parchment paper in an airtight container. For freezing, place wrappers on a tray until solid, then transfer to bags – this prevents moisture buildup that causes sticking.
What’s the ideal wrapper-to-filling ratio?
Use about 1 tbsp filling per 3-inch wrapper. Overfilling causes tearing during pleating, while underfilling makes folding difficult. For beginners, start with slightly less filling until you master the pleating technique. The wrapper edges should meet comfortably without stretching.

- 8 Bean Soup Recipe Crock Pot: Hearty Vegetable Medley in One Pot - September 25, 2026
- 4C Bread Crumbs Meatballs Recipe: Crispy Crust and Juicy Centers - September 25, 2026
- 6 Oz Chocolate Chip Cookie Recipe: Perfectly Balanced Crispy Edges and Chewy Hearts - September 25, 2026