
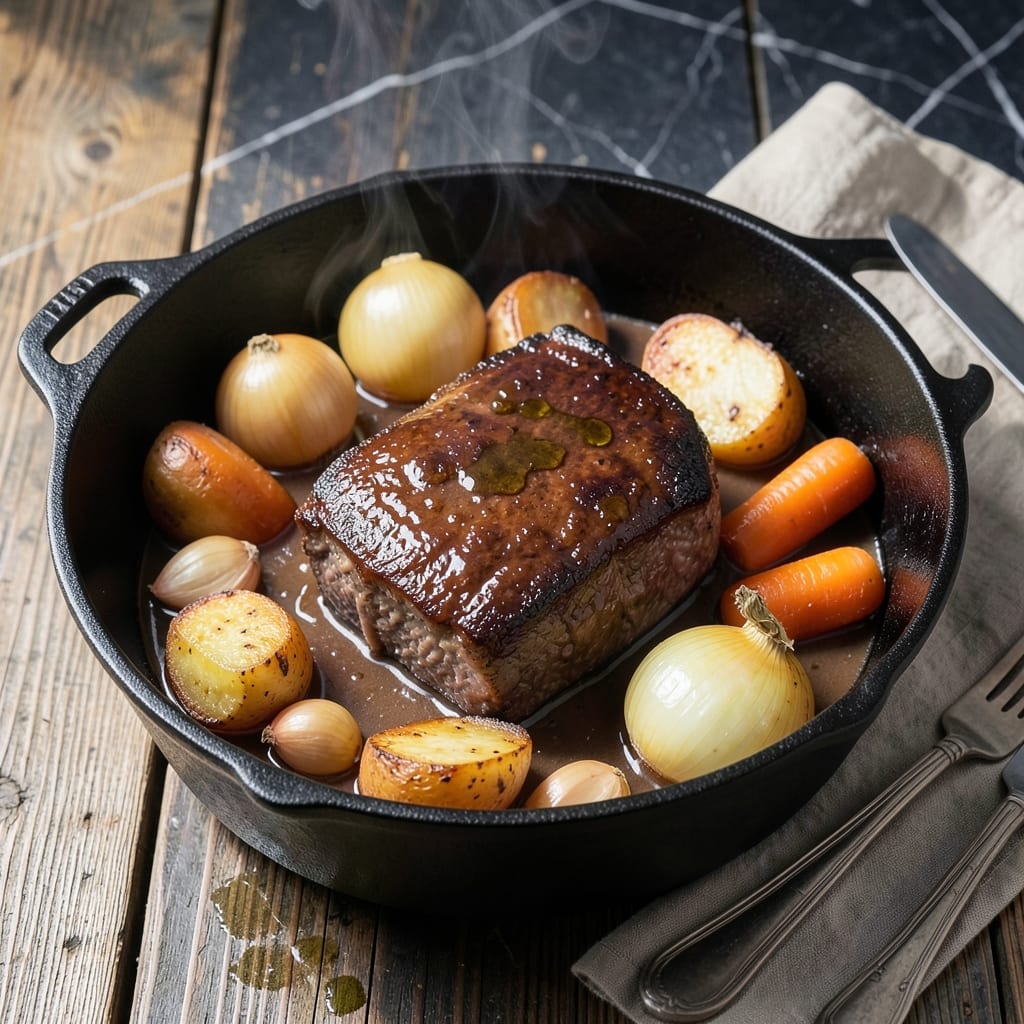
This pressure cooker method delivers fork-tender pot roast in a fraction of the traditional cooking time. The sealed environment locks in moisture and flavors, transforming tough cuts into melt-in-your-mouth perfection.
I’ve refined this technique to ensure consistent results every time. The key is proper browning before pressure cooking, which develops deep, complex flavors that penetrate the meat during the cooking process.
The result is beef so tender it falls apart at the touch of a fork, surrounded by a rich, flavorful broth. Vegetables cooked alongside absorb all the meaty essence, creating a complete meal in one pot.
This method preserves all the comfort of classic pot roast while cutting the cooking time dramatically. The pressure cooker does the work, leaving you with a restaurant-quality dish with minimal effort.
Ingredients for Power Cooker Pot Roast
Fork-tender beef and hearty vegetables transform into a comforting one-pot meal under pressure.
| Ingredient | Amount | Notes |
|---|---|---|
| Beef Chuck Roast 🥩 | 3 lb | Well-marbled, cut into large chunks |
| Yellow Onions 🧅 | 2 whole | Peeled and quartered |
| Carrots 🥕 | 3 whole | Peeled and cut into chunks |
| Russet Potatoes 🥔 | 1 ½ lb | Peeled and cut into chunks |
| Garlic Cloves 🧄 | 6 cloves | Smashed, peeled |
| Beef Broth 💧 | 2 cups | Low-sodium preferred |
| Red Wine 🍷 | ½ cup | Dry variety like Cabernet |
| Tomato Paste 🍅 | 2 tbsp | For depth of flavor |
| Worcestershire Sauce 🧂 | 1 tbsp | Adds umami complexity |
| Dried Thyme 🌿 | 1 tsp | Crushed between fingers |
| Dried Rosemary 🍃 | 1 tsp | Crushed between fingers |
| Bay Leaves 🌿 | 2 pieces | Whole, removed before serving |
| Olive Oil 🫒 | 2 tbsp | For browning beef |
| Kosher Salt 🧂 | 1 ½ tsp | Adjust to taste |
| Black Pepper 🌶️ | 1 tsp | Freshly ground |
The beef is critical here. Chuck roast has the right fat-to-meat ratio for pressure cooking, breaking down into melt-in-your-mouth tenderness. Look for good marbling and a bright red color—Costco and Whole Foods carry high-quality options. Avoid lean cuts like sirloin, which can dry out. For the best results, cut the roast into 3-4 large chunks to maximize browning surface area.
No red wine? Substitute beef broth with 1 tbsp balsamic vinegar for similar depth. Fresh thyme or rosemary can replace dried at a 1:3 ratio (1 tbsp fresh = 1 tsp dried). If avoiding alcohol entirely, mushroom broth adds rich umami. The Worcestershire sauce is key for complexity, but soy sauce or coconut aminos work in a pinch. For a gluten-free version, ensure all sauces are certified.
Store raw beef in the coldest part of your fridge for up to 3 days before cooking. Leftovers keep 4-5 days refrigerated or freeze for 3 months. The flavors deepen overnight, so this dish often tastes even better as leftovers. Always cool completely before freezing to maintain texture.
Why You’ll Love This Recipe
- Set It and Forget: I toss the chuck roast, onions, carrots, and potatoes in the power cooker, seal the lid, and walk away—dinner practically makes itself.
- Feeds the Whole Crew: From Sunday supper to busy weeknights, this one pot handles a crowd or leaves leftovers for lunches all week.
- Budget Stretcher: A cheap cut of beef chuck turns into a rich, hearty meal that feels way more expensive than it is. Between us, my wallet thanks me every time.
Step-by-Step Instructions for Pressure-Cooked Fork-Tender Pot Roast
Here’s the method. Straightforward, tested, works every time.
Step 1: Sear the Beef Chuck Roast
Set your power cooker to the sauté function and add the 2 tbsp olive oil. While it heats, pat the 3 lb beef chuck roast dry with paper towels and season all over with the 1.5 tsp kosher salt and 1 tsp black pepper.
Once the oil shimmers, sear the beef on all sides until deeply browned, about 4-5 minutes per side. This step builds a flavorful fond that will deepen your sauce. Don’t rush it—you want a rich, dark crust. Transfer the beef to a plate and set aside.
Step 2: Sauté Aromatics and Deglaze
In the same pot, add the 2 whole yellow onions, 3 whole carrots, and 6 cloves garlic cloves. Sauté for 3-4 minutes until the onions begin to soften and turn translucent. Stir in the 2 tbsp tomato paste and cook for 1 minute to caramelize slightly.
Pour in the 0.5 cup red wine and 1 tbsp Worcestershire sauce, scraping the bottom of the pot to release all the browned bits. Let it simmer for 2 minutes until the liquid reduces by half. This deglazing step ensures maximum flavor in your finished dish.
Step 3: Pressure Cook to Tender Perfection
Return the beef to the pot along with any accumulated juices. Add the 1.5 lb russet potatoes, 2 cups beef broth, 1 tsp dried thyme, 1 tsp dried rosemary, and 2 pieces bay leaves. Stir to combine, making sure the beef is mostly submerged in liquid.
Secure the lid and set the power cooker to high pressure for 60 minutes. Once the cooking cycle completes, allow the pressure to release naturally for 15 minutes, then quick-release any remaining pressure. This timing ensures the beef becomes fall-apart tender while the vegetables cook perfectly.
Step 4: Rest and Serve
Carefully remove the lid and discard the 2 pieces bay leaves. Let the pot roast rest in the cooking liquid for 10 minutes to reabsorb some of the juices. This resting period makes the beef easier to slice and enhances the tenderness.
Serve the pot roast hot with plenty of the cooking liquid spooned over the top. The beef should pull apart effortlessly with a fork, and the vegetables should be soft but not mushy. Adjust seasoning with additional salt and pepper if needed.
Pro Tips For Making Power Cooker Pot Roast
- Sear the Chuck: I learned this the hard way—skipping the sear leaves the roast bland. Get your power cooker hot, add a little oil, and brown that chuck roast on all sides until it’s deep golden.
- Cut Evenly: Chop your onions, carrots, and potatoes into uniform 2-inch chunks so they cook at the same rate. Sounds obvious, but I used to end up with mushy potatoes and crunchy carrots.
- Deglaze Properly: After searing, pour in a cup of beef broth and scrape the browned bits off the bottom—this is where the flavor hides. Skip this and your pot roast will taste flat.
- Use Garlic Late: Add the garlic cloves for the last 30 minutes of cooking so they soften without turning bitter. I used to toss them in at the start and wondered why the sauce had that sharp, burnt taste.
Perfect Pairings for These Flavors
Side Dish Pairings
I love serving this with buttery mashed potatoes to soak up the rich juices. Simply boil 2 lbs peeled Yukon Golds until tender, then mash with ½ cup warm milk and 4 tbsp butter. 💛
Bread Options
A crusty sourdough loaf from your local bakery is perfect for mopping up every last drop. Toast slices and rub with a garlic clove for extra flavor. I always keep a loaf warming in the oven while the pot roast cooks.
Vegetable Additions
For extra color, add 1 lb green beans or 1 head cauliflower cut into florets during the last 10 minutes of pressure cooking. This keeps them crisp-tender without overcooking.
Wine Pairings
A full-bodied Cabernet Sauvignon complements the beef beautifully—its bold tannins stand up to the rich flavors. For white wine lovers, a buttery Chardonnay works surprisingly well with the tender meat. 🍷
Simple Salad
Balance the meal with a crisp green salad tossed with a light vinaigrette. I use 5 oz mixed greens, ½ cup cherry tomatoes, and ¼ cup crumbled blue cheese for contrast.
Nutrition Facts
Frequently Asked Questions
Do I need to brown the meat first?
Yes! Searing creates a flavorful crust and fond that deepens the sauce. Take the extra 4-5 minutes per side—it’s worth it for maximum taste.
Can I use a different cut of beef?
Stick with well-marbled cuts like chuck for best results. Lean cuts such as sirloin can dry out under pressure. 3 lb is ideal for even cooking.
How do I know when it’s done?
The beef should pull apart easily with a fork after 60 minutes on high pressure plus a 15-minute natural release. No need for a meat thermometer here.
What if my liquid doesn’t cover the meat?
Add a bit more broth—just enough to mostly submerge the beef. Avoid filling past the max line in your power cooker.

- 4C Bread Crumbs Meatballs Recipe: Crispy Crust and Juicy Centers - September 25, 2026
- 6 Oz Chocolate Chip Cookie Recipe: Perfectly Balanced Crispy Edges and Chewy Hearts - September 25, 2026
- 6-Inch Coffee Cake Recipe: Vanilla Bean Swirls and Buttery Streusel Topping - September 25, 2026