
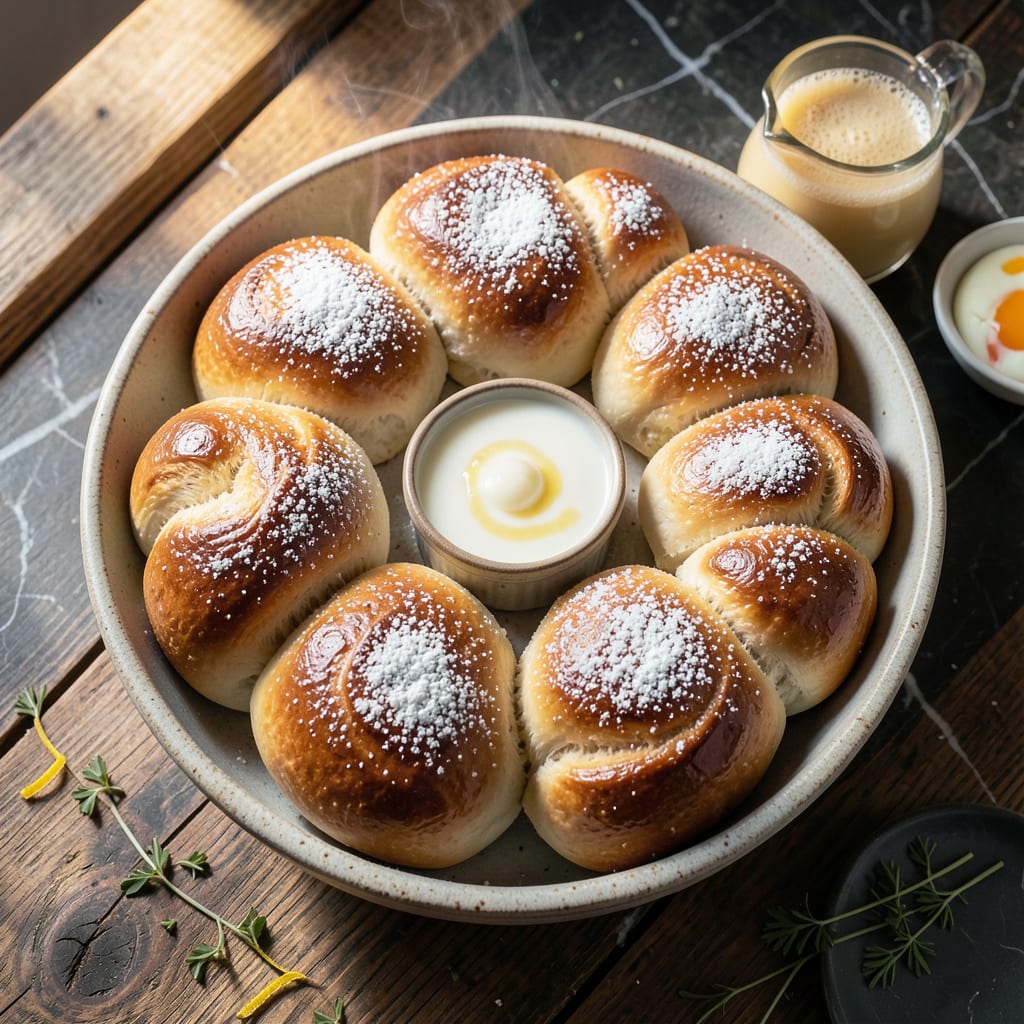
There’s something magical about pulling apart a pillowy soft yeast roll fresh from the oven. This recipe delivers bakery-quality results with a simple, proven method.
With just a few basic ingredients and patience for the rising process, you’ll create rolls so light and airy they melt in your mouth. The secret is in the perfect balance of flour, yeast, and just enough sweetness.
Ingredients for Quincy’s Big Fat Yeast Roll
Nine simple ingredients transform into bakery-quality rolls with that perfect pillowy texture.
| Ingredient | Amount | Notes |
|---|---|---|
| Warm Water 💧 | 1 ¼ cups | 110-115°F for yeast activation |
| Active Dry Yeast 🍞 | 2 ¼ tsp | Or one 0.25 oz packet |
| Granulated Sugar 🍚 | ¼ cup | Divided for yeast and dough |
| Whole Milk 🥛 | ½ cup | Warmed to 110°F |
| Unsalted Butter 🧈 | ½ cup | Melted and cooled |
| Large Egg 🥚 | 1 whole | Room temperature |
| All-Purpose Flour 🌾 | 5 ½ cups | Plus extra for dusting |
| Salt 🧂 | 2 tsp | Fine sea salt preferred |
| Vegetable Oil 🫒 | 2 tbsp | For greasing bowls |
The yeast is critical here. Active dry yeast from Fleischmann’s or Red Star gives consistent results. Check the expiration date—old yeast won’t rise properly. The milk and butter add richness that makes these rolls special. Whole milk is worth it (2% works in a pinch), and always use unsalted butter so you control the salt content. Most grocery stores carry these basics.
No yeast? Instant yeast at three-quarters the amount works too. Dairy-free? Swap whole milk for warm oat milk and use vegan butter. The egg adds tenderness but can be skipped—just add 2 tbsp extra milk. For flour, bread flour gives a slightly chewier texture, but all-purpose works perfectly.
Dough rises best in a warm spot—preheat your oven to 200°F, turn it off, then let it rise inside. Baked rolls keep 3-4 days in an airtight container. Freeze for up to 3 months (reheat straight from frozen).
Why You’ll Love This Recipe
- I’ll be real: they’re even better toasted the next day with jam, and they never last past breakfast.
- Foolproof Rise: Honestly, the yeast activates so reliably in the warm water and sugar that I’ve never had a flop—just pillowy rolls every time.
- Buttery Clouds: That whole milk and butter combo creates layers so rich and tender, they melt the second they hit your tongue.
- Holiday MVP: Between us, these are my secret weapon for Thanksgiving, Easter, or even a random Sunday dinner.
Step-by-Step Instructions for Big Fat Yeast Rolls
Master the technique for light, airy rolls that rise beautifully every time.
Step 1: Activate the Yeast and Prepare Wet Ingredients
In a large mixing bowl, combine 1.25 cups Warm Water (110-115°F), 2.25 tsp Active Dry Yeast, and 1 tablespoon of the 0.25 cup Granulated Sugar. Let this sit for 5-10 minutes until the mixture becomes frothy and cloudy—this confirms the yeast is active and ready to work.
Once the yeast is activated, add the remaining granulated sugar, 0.5 cup Whole Milk (warmed to 110°F), 0.5 cup Unsalted Butter (melted and cooled), and 1 whole Large Egg. Whisk until the wet ingredients are fully combined and the mixture looks smooth.
Step 2: Incorporate Dry Ingredients and Knead the Dough
In a separate bowl, whisk together 5.5 cups All-Purpose Flour and 2 tsp Salt. Gradually add this dry mixture to the wet ingredients, about 1 cup at a time, mixing on low speed until a shaggy dough forms. This prevents flour from flying everywhere and ensures even distribution.
Switch to a dough hook attachment and knead the dough on medium speed for 6-8 minutes until it becomes smooth, elastic, and slightly tacky. If the dough sticks to the bowl, add 1 tablespoon of flour at a time—no more than ¼ cup total—until it pulls away cleanly. The dough should spring back slowly when poked.
Step 3: First Rise Until Doubled in Size
Lightly grease a large bowl with 1 tbsp Vegetable Oil, then transfer the dough into it, turning once to coat all sides. Cover the bowl with a damp kitchen towel or plastic wrap and place it in a warm, draft-free spot. I like to turn my oven on to 200°F for 2 minutes, then turn it off and place the bowl inside.
Let the dough rise for 1 to 1.5 hours or until it has doubled in size. You’ll know it’s ready when it holds a gentle indentation when pressed with a finger. This first rise develops the flavor and texture, so don’t rush it.
Step 4: Shape the Rolls and Second Rise
Punch down the risen dough to release the air, then turn it out onto a lightly floured surface. Divide the dough into 12 equal portions—about 4 oz each—and shape each into a smooth ball by pulling the edges under and pinching them together. Place the rolls seam-side down in a greased 9×13-inch baking pan, spacing them ½ inch apart.
Cover the pan with the damp towel again and let the rolls rise for another 30-45 minutes until they’ve puffed up and are touching each other. Preheat the oven to 375°F during the last 15 minutes of rising to ensure it’s fully heated.
Step 5: Bake to Golden Perfection
Bake the rolls in the preheated oven for 18-22 minutes until they’re golden brown on top and sound hollow when tapped lightly. Rotate the pan halfway through baking to ensure even browning, especially if your oven has hot spots.
Remove the rolls from the oven and brush the tops with the remaining 1 tbsp Vegetable Oil for a soft, glossy finish. Let them cool in the pan for 5 minutes, then transfer to a wire rack. Serve warm for the best texture—these rolls are at their peak fresh out of the oven.
Pro Tips For Making Quincy’S Big Fat Yeast Roll
- Test Your Yeast: I learned this the hard way—always proof your active dry yeast in the warm water with a pinch of sugar first. If it doesn’t bubble within 5 minutes, your rolls won’t rise, no matter what else you do right.
- Warm the Milk: Skip cold milk straight from the fridge. Gently warm it to about 110°F—same as the water—so it doesn’t shock the yeast or slow down the rise.
- Soften the Butter: Resist the urge to microwave the butter. Let it sit at room temp for 30 minutes until it dents when pressed, or it’ll make the dough greasy instead of rich and tender.
- Use a Scale: After burning three batches, I finally figured out that weighing the flour (instead of scooping) keeps these rolls from turning into hockey pucks. Aim for 14-15 oz per cup if you’re not using a scale.
Health Benefits of These Flavors
Rich in B Vitamins
These rolls provide several B vitamins from enriched flour, including thiamine, riboflavin, and niacin. A single roll contributes about 10-15% of your daily needs for these essential nutrients that support energy metabolism and nervous system function. 💪
Good Source of Iron
Enriched all-purpose flour means each roll contains about 1.5mg of iron, helping meet daily requirements—especially important for women and growing children. The egg adds a small additional iron boost.
Calcium Boost
The whole milk in this recipe provides about 50mg of calcium per roll. While not a huge amount, it contributes to your daily intake for strong bones and teeth. Pair with a glass of milk to maximize this benefit.
Protein for Satiety
With 5-7 grams of protein per roll from the egg, milk, and flour, these help keep you feeling full. The protein supports muscle maintenance and repair throughout your day.
Moderate Fiber Content
Each roll provides about 1-2 grams of fiber from the flour. While not high-fiber, this contributes to daily intake and supports digestive health. For more fiber, try substituting 1 cup whole wheat flour for all-purpose. ✨
Energy from Carbs
The 30-35 grams of complex carbohydrates per roll provide sustained energy. These carbs fuel your brain and muscles, making these rolls a great addition to any meal for lasting energy.
Nutrition Facts
Frequently Asked Questions
Why use whole milk instead of water?
Whole milk adds richness and tenderness to the rolls. The fat content creates a softer texture and enhances the flavor. Water works in a pinch, but milk makes them extra special.
How can I tell when the dough has risen enough?
The dough should double in size. Press gently with a finger—if the indentation remains, it’s ready. This usually takes 1-1.5 hours in a warm spot.
Can I make these rolls the night before?
Yes! Shape the rolls, cover tightly, and refrigerate overnight. Let them rise at room temperature for 1-2 hours before baking. This slow rise adds depth of flavor.
What if my rolls don’t brown evenly?
Rotate the pan halfway through baking. If they still brown unevenly, check your oven temperature with a thermometer. 375°F works best for even color.

- 8 Bean Soup Recipe Crock Pot: Hearty Vegetable Medley in One Pot - September 25, 2026
- 4C Bread Crumbs Meatballs Recipe: Crispy Crust and Juicy Centers - September 25, 2026
- 6 Oz Chocolate Chip Cookie Recipe: Perfectly Balanced Crispy Edges and Chewy Hearts - September 25, 2026