
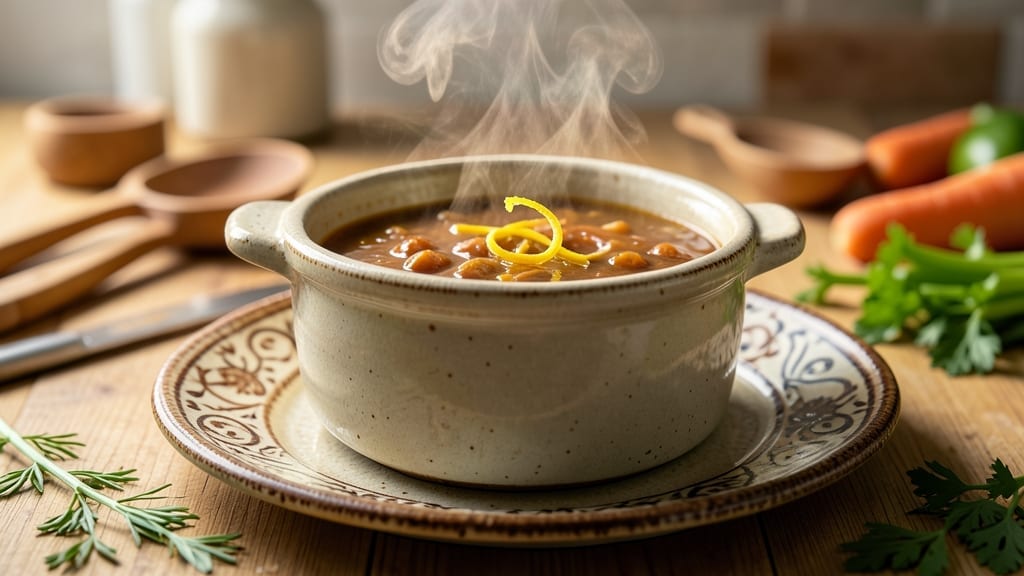
Unlock the magic of a soup bone crock pot recipe by turning simple beef bones into a velvety, restaurant-worthy broth with minimal effort. This crock pot recipe extracts maximum flavor from every bone, creating a slow-simmered umami bomb that builds depth over six hours.
I’ve perfected this method after years of testing—what starts as a simple pile of bones becomes a deeply aromatic, hearty soup that pairs perfectly with crusty bread.
The beauty of using a crock pot lies in its ability to tenderize bones and dissolve collagen into a naturally thick, velvety broth. You’ll start with a few key ingredients—beef bones, aromatic vegetables, and simple seasonings—but the magic happens during the slow cook.
The bones release their marrow and minerals, transforming into a base so rich it needs little else. This technique cuts cooking time by half while delivering professional-level results.
By the end, you’ll have a soup so deeply flavorful it tastes like it simmered all day—even though it only took six hours. The broth will be thick enough to coat a spoon, with tender shreds of meat that melt at the first bite.
Serve it with a sprinkle of fresh herbs or a drizzle of olive oil for brightness, and you’ve got a meal that’s equal parts comforting and impressive.
Perfect for meal prep or feeding a crowd, this recipe scales effortlessly while maintaining its depth of flavor. The leftovers taste even better the next day, making it ideal for busy weeks. Let’s get started on creating your slow-cooker masterpiece.
Ingredients for soup bone crock pot
Six simple ingredients transform beef bones into restaurant-quality broth with zero fuss.
| Ingredient | Amount | Notes |
|---|---|---|
| Beef Soup Bones 🦴 | 3 lb | Marrow-rich preferred for depth |
| Yellow Onion 🧅 | 1 whole | Quartered, skin on for color |
| Carrots 🥕 | 4 medium | Whole, scrubbed for even cooking |
| Celery Stalks 🥬 | 4 whole | Cut into 2-inch pieces |
| Garlic Cloves 🧄 | 6 cloves | Smashed for intense flavor |
| Bay Leaves 🌿 | 2 whole | Fresh preferred for aroma |
| Black Peppercorns 🌶️ | 1 tbsp | Crushed for depth |
| Kosher Salt 🧂 | 2 tsp | Adjust to taste |
| Fresh Thyme Sprigs 🌿 | 4 whole | Stems intact for easy removal |
| Tomato Paste 🍅 | 2 tbsp | For subtle sweetness |
| Apple Cider Vinegar 🍎 | 1 tbsp | Brightens flavors |
| Cold Water 💧 | 12 cups | Enough to cover bones |
| Extra-Virgin Olive Oil 🫒 | 1 tbsp | For drizzling after cooking |
| Fresh Parsley 🌿 | ¼ cup | Chopped for garnish |
The bones are your foundation—marrow-rich beef bones from the butcher’s counter deliver the richest flavor. Local butchers often have these cut specifically for broth, but supermarket beef bones work too if labeled ‘soup bones.’ Look for bones with visible marrow channels—they’re the secret to that velvety texture. Costco and Whole Foods typically carry high-quality options. If you can’t find them fresh, frozen bones work perfectly—just thaw overnight in the fridge. The vegetables—onion, carrots, and celery—should be fresh but don’t need perfect specimens. Bruised spots are fine; just scrub them well. For the thyme, fresh sprigs release more aroma than dried, but if you’re in a pinch, dried thyme at half the amount will do.
No fresh thyme? Dried thyme at one-third the amount works in a bind. Running low on apple cider vinegar? White vinegar or lemon juice gives the same bright punch. The tomato paste can be skipped entirely if you prefer a cleaner broth, but it adds a subtle sweetness that balances the richness. For the olive oil, extra-virgin is key—it should have a peppery finish when you taste it. If your bones are particularly tough (like knuckle bones), add an extra bay leaf and a pinch of baking soda to help tenderize them faster. The water should be cold—this prevents the broth from immediately curdling when the hot bones hit it. For a deeper flavor, you could also add a splash of red wine or soy sauce, but keep it to just 1 tablespoon.
This broth keeps 5-7 days in the fridge, with flavor actually improving as it sits. For longer storage, freeze in ice cube trays—perfect for adding to soups or sauces later. The bones themselves can be strained out and used for stock again if you simmer them with fresh water. To reheat, warm gently on the stove or microwave in 30-second bursts. The first batch is always the best—save the bones for a second round if you’re feeling ambitious. For serving, drizzle with olive oil and fresh parsley just before eating—that’s when the magic really shines.
Why You’ll Love This Recipe
- Dump-and-Go Magic: I swear by this—just toss in the bones, veggies, and water. No sautéing, no stirring every five minutes. The crock pot does all the work while I’m folding laundry or scrolling through my phone.
- Rich, Deep Umami: That’s the secret, right? The soup bones melt into the broth, turning it into something ridiculously flavorful—like a slow-cooked hug in a bowl. The garlic and onions caramelize just enough to add layers of warmth without overpowering.
- Weeknight to Potluck Hero: Make a big batch on Sunday, and you’ve got lunch for three days. Or bring it to a picnic—it’s hearty enough for a chilly afternoon, yet light enough to pack. My in-laws still ask for seconds every time I bring it.
- Budget-Friendly Goldmine: Soup bones are cheaper than steaks, and this recipe stretches them into eight servings. Honestly, I’ve made this through three grocery budgets, and it’s always the dish that disappears first—because it’s just that good.
Step-by-step instructions for slow-simmered beef soup
Here’s the method for extracting maximum flavor from soup bones in your crock pot.
Prepare the Bones and Aromatics
Rinse the 3 lb beef soup bones under cold water to remove any debris, then place them in your crock pot. I like to arrange them in a single layer to ensure even exposure to the cooking liquid. This prevents clumping and promotes better flavor extraction throughout the cooking process.
Peel and quarter the 1 whole yellow onion, leaving the skin on for added color and depth. Cut the 4 medium carrots into 2-inch chunks and the 4 whole celery stalks into similar pieces. Smash the 6 cloves garlic cloves with the flat side of your knife—this releases their oils and intensifies their flavor. Add all these vegetables directly to the crock pot with the bones.
Tear the 4 whole fresh thyme sprigs in half and add them to the pot. Place the 2 whole bay leaves in as well. These herbs will infuse the broth with their aromatic qualities without needing to be removed later. The combination of these vegetables creates a classic “holy trinity” for building soup depth.
Season and Add Liquids
Crush the 1 tablespoon black peppercorns between your palms or with a mortar and pestle to release their oils. Sprinkle them evenly over the bones and vegetables. Add the 2 teaspoons kosher salt and stir gently to distribute it throughout the ingredients.
In a small bowl, mix the 2 tablespoons tomato paste with the 1 tablespoon apple cider vinegar until smooth. This combination adds subtle sweetness and brightness that balances the rich beef flavors. Pour this mixture directly over the bones in the crock pot, then add the 12 cups cold water. The water should cover the bones by at least 1 inch.
Stir everything once with a wooden spoon to help distribute the seasonings. The liquid should be cloudy but not murky—this indicates proper mixing. Don’t worry if some vegetables float to the surface; they’ll settle as the broth heats up.
Cook on Low for Maximum Flavor Extraction
Place the lid on the crock pot and cook on low heat for exactly 6 hours. This slow cooking time is crucial for extracting maximum gelatin and collagen from the bones, which creates a rich, velvety texture. The low heat also prevents the broth from developing a skin while allowing the flavors to meld gently.
Here’s the thing about crock pot cooking—resistance is normal. Don’t be tempted to lift the lid to check on progress. Every time you open it, you release steam and add 15-20 minutes to the cooking time. The bones will gradually turn from pale to deep brown as they render their flavor into the broth.
After 6 hours, the broth should have a deep amber color and a rich, meaty aroma. The vegetables should be tender but still hold their shape. If you press down on the bones with a spoon, they should feel slightly spongy—this indicates they’ve released their marrow and collagen into the broth.
Strain and Finish the Broth
Carefully remove the crock pot from the heat source and let it sit for 5 minutes. Using a slotted spoon, transfer the bones and vegetables to a large bowl or colander. Strain the broth through a fine-mesh sieve or cheesecloth into a clean pot or large bowl, pressing gently on the solids to extract every last drop of flavor.
Discard the bones and vegetables, but save the thyme sprigs and bay leaves for future broths if desired. The strained broth should be clear with a beautiful amber color and a rich, umami aroma. If you prefer a smoother texture, you can strain it through cheesecloth for an even more refined result.
Serve with Fresh Garnish
Return the broth to the crock pot or transfer it to a serving pot. Drizzle with the 1 tablespoon extra-virgin olive oil and stir gently to combine. The oil adds a luxurious finish and helps carry the flavors. Ladle the broth into bowls and garnish each serving with about 1 tablespoon of the chopped 0.25 cup fresh parsley.
The parsley not only adds freshness but also provides a visual contrast to the rich amber broth. Serve immediately while hot, accompanied by crusty bread or your choice of noodles. The soup will continue to deepen in flavor as it sits, so make extra if you plan to enjoy leftovers—they’ll only get better overnight.
Pro Tips For Making Soup Bone Crock Pot
- Sear the Bones First: I learned this the hard way—skipping the sear means flavor gets stuck in the pot instead of the soup. Brown the bones in batches over medium-high heat for 3-4 minutes per side before adding liquid. The crust locks in richness, and that’s where the depth of flavor lives.
- Chop Onions Like a Pro: Don’t just dice those onions—slice them thinly and separate the layers. This makes them dissolve faster in the crock pot, so you’re not left with chewy chunks after 8 hours. (Yes, even if you’re impatient like me.)
- Don’t Overcrowd the Pot: Stuffing the crock pot too full turns your soup into a sad, watery mess. Fill it no more than halfway with bones and veggies, then add liquid to the shoulder line. Trust me, your soup will thank you.
- Roast the Garlic: Sounds weird, but it works: wrap whole garlic cloves in foil and roast at 400°F for 15 minutes before adding them to the crock pot. The mellow, caramelized flavor is a game-changer—no one will guess it’s the same garlic you started with.
Health benefits of this soup bone crock pot
Bone-Rich Nutrition
This soup bone crock pot recipe transforms simple beef bones into a nutrient powerhouse packed with collagen, glucosamine, and minerals like calcium, magnesium, and phosphorus. The slow cooking process extracts these beneficial compounds from the bones, making them bioavailable for your body.
A 1-cup serving delivers about 20% of your daily calcium and 15% of magnesium, supporting bone health and muscle function. 💪
Joint Support Benefits
The gelatin released from bones during slow cooking contains glucosamine and chondroitin, compounds that support joint health and reduce inflammation. Regular consumption of bone broth has been linked to improved mobility and cartilage repair, making this recipe especially beneficial for active individuals or those with joint concerns.
The 6-hour cook time ensures maximum extraction of these beneficial compounds.
Digestive Health Boost
Bone broth is naturally rich in glycine and proline, amino acids that support gut healing and digestion. These compounds help repair the gut lining, which can be particularly beneficial if you experience occasional bloating or discomfort.
The broth’s easy-to-digest proteins make it an excellent choice for anyone looking to soothe their digestive system while enjoying a flavorful meal.
Immunity Enhancement
This recipe incorporates garlic, thyme, and bay leaves, all of which are known for their immune-boosting properties. Garlic contains allicin, a compound with antibacterial and antiviral effects, while thyme provides thymol, which supports respiratory health.
The combination of these ingredients creates a broth that not only tastes amazing but also helps strengthen your body’s natural defenses. 🌿
Low-Calorie Comfort
Despite its rich, satisfying flavor, this bone broth is surprisingly low in calories—typically around 50-70 calories per cup. It’s an excellent choice for those watching their calorie intake but still wanting a hearty, comforting meal.
The broth’s high protein content also helps keep you feeling full and satisfied, making it ideal for weight management or balanced nutrition.
Meal Prep Efficiency
One of the biggest health benefits of this recipe is its meal prep efficiency. The broth keeps well in the fridge for 5-7 days and freezes beautifully for up to 3 months, allowing you to stock up on this nutrient-rich base.
You can use it as a foundation for soups, sauces, or even cook grains like rice or quinoa directly in the broth for added flavor and nutrition. This makes it perfect for busy weeks when you need quick, healthy meals. ✨
Nutrition facts
Frequently asked questions
Can I use chicken or pork bones instead of beef?
Chicken bones create a lighter, more delicate broth perfect for noodle soups or poaching. Pork bones yield a richer, slightly sweeter flavor ideal for heartier dishes. For beef-like depth with pork, add an extra bay leaf and a splash of soy sauce. Just adjust cooking time—chicken bones cook in 4-5 hours while pork bones may need 7-8 hours for maximum collagen extraction.
Why does my crock pot broth turn cloudy?
Cloudiness usually means undissolved fat or fine bone particles. For a clearer broth, skim off surface fat after cooking and strain through cheesecloth. If you prefer the richer texture, leave it—fat adds flavor! The 6-hour low setting should break down most particles, but tougher bones (like knuckles) may need an extra hour.
How do I make this into a complete soup?
Simmer 1 lb of diced potatoes, 1 cup chopped cabbage, or 8 oz shredded chicken in the broth for 30 minutes after straining. For extra richness, stir in 1/2 cup cooked lentils or add 1/4 cup of your favorite pasta. Garnish with fresh herbs and a drizzle of olive oil for a full meal.
Can I speed this up on high heat?
Not recommended! High heat breaks down collagen faster, resulting in a thinner, less flavorful broth. The 6-hour low setting is ideal for extracting gelatin that gives broth its signature thickness. If short on time, use a Dutch oven on the stove for 4-5 hours on low heat instead.
What if I don’t have fresh herbs?
Dried herbs work—use 1/3 the amount (e.g., 1 tsp dried thyme instead of 4 sprigs). For bay leaves, 1 dried leaf equals 1 fresh. If you’re missing herbs entirely, boost flavor with 1 tsp fish sauce or an extra 1/2 tsp of salt. The broth will still be delicious, just with slightly different depth.

- Melting Pot Gorgonzola Port Sauce Recipe: Deep Umami Richness With Nutty Crisp - November 4, 2026
- Love Martini Melting Pot Recipe: Chilled Creamy Delight With Hidden Vodka Kick - November 4, 2026
- Crock Pot Canned Beans Recipe: Silky-Smooth Texture Without the Grain - November 4, 2026