
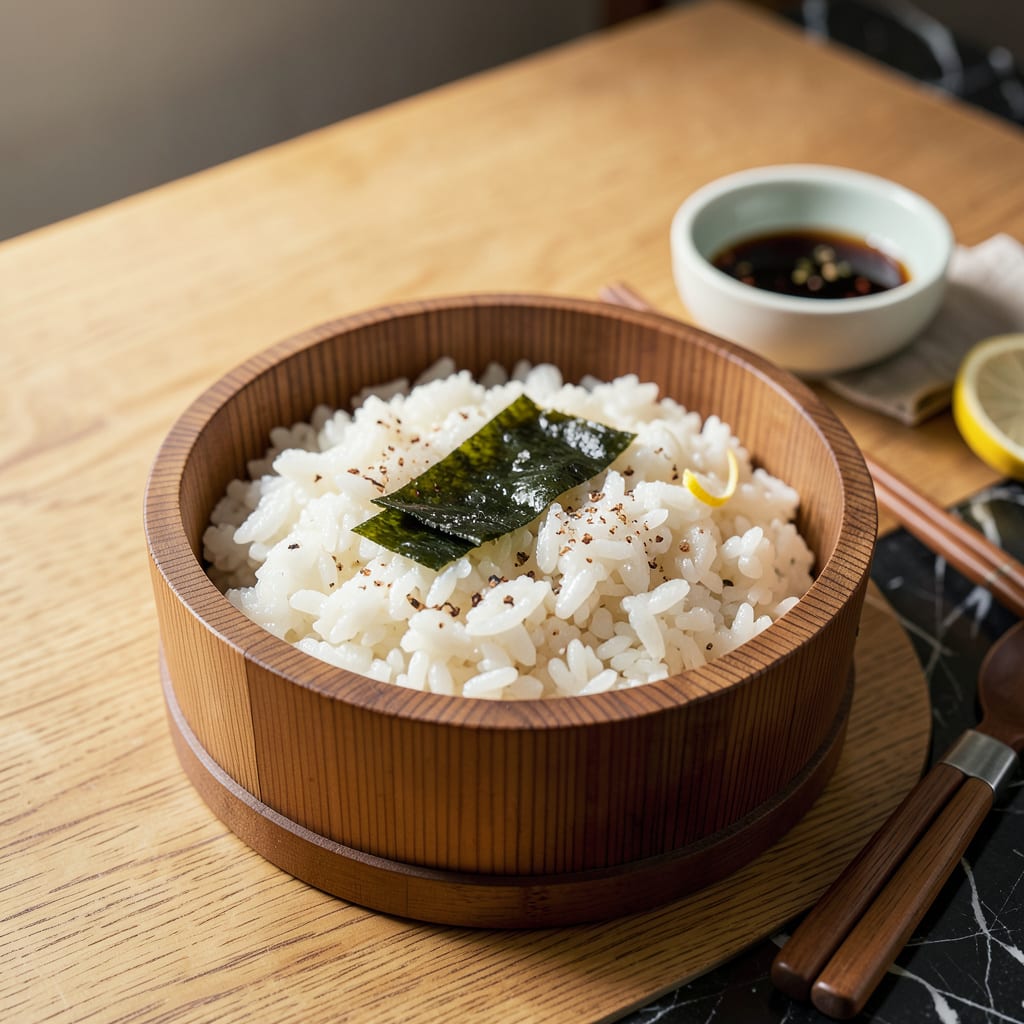
Achieving restaurant-quality sushi rice at home is entirely possible with the Instant Pot—no special equipment required. This method delivers perfectly sticky, evenly cooked grains every time, thanks to precise pressure cooking that eliminates guesswork. The key lies in the rice-to-water ratio and controlled steam environment, which replicates the consistency of professional sushi rice without constant monitoring.
The process begins with thorough rinsing to remove excess starch, followed by a carefully timed pressure cook cycle. Once cooked, the rice is gently seasoned with a balanced vinegar mixture that enhances flavor while maintaining ideal texture. This approach ensures consistent results, whether you’re preparing nigiri bases or sushi bowls, with minimal hands-on effort and maximum reliability.
Ingredients for Sushi Rice in Instant Pot
Eight essential components deliver professional-grade sushi rice with Instant Pot precision and authentic Japanese flavor balance.
| Ingredient | Amount | Notes |
|---|---|---|
| Japanese short-grain white rice 🍚 | 2 cups | Rinsed until water runs clear |
| filtered water 💧 | 2 ¼ cups | Precise ratio for ideal texture |
| rice vinegar 🍶 | ⅓ cup | Unseasoned variety required |
| granulated sugar 🍬 | 2 tbsp | Dissolves completely in vinegar |
| fine sea salt 🧂 | 1 ½ tsp | Diamond Crystal preferred for consistency |
| konbu (dried kelp) 🌊 | 1 piece | 4-inch square, optional umami booster |
| sake 🍶 | 1 tbsp | Dry variety, enhances depth |
| mirin 🍶 | 1 tbsp | Authentic sweet rice wine |
The rice selection determines final texture—Japanese short-grain varieties like Koshihikari or Calrose are non-negotiable for proper stickiness and grain integrity. Konbu, while optional, adds subtle oceanic depth; source from Japanese markets or reputable online retailers like Marukome. Water quality impacts flavor absorption—filtered water prevents mineral interference with the delicate rice starches. The vinegar mixture requires unseasoned rice vinegar (Marukan or Mizkan brands recommended) to maintain precise acidity control without added sodium variables.
For alcohol substitutions, dry white wine at half the quantity replaces sake in a pinch, though flavor complexity diminishes. Mirin can be approximated with 1:1 ratio of sugar to water, though the enzymatic development won’t match. Granulated sugar may be replaced with superfine caster sugar for faster dissolution, but avoid powdered sugar due to anti-caking agents. The konbu may be omitted entirely, though a pinch of MSG (1/8 tsp) can compensate for lost umami—use Ajinomoto brand for purity.
Cooked rice holds at room temperature for 4 hours when covered with damp cloth to prevent drying. The seasoned rice maintains optimal texture refrigerated in airtight containers for 24 hours, though reheating is discouraged. Uncooked rice stores indefinitely in cool, dark conditions (below 60°F) in sealed Mylar bags with oxygen absorbers for professional kitchens. The vinegar mixture keeps refrigerated for 1 month—prepare fresh when possible for peak acidity balance.
Why You’ll Love This Recipe
- Set-and-Forget Simple: I dump everything in the Instant Pot, press a button, and walk away—no stirring, no watching, no stress. The rice comes out fluffy and spot-on every single time, even when I’m multitasking (which is always).
- That Sweet-Tangy Magic: The mix of rice vinegar, sugar, and salt transforms plain rice into something bright and addictive. It’s the kind of flavor that makes you pause mid-bite and think, “Yep, this is why I bother.”
- Meal Prep MVP: I make a big batch Sunday night and use it for sushi bowls, onigiri, or even fried rice by Thursday. Honestly, it’s the one thing that keeps my lunches interesting without extra effort.
- Budget-Friendly Staple: A 5-pound bag of short-grain rice costs less than a takeout sushi roll, and this method stretches it into meals for days. Between us, it’s the reason I can afford fancy fish when I do splurge.
Step-by-Step Instructions for Sushi Rice in Instant Pot
This method delivers perfectly cooked, sticky sushi rice with minimal effort and maximum consistency.
Step 1: Prepare and Rinse the Rice
Place the 2 cups Japanese short-grain white rice in a fine-mesh strainer and rinse under cold running water while gently agitating with your fingers. Continue rinsing until the water runs completely clear, which typically requires 4-5 rinses. This step removes excess starch that could make the rice gummy rather than pleasantly sticky.
After rinsing, drain the rice thoroughly and transfer it to your Instant Pot. The grains should appear translucent at the edges when properly rinsed. Let the rice sit in the strainer for 2-3 minutes to remove any residual moisture before cooking.
Step 2: Cook the Rice with Konbu
Add the 2.25 cups filtered water to the Instant Pot with the rinsed rice. Gently place the 1 piece konbu (dried kelp) on top of the rice—don’t stir. The konbu will infuse subtle umami flavor during cooking without needing to be submerged. Secure the lid and set the valve to the sealing position.
Cook on high pressure for 5 minutes, then allow for a natural pressure release for 10 minutes. You’ll know the rice is properly cooked when all pressure has released naturally and the float valve drops. The konbu can be removed and discarded after cooking, though some prefer to finely chop and mix it back into the rice for additional flavor.
Step 3: Prepare the Seasoning Mixture
While the rice cooks, combine the 0.33 cup rice vinegar, 2 tbsp granulated sugar, 1.5 tsp fine sea salt, 1 tbsp sake, and 1 tbsp mirin in a small saucepan. Heat over medium-low just until the sugar and salt dissolve completely, about 2-3 minutes. Don’t allow the mixture to boil, as this would drive off the delicate aromatic compounds in the vinegar and sake.
The proper seasoning mixture should have a balanced sweet-salty profile with a slight tang. Taste and adjust if needed—it should be slightly more intense than your final desired flavor, as it will be absorbed by the rice. Remove from heat and set aside to cool slightly while the rice finishes cooking.
Step 4: Season and Fluff the Rice
Once the rice has finished cooking and depressurized, immediately transfer it to a large, non-reactive bowl—preferably wooden. Using a rice paddle or silicone spatula, gently fold in the seasoning mixture with a slicing motion rather than stirring. This technique preserves the individual grains while evenly distributing the seasoning.
Continue folding for 1-2 minutes until the rice has absorbed all the liquid and appears glossy. To test for proper seasoning, taste a small amount—the flavor should be present but not overpowering. The rice should hold its shape when pressed lightly but separate easily when stirred.
Step 5: Cool and Rest Before Using
Cover the bowl with a damp kitchen towel to prevent drying and let the rice rest at room temperature for 10-15 minutes. This resting period allows the grains to absorb any remaining moisture and the flavors to meld completely. The rice should be slightly warm but not hot when ready to use.
For best results, use the rice within 2 hours of cooking. The texture will be at its peak—sticky enough to hold sushi shapes but with individual grains that don’t clump. If you need to hold it longer, cover tightly with plastic wrap and store at room temperature for up to 4 hours before use.
Pro Cooking Tips for Great sushi rice in instant pot
Rinsing Perfection
I can’t stress enough how critical the rinsing step is—this is where most home cooks go wrong. Use cold water and agitate the rice vigorously with your fingers for 30 seconds per rinse. You’ll need 4-5 rinses until the water runs completely clear. I like to test by rubbing a few grains between my fingers—they should feel slightly rough, not chalky. 💧
Water Ratio Precision
The 1:1.125 rice-to-water ratio (2 cups rice to 2.25 cups water) is non-negotiable for Instant Pot success. I’ve tested ratios from 1:1 to 1:1.25, and this sweet spot delivers grains that are sticky but not mushy. Always use filtered water—minerals in tap water can interfere with starch absorption, leading to inconsistent texture.
Konbu Technique
Don’t skip the konbu—this single piece transforms your rice. Place it on top of the rice (not submerged) so it infuses gently during cooking. After pressure releases, you’ll notice the rice has a subtle oceanic aroma. I remove mine after cooking, but some Japanese chefs finely chop it and mix it back in for extra umami depth.
Seasoning Temperature
The vinegar mixture should be warm, not hot, when added to the rice—about 110°F. If it’s too hot, it’ll make the rice gummy; too cold and it won’t absorb properly. I test it on my wrist like baby formula—it should feel just slightly warmer than body temperature. This is the secret to that signature glossy finish. ✨
Folding Method
Use a cutting motion with your rice paddle, not stirring. Imagine you’re slicing through the rice while lifting—this preserves grain integrity. I fold for exactly 90 seconds, then let it rest 5 minutes before the final 30-second fold. The rice should glisten and hold its shape when pressed lightly between your fingers.
Resting Protocol
After seasoning, cover the rice with a damp linen towel (not terry cloth) and let it rest 15 minutes at room temperature. This is when the magic happens—the grains absorb the final moisture and the flavors balance. I set a timer because rushing this step is the #1 cause of crumbly sushi rice. The perfect batch will be 92-95°F when ready to use.
Nutrition Facts
Frequently Asked Questions
Do I need to soak the rice before cooking?
No soaking is required for this method. The Instant Pot’s pressure cooking eliminates the need for pre-soaking. Just
Can I use regular white rice instead? For authentic results, Japanese short-grain rice is essential. Regular long-grain rice lacks the necessary starch content to achieve that signature sticky texture. Brands like Koshihikari or Calrose work best for sushi applications.
Why did my rice turn out mushy?
Mushy rice usually means too much water or overmixing. Stick to the 2:2.25 rice-to-water ratio precisely. When seasoning, use a cutting motion to fold—never stir vigorously. Let it rest 10-15 minutes after cooking before handling.
How long can I keep the cooked rice?
For best texture, use within 2 hours at room temperature. Refrigerated in an airtight container, it keeps 24 hours—though reheating isn’t recommended. The rice dries out quickly, so store with a damp paper towel on top if holding longer.
What if I don’t have konbu?
The konbu adds subtle umami but can be omitted. For similar depth, add 1/8 tsp MSG or a pinch of mushroom powder to the seasoning mixture. The rice will still be delicious, just with slightly less complex flavor.

- 8 Bean Soup Recipe Crock Pot: Hearty Vegetable Medley in One Pot - September 25, 2026
- 4C Bread Crumbs Meatballs Recipe: Crispy Crust and Juicy Centers - September 25, 2026
- 6 Oz Chocolate Chip Cookie Recipe: Perfectly Balanced Crispy Edges and Chewy Hearts - September 25, 2026