
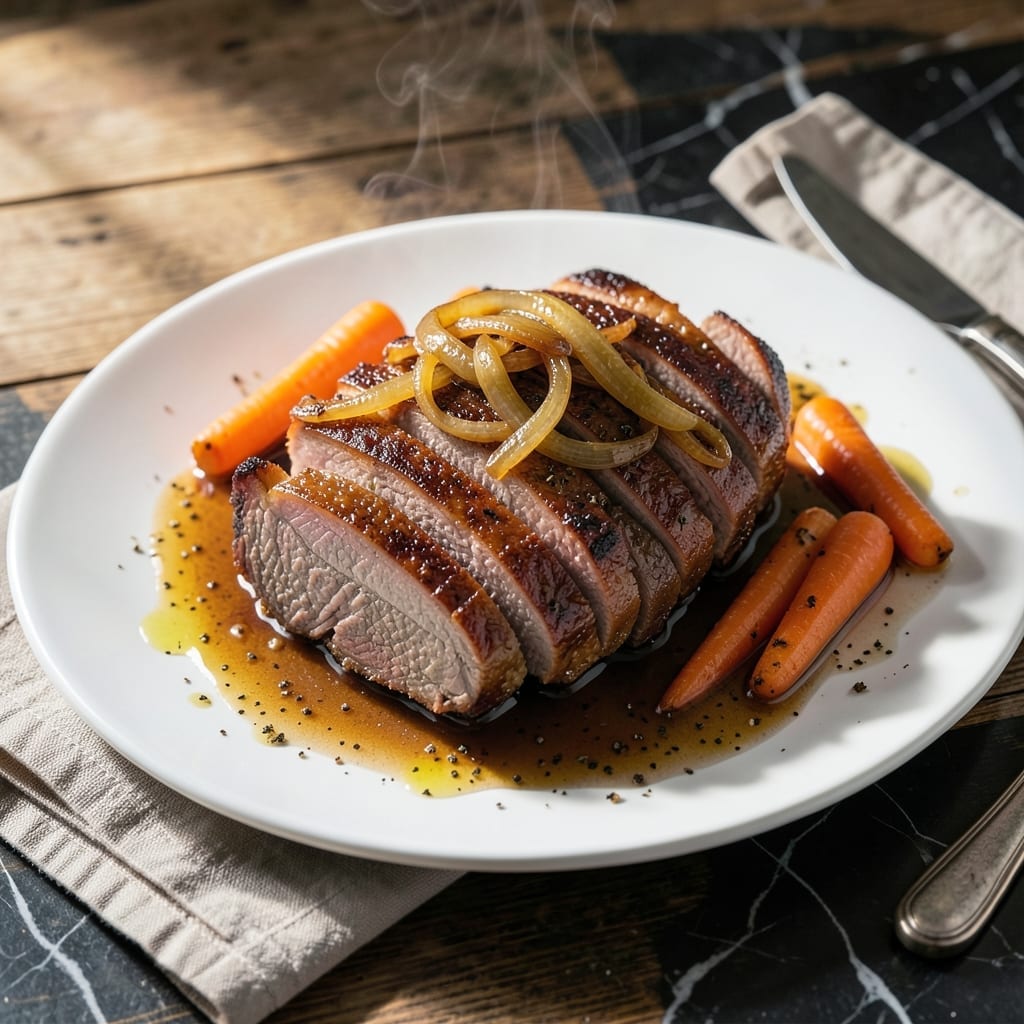
This rump roast recipe changed how I feel about slow cookers. Melt-in-your-mouth beef with almost zero effort? Yes, please.
I’ve burned through too many tough roasts to count. The trick is low heat, plenty of time, and a flavor-packed liquid that does all the work while you’re busy doing anything else.
What comes out is fall-apart tender beef soaked in rich juices, ready for sandwiches, tacos, or straight from the pot. No fancy techniques—just set it and forget it.
Perfect for Sunday dinner or meal prep for the week. Here’s how to nail it every time.
Ingredients for Tender Rump Roast Crock Pot
Pantry staples and a slow cooker turn this roast into something magical.
| Ingredient | Amount | Notes |
|---|---|---|
| Rump Roast 🥩 | 3 lb | Well-marbled, trimmed of excess fat |
| Beef Broth 🍲 | 2 cups | Low-sodium preferred for control |
| Worcestershire Sauce 🫒 | 2 tbsp | Adds umami depth to broth |
| Soy Sauce 🫒 | 1 tbsp | For saltiness and color |
| Onion 🧅 | 1 whole | Yellow or white, quartered |
| Carrots 🥕 | 3 whole | Peeled, cut into chunks |
| Celery Stalks 🥬 | 2 whole | Cut into large pieces |
| Garlic Cloves 🧄 | 4 cloves | Smashed for bold flavor |
| Bay Leaves 🍃 | 2 whole | Dried, for aromatic depth |
| Dried Thyme 🌿 | 1 tsp | Crushed between fingers |
| Dried Rosemary 🌿 | 1 tsp | Crushed for better infusion |
| Black Peppercorns 🌶️ | 1 tsp | Whole or coarsely ground |
| Kosher Salt 🧂 | 1 tsp | Adjusted to taste at end |
| Olive Oil 🫒 | 1 tbsp | For searing the roast |
| Red Wine 🍷 | ½ cup | Dry variety like Cabernet |
The beef is everything here. Look for well-marbled rump roast at Costco or your local butcher—marbling means flavor and tenderness. Avoid pre-cut stew meat; a whole roast gives better texture. I’ve had great luck with Certified Angus Beef (the good stuff). Size matters too: 3 pounds feeds 4 with leftovers, which you’ll want after tasting this.
No red wine? Extra beef broth with a splash of balsamic vinegar works. Out of Worcestershire? More soy sauce plus a pinch of sugar gets you close. The veggies are flexible—swap in potatoes, parsnips, or whatever’s in your crisper. The herbs can be fresh if you’ve got them (use triple the amount). Skip the pre-minced garlic in jars though—fresh cloves make a difference.
Leftovers taste even better the next day (the flavors just keep deepening). Stores 4-5 days in the fridge, freezes for 3 months. I portion mine into sandwich-sized containers—perfect for quick lunches or tacos all week.
Why You’ll Love This Recipe
- Set and Forget: I toss everything in the crock pot before work and come home to fall-apart tender beef.
- Umami Bomb: The Worcestershire and soy sauce combo gives it a deep, savory richness that’s ridiculous.
- Feeds the Gang: One 3-pound rump roast stretches for sandwiches, tacos, or Sunday dinner.
- Budget Hero: Honestly, this cheap cut turns into melt-in-your-mouth leftovers that last all week.
Step-by-Step Instructions for Slow Cooked Rump Roast
This method guarantees fall-apart tenderness with rich, deep flavors every time.
Step 1: Sear the Rump Roast for Maximum Flavor
Pat the 3 lb Rump Roast dry with paper towels—this ensures a proper sear. Heat the 1 tbsp Olive Oil in a large skillet over medium-high heat until shimmering. Sear the roast on all sides for 3-4 minutes per side until deeply browned.
You’ll know it’s ready to flip when it releases easily from the pan. This step creates a flavorful crust and locks in juices. Don’t rush it—patience here pays off in the final dish. Transfer the seared roast to your slow cooker.
Step 2: Build the Aromatic Base
To the slow cooker, add the 1 whole Onion (quartered), 3 whole Carrots (in chunks), 2 whole Celery Stalks (large pieces), and 4 cloves Garlic Cloves (smashed). These vegetables create a flavor foundation that infuses the meat as it cooks.
Sprinkle in the 1 tsp Dried Thyme, 1 tsp Dried Rosemary, 1 tsp Black Peppercorns, and 1 tsp Kosher Salt. Pour in the 0.5 cup Red Wine to deglaze the slow cooker slightly. The wine adds acidity that tenderizes the beef beautifully.
Step 3: Add Liquids and Slow Cook to Perfection
Pour the 2 cups Beef Broth, 2 tbsp Worcestershire Sauce, and 1 tbsp Soy Sauce over the roast and vegetables. The combination of these liquids creates a rich, savory braising liquid that breaks down the connective tissue in the meat.
Add the 2 whole Bay Leaves to the pot. Cover and cook on low heat for 8-10 hours or on high heat for 5-6 hours. You’ll know it’s done when the meat shreds easily with a fork. The house will smell incredible as it cooks.
Step 4: Rest and Serve
Carefully remove the roast from the slow cooker and let it rest on a cutting board for 10-15 minutes. This allows the juices to redistribute throughout the meat. Skim any excess fat from the surface of the cooking liquid if desired.
Slice or shred the rump roast against the grain for serving. Spoon the cooking liquid and vegetables over the top. The meat should be so tender it nearly falls apart at the touch of your fork, with every bite infused with the rich flavors of the slow cooking process.
Pro Tips For Making Tender Rump Roast Crock Pot
- Sear the Roast First: I learned this the hard way—skipping the sear leaves the beef bland. A quick 2-3 minutes per side in a hot pan with oil adds depth the crock pot can’t.
- Slice the Onion Thin: Sounds weird, but it works: thinly sliced onions melt into the broth, sweeten faster, and coat the meat better than chunks.
- Resist Lifting the Lid: Every time you peek, you lose 20 minutes of heat. I used to check constantly and wondered why my roast took forever to get tender.
- Use Low Heat Only: High heat might seem faster, but rump roast turns tough if rushed. 8 hours on low guarantees fall-apart tenderness—trust the process.
Storing and Reheating tender rump roast crock pot
Refrigerator Storage
Let the rump roast cool completely—about 2 hours—before storing. Transfer to airtight containers with some cooking liquid to keep it moist. It’ll stay fresh in the fridge for 4-5 days, and honestly, the flavors just get better overnight. ❄️
Freezer Storage
For longer storage, portion the roast and liquid into freezer-safe bags or containers. I love using quart-sized zip-top bags—they lay flat and save space. Label with the date, as it’ll keep well for up to 3 months without losing quality.
Stovetop Reheating
This is my go-to method for the best texture. Heat the beef and juices in a pot over medium-low heat for 10-15 minutes, stirring occasionally. Add a splash of beef broth if it looks dry. The meat will taste just as tender as day one. 🔥
Microwave Reheating
For quick meals, place portions in a microwave-safe dish with a bit of liquid. Cover with a damp paper towel and heat on 70% power for 2-3 minutes, stirring halfway through. This prevents the meat from drying out.
Repurposing Leftovers
Shred the beef for tacos, sandwiches, or loaded baked potatoes. The cooking liquid makes an amazing base for gravy—just thicken it with a cornstarch slurry. I always make extra just for this reason.
Nutrition Facts
Frequently Asked Questions
Do I need to sear the roast first?
Searing is highly recommended for the best flavor. It creates a caramelized crust that enhances the final dish. If short on time, you can skip it, but the depth of flavor will be noticeably different.
Can I use a different cut of beef?
Chuck roast works well as a substitute, but avoid lean cuts like eye of round. The marbling in rump or chuck ensures the meat stays tender during the long cooking process.
How do I know when it’s done?
The roast is ready when it shreds easily with a fork. For extra certainty, use a meat thermometer—it should read 195-205°F for perfect tenderness.
Can I cook this on high for less time?
Yes, but low heat yields the most tender results. If using high, check at 5-6 hours to prevent overcooking. The texture won’t be quite as melt-in-your-mouth.

- 6 Oz Chocolate Chip Cookie Recipe: Perfectly Balanced Crispy Edges and Chewy Hearts - September 25, 2026
- 6-Inch Coffee Cake Recipe: Vanilla Bean Swirls and Buttery Streusel Topping - September 25, 2026
- 1 Hour Soup Recipe: Velvety Richness Without the Wait - September 25, 2026