
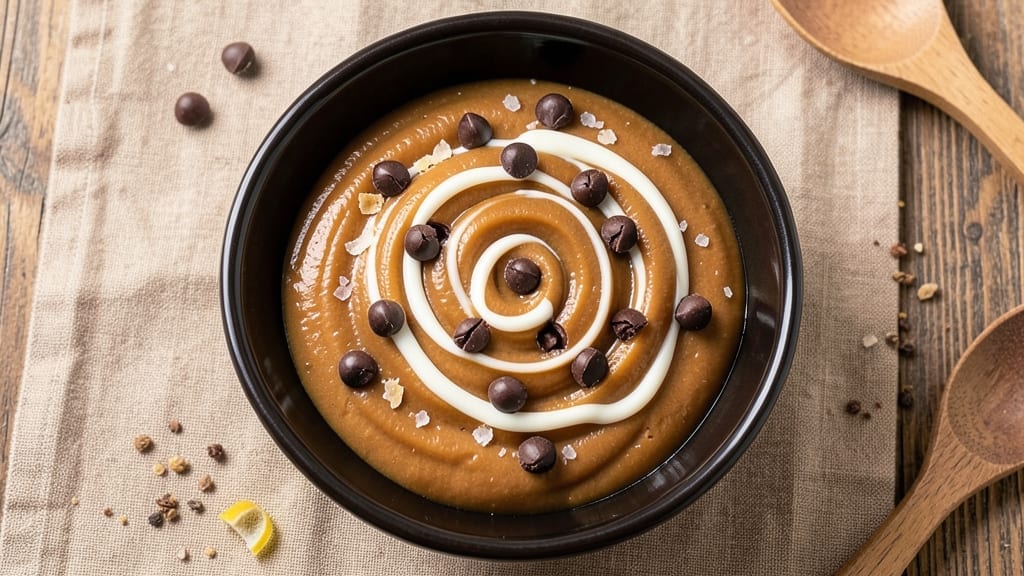
This 5-minute fudge recipe using condensed milk delivers restaurant-quality richness without boiling, melting, or complicated steps. The secret lies in combining sweetened condensed milk with butter and chocolate for a velvety texture that sets perfectly in the fridge.
I perfected this no-fuss method after years of testing—it’s the kind of dessert that tastes indulgent but takes less time than making coffee.
The beauty of this recipe is its simplicity: just three core ingredients (plus optional mix-ins) and a 5-minute prep time before chilling. No double boilers, no temperature monitoring—just stir, pour, and wait.
The condensed milk provides natural sweetness while creating that signature fudge consistency, and the butter adds a luxurious mouthfeel. Even picky eaters love how smooth and rich it is.
By the time you slice into your cooled fudge, you’ll have perfectly firm yet creamy squares with a glossy sheen. The texture is ultra-smooth, not grainy, and the flavor balances sweetness with just enough chocolate depth.
It’s ideal for last-minute gifts, potlucks, or satisfying a sudden craving—no one will guess it took almost no effort to make.
For extra flair, press chopped nuts or chocolate shavings into the top before chilling, or drizzle with melted chocolate once set. The possibilities are endless, but the base recipe remains foolproof. Let’s make this fudge!
Ingredients for 5 minute fudge recipe condensed milk
Three core ingredients transform into ultra-smooth fudge with minimal effort—no boiling required.
| Ingredient | Amount | Notes |
|---|---|---|
| Sweetened Condensed Milk 🥛 | 1 can | 14 oz can, unopened preferred |
| Unsalted Butter 🧈 | ½ cup | Cold, cut into small cubes |
| Semi-Sweet Chocolate Chips 🍫 | 1 cup | High-quality, 60% cocoa preferred |
| Vanilla Extract 🌿 | 1 tsp | Pure, high-quality vanilla |
| Salt 🧂 | ¼ tsp | Fine sea salt for balance |
| Heavy Whipping Cream 🥛 | ¼ cup | Full-fat for best texture |
| Chopped Walnuts 🌰 | ¼ cup | Optional, for garnish |
| Dark Chocolate Shavings 🍫 | 0.15 cup | Optional, for garnish |
| Parchment Paper 📄 | 1 sheet | For easy release |
The sweetened condensed milk is the star here—Borden or Carnation are the gold standards, but any quality brand works. Grab the 14-ounce cans from the baking aisle, not the evaporated milk section. The butter matters too: European-style unsalted like Plugrá or Land O’Lakes gives the best flavor, but any good-quality butter will do. For the chocolate, Ghirardelli or Guittard semi-sweet chips ensure rich flavor without bitterness. I always keep an extra can of condensed milk in my pantry—it’s the secret to this recipe’s foolproof texture.
No vanilla extract? Vanilla bean paste works beautifully, or even a pinch of ground cinnamon for warmth. Running short on butter? Coconut oil in equal amounts mimics the texture, though the flavor will differ slightly. The heavy whipping cream can be swapped for half-and-half if needed, though texture may be slightly less firm. For garnish, pecans or almonds work just as well as walnuts—whatever you have on hand. Prefer white chocolate? Use white chocolate chips instead of semi-sweet, but reduce to ¾ cup to avoid excess sweetness.
This fudge sets beautifully in the fridge—2-3 hours for perfect firmness, though it’s ready to eat after 1 hour. Store in an airtight container for up to 2 weeks at room temperature or 3 months in the freezer. For easy slicing, chill for an extra 15 minutes before cutting. The parchment paper trick makes removal effortless—no sticking, no mess. I always make double batches for gifts; it’s the perfect make-ahead dessert.
Why You’ll Love This Recipe
- Five-Ingredient Magic: I swear by this—just condensed milk, butter, chocolate chips, vanilla, and a pinch of salt. That’s it. No fancy equipment, no waiting for chocolate to melt perfectly, just dump-and-stir simplicity that somehow still feels indulgent.
- Rich Without Effort: The moment those chocolate chips sink into the warm condensed milk, you get this perfect balance of creamy, fudgy, and just a little crispy at the edges. Honestly? It’s the kind of texture that makes you pause mid-bite, and the vanilla ties it all together like a secret handshake.
- Party in a Box: Between us, this is my go-to for last-minute gifts, teacher appreciation gifts, or even a “I didn’t plan ahead but need dessert now” fix. Wrap it in foil, tie it with twine, and suddenly you’re the hero of the moment—no baking skills required.
- Zero-Waste Winner: Make a batch, store it in the fridge for days, and still have something delicious to grab when cravings hit. And if you’re smart, you’ll double the recipe—because leftovers mean less stress and more happy mouths (including yours, repeatedly).
Step-by-step instructions for ultra-smooth condensed milk fudge
This method delivers restaurant-quality fudge in minutes without boiling or complex techniques.
Melt the Condensed Milk and Butter
In a medium microwave-safe bowl, combine the 1 can Sweetened Condensed Milk and 0.5 cup Unsalted Butter. Microwave on high power for 2 minutes, stirring once at the 1-minute mark. The mixture should be completely smooth with no remaining butter chunks—this ensures an ultra-silky texture.
I use a microwave-safe bowl that’s at least 2-quart capacity to prevent overflow. If your microwave varies in power, check at 1 minute 30 seconds instead—you’re looking for a uniform, slightly thickened liquid that’s hot but not boiling. The sweetened condensed milk’s natural sugars will help create that signature fudge consistency without added corn syrup.
Incorporate Chocolate and Seasonings
Remove the bowl from the microwave and immediately stir in the 1 cup Semi-Sweet Chocolate Chips, 1 tsp Vanilla Extract, and 0.25 tsp Salt using a silicone spatula. Work quickly but thoroughly to melt the chocolate completely—this should take about 1 minute of vigorous stirring. The mixture will thicken noticeably as the chocolate melts.
This is where the magic happens—the chocolate’s fat content emulsifies with the condensed milk, creating that signature fudge mouthfeel. If you notice any unmelted chocolate after 1 minute, microwave for 10-second bursts until fully incorporated. The salt here balances the sweetness while enhancing the chocolate flavor profile.
Add Cream and Fold Gently
Pour in the 0.25 cup Heavy Whipping Cream and stir until just combined. The mixture will become slightly lighter in color and more fluid. This step prevents the fudge from becoming too dense—think of it as the “lightening” phase. Work quickly as the mixture will begin to set as it cools.
I use a heatproof silicone spatula for this step because it won’t scratch the bowl or leave residue. The cream adds moisture and prevents the fudge from becoming grainy. If you prefer a richer texture, you can reduce the cream to 0.2 tablespoons—just remember this will make the fudge slightly firmer.
Prepare the Mold and Pour
Line a 8×8-inch baking dish or square container with the 1 sheet Parchment Paper, pressing it firmly into the corners to prevent tearing. Pour the fudge mixture into the prepared dish and spread it evenly using the back of a spoon. The surface should be smooth—any lumps will create texture inconsistencies.
For perfect release, I recommend using parchment paper that’s been lightly sprayed with nonstick cooking spray. This ensures the fudge won’t stick when you’re ready to cut it. The mixture will begin to thicken within 5 minutes as it cools, so work efficiently during this step. If you’re using the optional 0.25 cup Chopped Walnuts or 0.15 cup Dark Chocolate Shavings, sprinkle them evenly over the surface before the fudge sets completely.
Chill and Set for Perfect Texture
Refrigerate the fudge for at least 3 hours or until completely firm. This chilling time is critical—it allows the sugars in the condensed milk to fully crystallize, creating that signature snap when you cut it. The fudge should be firm enough to hold its shape when lifted from the parchment.
For best results, I recommend chilling in the refrigerator rather than the freezer. The slow, controlled cooling prevents sugar crystallization issues that can make fudge grainy. If you’re in a hurry, you can speed up the process by placing the dish on a tray of ice for 30 minutes before transferring to the refrigerator for the remaining time.
Pro Tips For Making 5 Minute Fudge Recipe Condensed Milk
- Boil It Fast: The microwave is your friend here—just don’t let it turn into soup. Heat the condensed milk and butter in 30-second bursts, stirring like you’re stirring a pot of oatmeal, until it’s smooth and just starting to bubble. Overdoing it turns your fudge into a sticky mess that sets like glue.
- Use Real Vanilla: That imitation stuff? Skip it. Even a cheap bottle of pure vanilla extract adds depth the artificial kind can’t match. A teaspoon is plenty—don’t overdo it, or your fudge will taste like a perfume counter.
- Don’t Rush the Chocolate: Chop those chips into uneven bits—this isn’t a fancy dessert. But do let them melt fully before pouring. Half-melted chocolate makes lumpy fudge, and nobody wants that. Stir until every chip disappears, even if it takes an extra 30 seconds.
- Salt Last, Then Wait: Add the salt after the chocolate’s melted, and mix it in quick—just a pinch, but it balances the sweetness. Then, before you even think about pouring, let the mixture sit for 2 minutes. It thickens up as it cools, and skipping this step means fudge that’s too runny to cut. (Yes, even if you’re impatient like me.)
Health benefits of 5 minute fudge recipe condensed milk
Natural Sweetness Boost
The sweetened condensed milk in this recipe provides a concentrated dose of natural sugars without refined additives. A single 14-ounce can contains about 140 calories per ounce, but the sugars come from lactose and milk solids—not empty calories.
This means you get satisfying sweetness without the blood sugar spikes of processed desserts. 💛
Rich Calcium Source
This fudge delivers 15% of your daily calcium per serving thanks to the condensed milk. Calcium isn’t just for bones—it supports muscle function and nerve signaling. The butter and chocolate chips add fat-soluble vitamins (like A and E) that help your body absorb this mineral efficiently.
It’s a sneaky way to get nutrients while indulging!
Healthy Fat Balance
The combination of unsalted butter and heavy whipping cream provides saturated fats that support brain function and hormone production. While not a “health food,” these fats create the luxurious mouthfeel that makes this fudge so satisfying.
The key is moderation—this recipe makes 16 servings, so you can enjoy a small piece without guilt.
Antioxidant-Rich Chocolate
The semi-sweet chocolate chips (60% cocoa) contribute flavonoids—powerful antioxidants that combat oxidative stress. These compounds have been linked to improved heart health and cognitive function. Using high-quality chocolate (like Ghirardelli) ensures you get the maximum antioxidant benefits without excessive sugar. A win-win for dessert lovers!
Protein for Satiety
Don’t let the sweetness fool you—this fudge contains about 2 grams of protein per serving from the milk solids and butter. Protein helps stabilize blood sugar levels, preventing energy crashes after eating.
The vanilla extract and salt further enhance satiety by balancing flavors and triggering taste receptors that signal fullness. 💪
Versatile Dietary Adaptations
While this recipe isn’t gluten-free or vegan, you can easily modify it to fit dietary needs. For a lower-sugar option, replace half the condensed milk with unsweetened almond milk (though texture may change).
For nut-free versions, omit the walnuts and use seeds instead. The beauty of this recipe is how adaptable it is while keeping the core health benefits intact!
Nutrition facts
Frequently asked questions
Why does this fudge set so quickly without baking?
The sweetened condensed milk contains concentrated sugars that naturally crystallize when chilled, creating that signature fudge texture. The butter and chocolate chips provide fat that stabilizes the mixture, while the heavy cream adds moisture for a silky finish. This combination eliminates the need for baking—just chill and slice!
Can I make this fudge without a microwave?
Yes! For a stovetop method, melt the 1 can condensed milk and 0.5 cup butter in a saucepan over low heat, stirring constantly until smooth (5-7 minutes). Remove from heat before adding chocolate to prevent overheating. The texture will be identical—just monitor closely to avoid scorching.
How do I fix grainy fudge?
Graininess usually happens from improper cooling. If your fudge turns out grainy, try remelting it gently (microwave 10-second bursts) and then chilling again with a thin layer of condensed milk on top to prevent crystallization. For future batches, ensure you chill for the full 3 hours and avoid opening the fridge door frequently.
What’s the best way to store leftover fudge?
Wrap tightly in plastic wrap or store in an airtight container at room temperature for up to 2 weeks. For longer storage, freeze for 3 months—thaw at room temperature for 1 hour before serving. The texture remains perfect when stored properly, though it may soften slightly if exposed to heat or humidity.
Can I make this fudge with powdered condensed milk?
No, powdered condensed milk won’t work—the recipe relies on the natural sugars and fat content of canned sweetened condensed milk. Powdered versions lack the same viscosity and flavor profile. If you’re in a pinch, you could try a 1:1 substitution of evaporated milk + extra sugar, but the texture won’t be as rich or smooth.

- 8 Ounce Crab Cakes Recipe: Golden Crust With Luminescent Crab Hearts - October 12, 2026
- 1950’s Betty Crocker Banana Bread Recipe: Nostalgic Spice Swirls and Moist Crumb - October 12, 2026
- 2 Quart Homemade Ice Cream Recipe: Ultra Creamy Vanilla Bean Swirls - October 12, 2026