
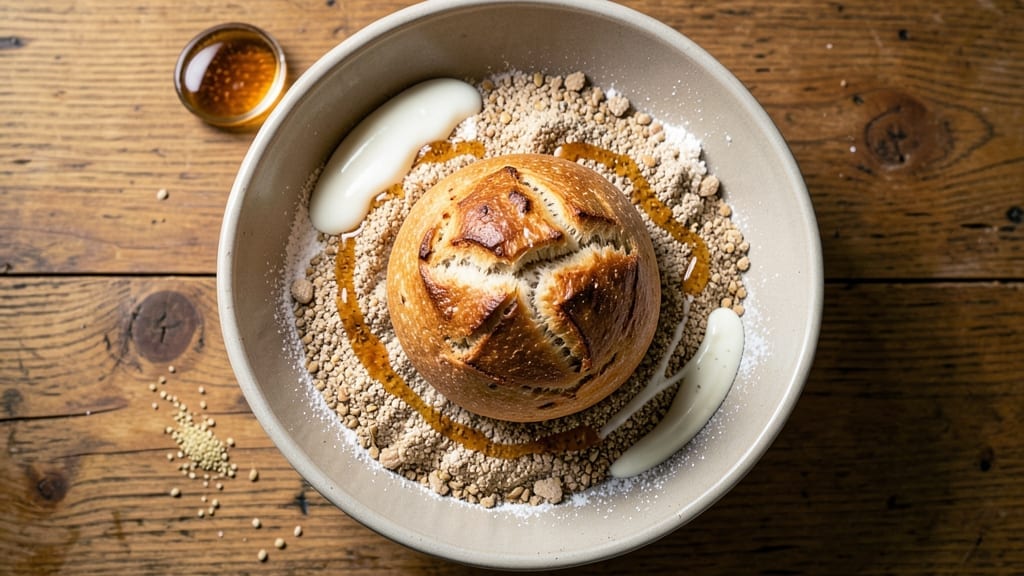
A 50/50 bread maker recipe transforms your appliance into a hands-off bakery, delivering a crusty loaf with a perfect balance of texture and tangy depth. This method combines equal parts whole wheat and white flour for a hearty, nutritious loaf that still rises beautifully in your machine.
The secret lies in precise hydration and a touch of honey to enhance browning—no manual kneading required.
What sets this recipe apart is its foolproof technique for bread makers, where the machine handles all the heavy lifting. You’ll mix ingredients in the pan, set the timer, and return to a golden-brown loaf with a crisp crust and tender crumb.
The 50/50 flour blend adds subtle earthiness, while a splash of yogurt keeps the dough supple without overworking it.
By the time your bread maker finishes, you’ll have a loaf that’s restaurant-quality—crusty enough to tear with your hands, yet soft enough to hold jam or butter without crumbling.
The tangy depth comes from a blend of whole grains and a hint of vinegar, creating a flavor profile that’s far more complex than standard white bread.
This recipe works equally well for breakfast toast, sandwiches, or gifting—just adjust the seed toppings (sesame, flax, or poppy) to suit your taste. The bread maker does all the work, leaving you free to enjoy the process. Let’s get started!
Ingredients for 50 50 bread maker
Equal parts flour, yogurt, and a touch of honey—your bread maker’s new best friend.
| Ingredient | Amount | Notes |
|---|---|---|
| All-Purpose Flour 🌾 | 2 cups | White flour for structure |
| Whole Wheat Flour 🌾 | 2 cups | Unbleached for earthy flavor |
| Plain Yogurt 🥛 | ½ cup | Unflavored, full-fat preferred |
| Active Dry Yeast 🍞 | 2 ¼ tsp | Or 1 packet instant yeast |
| Granulated Sugar 🍚 | 1 tbsp | For yeast activation |
| Honey 🍯 | 1 tbsp | Enhances browning, light flavor |
| White Vinegar 💧 | 1 tbsp | Adds tangy depth |
| Salt 🧂 | 1 ½ tsp | Kosher or sea salt |
| Warm Water 💧 | 1 ¼ cups | 110°F for yeast activation |
| Sesame Seeds 🌰 | 2 tbsp | Or flax/poppy seeds |
| Olive Oil 🫒 | 1 tbsp | For dough softness |
The flour blend is key here. King Arthur or Bob’s Red Mill whole wheat flours add great texture, but any unbleached whole wheat works. I grab mine from the bulk section at Whole Foods—cheaper and fresher. For the yeast, FreshPress instant yeast is my go-to (no proofing needed), but regular active dry works too if you let it proof for 5 minutes. The honey? Local raw honey gives the best flavor, but any light honey will do. If you’re near a farmers market, grab some—it makes all the difference in that crusty top.
No whole wheat flour? Substitute with extra all-purpose—just add 1 tsp vital wheat gluten to mimic the texture. Out of yogurt? Plain Greek yogurt works too, but regular yogurt keeps the dough softer. Vinegar can be swapped for lemon juice at half the amount if you’re out. The seeds? Whatever you like best—sesame, flax, or even sunflower seeds add crunch. For the oil, avocado oil has a higher smoke point if you’re worried about browning. And if your bread maker pan is new, grease it lightly with oil or use a silicone mat to prevent sticking.
Mix everything in the bread maker pan, then let the machine do its magic. The dough will look shaggy—that’s normal. For storage, keep the loaf in a bread bag at room temp for 2-3 days, or freeze slices for up to 3 months. To revive stale bread, wrap it in foil and warm in a 350°F oven for 5-10 minutes. This bread reheats beautifully—perfect for toast or sandwiches. I always make two batches: one for the week and one to freeze for lazy mornings.
Why You’ll Love This Recipe
- Hands-Off Rise: I set the dough and walk away—no kneading, no fuss. The bread maker does all the heavy lifting while I sip coffee or fold laundry. That tangy yogurt keeps it light, and the whole wheat adds just enough substance without the dryness.
- Tangy, Toasty Magic: The yogurt gives it a bright, almost buttery richness that plain white bread can’t touch. Between us, that 50/50 flour blend means it’s hearty enough for sandwiches but still soft enough to eat straight from the pan—no crust too tough to break.
- Weeknight Wonder: I make a double batch on Sundays, and it lasts through lunches, toast mornings, and even as a quick side for dinner. Freezes beautifully too—just thaw and slice. Honestly, it’s the one recipe that actually saves me time, not just takes it.
- Budget-Friendly Staple: Five ingredients, zero specialty items. The whole wheat cuts costs without sacrificing flavor, and a single batch stretches across meals. I’ll be real: this is the kind of bread that makes grocery day feel like a win.
Step-by-step instructions for 50/50 bread maker recipe
This hands-off method delivers a perfectly balanced loaf with crispy crust and tender crumb.
Activate the Yeast and Mix Wet Ingredients
In a small bowl, combine the 1.25 cups warm water (about 110°F), 1 tbsp granulated sugar, and 2.25 tsp active dry yeast. Let this sit for 5-10 minutes until frothy—this confirms your yeast is alive and ready to work. While waiting, mix the 0.5 cup plain yogurt, 1 tbsp white vinegar, 1 tbsp honey, and 1 tbsp olive oil in a separate bowl. The yogurt and vinegar create that signature tangy depth, while the honey adds subtle sweetness and helps with browning.
Here’s the thing—if your yeast doesn’t bubble within 10 minutes, start over. Cold water or old yeast will leave you with a flat, dense loaf. Once bubbly, add the wet mixture to your bread maker pan along with the 1.5 tsp salt. The salt should dissolve completely for even distribution throughout the dough.
Combine Dry Ingredients and Add to Pan
In a large bowl, whisk together the 2 cups all-purpose flour and 2 cups whole wheat flour. The 50/50 blend gives you that hearty texture without being too dense. Gradually add the flour mixture to the wet ingredients in the bread maker pan, mixing just until combined. You’ll want to scrape down the sides to ensure all the flour gets incorporated—this prevents dry spots in your final loaf.
Don’t overmix here. You’re looking for a shaggy dough that comes together when you press it with your fingers. If it’s too sticky, add 1-2 tablespoons more flour (though with these amounts, you shouldn’t need it). The whole wheat flour absorbs more moisture, so the dough will feel slightly heavier than all-white flour dough.
Set Bread Maker and Add Toppings
Select the “Basic” or “Whole Wheat” setting on your bread maker (if available) or use the “White” setting if that’s all you have. The machine will handle the kneading and rising automatically. Once the dough comes together, sprinkle the 2 tbsp sesame seeds evenly over the top—press them in lightly so they stick. These seeds add a delightful crunch and visual appeal to your crust.
Here’s where it gets easy: just close the lid and let the machine do its magic. The cycle typically takes about 3 to 3.5 hours, including kneading, rising, and baking. I like to set my timer so I don’t forget about it—nothing worse than burning bread in the oven.
Check for Doneness and Cool Properly
When the cycle completes, your bread will have that glorious golden-brown crust with a crack running down the middle. Tap the bottom—it should sound hollow. If it doesn’t, let it bake for an additional 5-10 minutes (most machines have a “delay” function for this). The internal temperature should reach 190-200°F when measured with an instant-read thermometer.
Resist the urge to slice immediately! Let the loaf cool on a wire rack for at least 30 minutes (I wait 1 hour if I can). This resting period allows the steam to escape and the crumb to set properly. If you cut too soon, you’ll end up with a gummy interior and a sad, flat loaf. Trust me, it’s worth the wait.
Pro Tips For Making 50 50 Bread Maker
- Measure Flours Properly: DESCRIPTION: Whole wheat flour packs differently than all-purpose—don’t scoop it straight from the bag. Spoon both flours into your measuring cups and level with a knife. I learned this the hard way when my first loaf turned dense; the extra flour was hiding in the gaps.
- Warm the Yogurt First: DESCRIPTION: Cold yogurt slows yeast activity, making your bread rise sluggishly. Microwave the yogurt for 10 seconds or place it in warm water for 2 minutes until it reaches body temperature. This small step guarantees a faster, more reliable rise—especially in cooler kitchens.
- Avoid Overmixing the Dough: DESCRIPTION: Once the bread maker starts kneading, resist the urge to peek or adjust. Overworking the dough with whole wheat flour develops too much gluten, resulting in a tough, chewy loaf. Let the machine do its job—your hands aren’t needed here.
- Use Fresh Yeast: DESCRIPTION: Old yeast is the silent killer of 50/50 bread. Check the expiration date on your active dry yeast—if it’s been sitting in your pantry for months, toss it. A quick float test (drop yeast in warm water with sugar; if it bubbles in 5 minutes, it’s good) saves you from a flat loaf.
Common mistakes when making perfect results
Over-Mixing the Dough
The bread maker does most of the work, but you still need to mix the dry ingredients properly. Overmixing in the pan creates a tough, dense loaf with a chewy texture. Stop mixing as soon as the dough comes together—it should look shaggy but hold its shape when pressed.
If it’s too sticky, add just 1-2 tablespoons of flour, but avoid overcorrecting. The whole wheat flour absorbs more moisture, so the dough will feel heavier than all-purpose flour dough. 🌾
Incorrect Yeast Activation
Skipping the yeast activation test or using water that’s too hot or cold can ruin your bread. The yeast needs 110°F water to activate properly—any hotter kills it, and colder water slows it down. If your yeast doesn’t bubble within 5-10 minutes, start over.
I always test mine first in a small bowl before adding it to the pan. Using expired yeast or the wrong type (like cake yeast) will leave you with a flat, dense loaf. 🍞
Skipping the Cooling Step
Cutting into hot bread is one of the biggest mistakes—it makes the crumb gummy and ruins the texture. Always let your loaf cool on a wire rack for at least 30 minutes before slicing. The steam inside needs time to escape, and the gluten structure needs to relax.
I know it’s tempting, but trust me, the wait is worth it for that perfect slice. If you’re in a hurry, wrap it in a towel and let it sit for 10 minutes before cutting. ✨
Wrong Flour Ratio
The 50/50 blend is intentional—it balances texture and nutrition. Using too much whole wheat flour can make the dough dry and dense, while too much all-purpose flour loses the hearty flavor.
Stick to the 2 cups each ratio, and if you’re substituting, use 1 tsp vital wheat gluten per cup of all-purpose flour to mimic whole wheat’s structure. The whole wheat flour also needs slightly more hydration, so don’t adjust the water if you’re making substitutions. 🌰
Ignoring the Machine Settings
Not all bread makers are created equal, and using the wrong setting can lead to underbaked or overproofed dough. Always choose the “Basic” or “Whole Wheat” setting if available—these are designed for denser doughs. If your machine only has a “White” setting, it might underbake the loaf.
Most machines have a “delay” function; use it to add 5-10 extra minutes if the bread sounds dull when tapped. The internal temperature should reach 190-200°F for perfect doneness. 🌡️
Forgetting to Grease the Pan
A dry or sticky dough can lead to a loaf that sticks to the pan, making it difficult to remove and ruining the crust. Always grease your bread maker pan with a light coat of olive oil or use a silicone mat before adding the dough.
If you’re using seeds like sesame, press them in lightly so they stick to the top—this adds flavor and texture but can also cause sticking if not secured properly. A well-greased pan ensures easy release and a beautiful crust. 🫒
Nutrition facts
Frequently asked questions
Why does this recipe use equal parts whole wheat and white flour?
The 50/50 flour blend creates a perfect balance—whole wheat adds fiber and nutty flavor while white flour keeps the texture light and easy to digest. Without the white flour, the loaf would be too dense, and without the whole wheat, you’d lose that hearty, satisfying bite. It’s a nutrition boost without sacrificing taste!
Can I make this recipe without a bread maker?
Yes, but with adjustments! Mix the dough by hand until sticky but not sticky, let it rise for 1-2 hours, then shape into a loaf and bake at 375°F for 30-35 minutes. The bread maker handles the kneading and proofing automatically, but you can mimic this process with extra time and attention. The texture won’t be identical, but it’ll still be delicious!
How do I know when the bread is fully baked?
Look for a golden-brown crust with a crack down the middle, and tap the bottom—it should sound hollow. For extra accuracy, use an instant-read thermometer to check the internal temperature at 190-200°F. If it’s underbaked, return it to the bread maker for an additional 5-10 minutes using the “delay” function.
What if my bread maker doesn’t have a “Whole Wheat” setting?
Use the “Basic” or “White” setting—just add 5-10 extra minutes to the cycle if needed. The whole wheat flour may require slightly more baking time to achieve full doneness. Most machines have a “delay” feature; use it to extend the bake cycle if the loaf sounds dull when tapped.
Can I add other mix-ins besides sesame seeds?
Try flaxseeds, poppy seeds, or even chopped nuts for extra crunch and flavor. Just press them lightly into the dough so they stick. Avoid heavy mix-ins like dried fruit, as they can make the dough too dense for the bread maker’s kneading cycle.
