
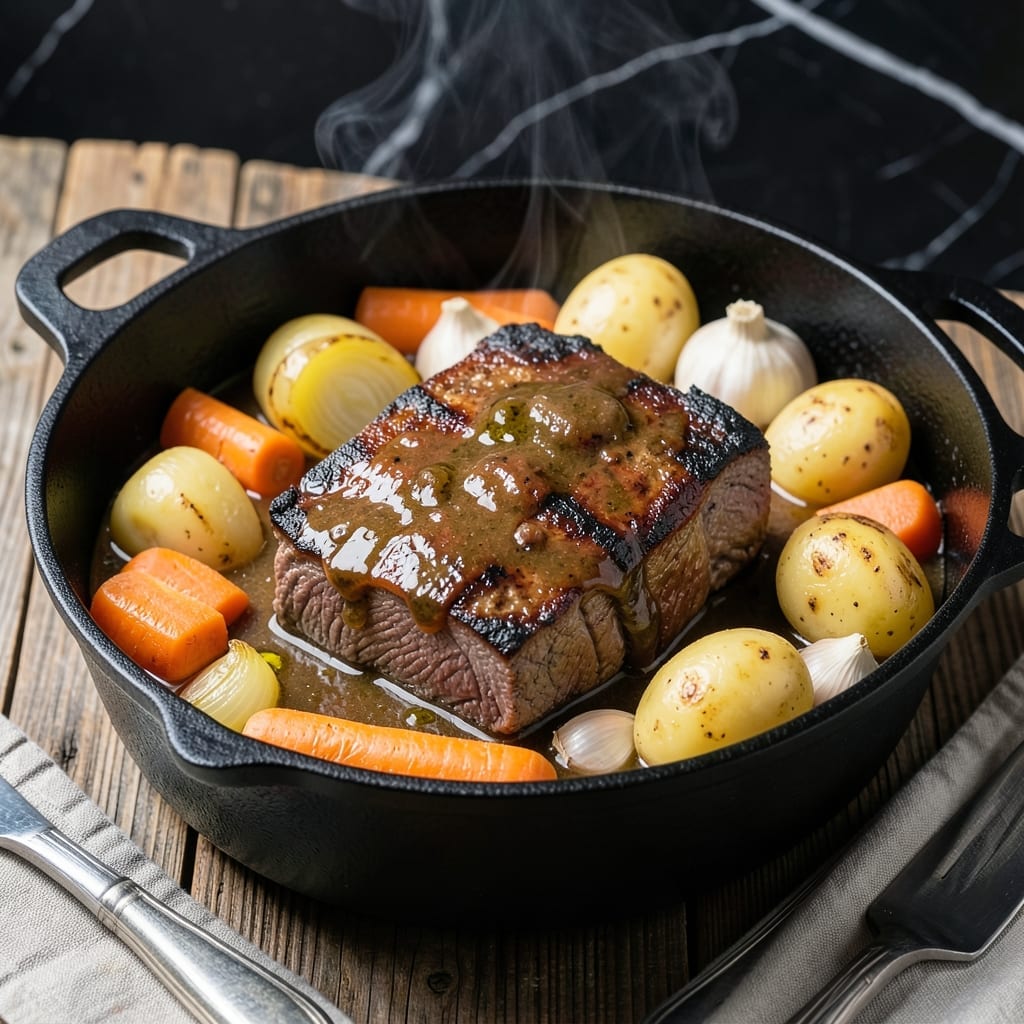
Preserving pot roast through canning brings the hearty flavors of slow-cooked beef and vegetables directly to your pantry shelf. This method ensures tender meat and rich broth are ready for quick, satisfying meals anytime.
The process combines traditional braising with modern canning safety to create shelf-stable results. Proper pressure canning techniques guarantee both safety and the preservation of that deep, savory taste you expect from a classic pot roast.
Each jar captures the essence of the dish—fall-apart beef, carrots, and potatoes bathed in a flavorful broth. The convenience means you can enjoy homemade quality without the hours of cooking.
Perfect for busy weeks or emergency meal planning, these canned jars deliver restaurant-worthy results with minimal effort when you’re ready to serve.
Ingredients for Canning Pot Roast
Hearty beef, tender vegetables, and rich broth for shelf-stable comfort in every jar.
| Ingredient | Amount | Notes |
|---|---|---|
| Beef Chuck Roast 🥩 | 3 lb | Well-marbled, cut into large chunks |
| Carrots 🥕 | 4 whole | Peeled and cut into 2-inch pieces |
| Yukon Gold Potatoes 🥔 | 2 lb | Peeled and quartered |
| Yellow Onion 🧅 | 2 whole | Peeled and quartered |
| Garlic Cloves 🧄 | 6 cloves | Smashed, peeled left whole |
| Beef Broth 🍲 | 4 cups | Low-sodium preferred for canning |
| Tomato Paste 🍅 | 3 tbsp | For depth of flavor |
| Worcestershire Sauce 🫒 | 2 tbsp | Adds umami richness |
| Dried Thyme 🌿 | 1 tsp | Crushed between fingers |
| Dried Rosemary 🌿 | 1 tsp | Crushed between fingers |
| Bay Leaves 🍃 | 2 pieces | Whole, removed before serving |
| Kosher Salt 🧂 | 2 tsp | Diamond Crystal preferred |
| Black Peppercorns 🌶️ | 1 tsp | Whole or coarsely ground |
| Olive Oil 🫒 | 2 tbsp | For searing beef |
The beef is non-negotiable here. Chuck roast (look for good marbling) breaks down beautifully during canning—round or brisket stay tougher. I grab mine from Costco for bulk savings, but any reputable butcher works. The carrots and potatoes should be firm and fresh (no sprouting or soft spots). Yukon Golds hold their shape better than russets in the jar.
No chuck? Short ribs or beef shank work but need longer cooking. Swap Yukon Golds for red potatoes if that’s what’s on hand. Out of fresh thyme? Dried at one-third the amount is fine. The Worcestershire adds depth—soy sauce plus a pinch of sugar in a pinch. San Marzano tomato paste (from a can) has the best flavor for canning.
Canned pot roast keeps for 1 year in a cool, dark pantry—check jars for seal before storing. Once opened, transfer to fridge and use within 5 days. Label with the date (don’t trust your memory). The broth thickens slightly over time—perfect for gravy when reheating.
Why You’ll Love This Recipe
- Set It and Forget: I toss the chuck roast and veggies in the jar, seal it, and let the canner do the work—no babysitting required.
- Fall-Apart Tender: The beef melts in your mouth, and the carrots and potatoes soak up the garlic-infused juices like a sponge.
- Feeds the Freezer: One batch makes enough for two meals, so I always have a hearty dinner ready for those no-time nights.
- Budget Stretcher: A cheap cut of beef turns into a rich, flavorful meal that fills up my family without breaking the bank.
Step-by-Step Instructions for Canning Pot Roast
Follow this method carefully and you’ll preserve tender beef and vegetables with rich, deep flavor.
Step 1: Sear the Beef Chuck Roast
Heat 2 tbsp olive oil in a large, heavy pot over medium-high heat until shimmering but not smoking. Pat the 3 lb beef chuck roast dry with paper towels and cut into large chunks. This ensures a good sear rather than steaming.
Working in batches to avoid crowding, sear the beef on all sides until deeply browned, about 4-5 minutes per side. The meat should develop a rich mahogany crust. Transfer the seared beef to a plate and set aside—this step builds the foundation of flavor for your canned dish.
Step 2: Build the Aromatic Base
In the same pot, add the 4 whole carrots (peeled and cut into 2-inch pieces), 2 whole yellow onion (peeled and quartered), and 2 lb Yukon Gold potatoes (peeled and quartered). Cook over medium heat for 5 minutes, stirring occasionally, until the onions begin to soften and develop light golden edges.
Stir in the 3 tbsp tomato paste and cook for 1-2 minutes until it darkens slightly and coats the vegetables. Add the 6 cloves garlic cloves (smashed and peeled), 1 tsp dried thyme, 1 tsp dried rosemary, 2 tsp kosher salt, and 1 tsp black peppercorns, stirring to combine. This creates a deeply flavorful base for your roast.
Step 3: Braise the Roast with Liquids
Return the seared beef to the pot along with any accumulated juices. Pour in the 4 cups beef broth and 2 tbsp Worcestershire sauce, stirring to combine. Add the 2 pieces bay leaves and bring the mixture to a gentle simmer.
Reduce the heat to low, cover, and let it cook for 2.5 to 3 hours, stirring occasionally, until the beef is fork-tender and easily shreds. The liquid should reduce slightly but still generously cover the meat and vegetables. This slow braise ensures the beef becomes meltingly tender while absorbing all the rich flavors.
Step 4: Prepare for Canning
Remove the 2 pieces bay leaves and discard. Ladle the hot pot roast mixture into clean, sterilized jars, leaving 1-inch headspace at the top. Be sure to distribute the beef, vegetables, and liquid evenly among the jars.
Remove any air bubbles by gently tapping the jars on a towel-lined countertop. Wipe the rims with a clean, damp cloth to ensure a proper seal. Process the jars according to your canner’s instructions for beef and vegetables to ensure safety and long-term preservation.
Pro Tips For Making Canning Pot Roast
- Sear the Chuck: Brown the beef chuck roast in batches in a hot pot—about 3-4 minutes per side—until it develops a deep crust. I learned this the hard way: skipping this step leaves the meat bland and the broth pale.
- Cut Evenly: Chop the carrots, potatoes, and onion into uniform 1-inch chunks so they cook at the same rate. Sounds fussy, but it works: no one wants mushy potatoes and crunchy carrots in the same jar.
- Skip Overpacking: Leave at least 1 inch of headspace in each jar to prevent liquid from spilling over during processing. My first batch overflowed, and I spent an hour cleaning the canner.
- Use Fresh Garlic: Swap powdered garlic for fresh cloves—2-3 per jar—peeled and lightly crushed. After canning with powder once, I noticed the fresh stuff actually changes the outcome with a brighter, more robust flavor.
Best Sauces and Condiments for This Dish
Classic Horseradish Cream
This tangy sauce cuts through the richness beautifully. I mix ½ cup sour cream with 2 tbsp prepared horseradish and 1 tsp Dijon mustard. Add 1 tbsp fresh lemon juice for brightness. It’s perfect for serving alongside the beef straight from the jar. 🌟
Rich Gravy Enhancement
Turn the canning liquid into instant gravy by simmering 2 cups broth from the jar with 2 tbsp cornstarch mixed with 2 tbsp cold water. Stir until thickened, about 3-4 minutes, then season with additional kosher salt and black pepper to taste.
Herb-Infused Butter
Melt ½ cup unsalted butter with 1 tbsp fresh parsley and 1 tsp dried rosemary. Drizzle this over the reheated pot roast for an extra layer of herbaceous flavor. I always keep a batch of this butter in my freezer for quick use.
Spicy Mustard Sauce
Combine ¼ cup whole-grain mustard with 1 tbsp honey and 1 tbsp apple cider vinegar. This sweet and tangy sauce pairs wonderfully with the savory beef. It’s also great for sandwiches made with leftover canned pot roast.
Garlic Mushroom Topping
Sauté 8 oz sliced mushrooms in 2 tbsp olive oil with 3 minced garlic cloves until golden. This earthy topping adds texture and depth to your meal. I love how it soaks up the rich juices from the canned roast. 💫
Pickled Vegetable Garnish
Quick-pickle 1 cup thinly sliced red onions in ½ cup apple cider vinegar, 1 tbsp sugar, and 1 tsp salt. Let sit for 30 minutes before serving. The acidity balances the richness perfectly.
Nutrition Facts
Frequently Asked Questions
What type of canner should I use?
Always use a pressure canner for beef—water bath canning won’t reach the required 240°F to kill harmful bacteria. A dial or weighted gauge canner both work, just follow manufacturer instructions for proper pressure.
How long will canned pot roast last?
Properly processed and sealed jars stay safe for 12-18 months in a cool, dark pantry. Once opened, transfer to the fridge and use within 5 days. Always check seals before storing.
Can I use a different cut of beef?
Yes, but choose well-marbled cuts like brisket or short ribs. These need longer cooking to become tender. Avoid lean cuts like sirloin—they’ll stay tough after canning.
Why did my jars fail to seal?
Common causes include not leaving enough 1-inch headspace, having food on the rim, or not processing long enough. Recheck your canner’s instructions for beef processing times.

- 4C Bread Crumbs Meatballs Recipe: Crispy Crust and Juicy Centers - September 25, 2026
- 6 Oz Chocolate Chip Cookie Recipe: Perfectly Balanced Crispy Edges and Chewy Hearts - September 25, 2026
- 6-Inch Coffee Cake Recipe: Vanilla Bean Swirls and Buttery Streusel Topping - September 25, 2026