
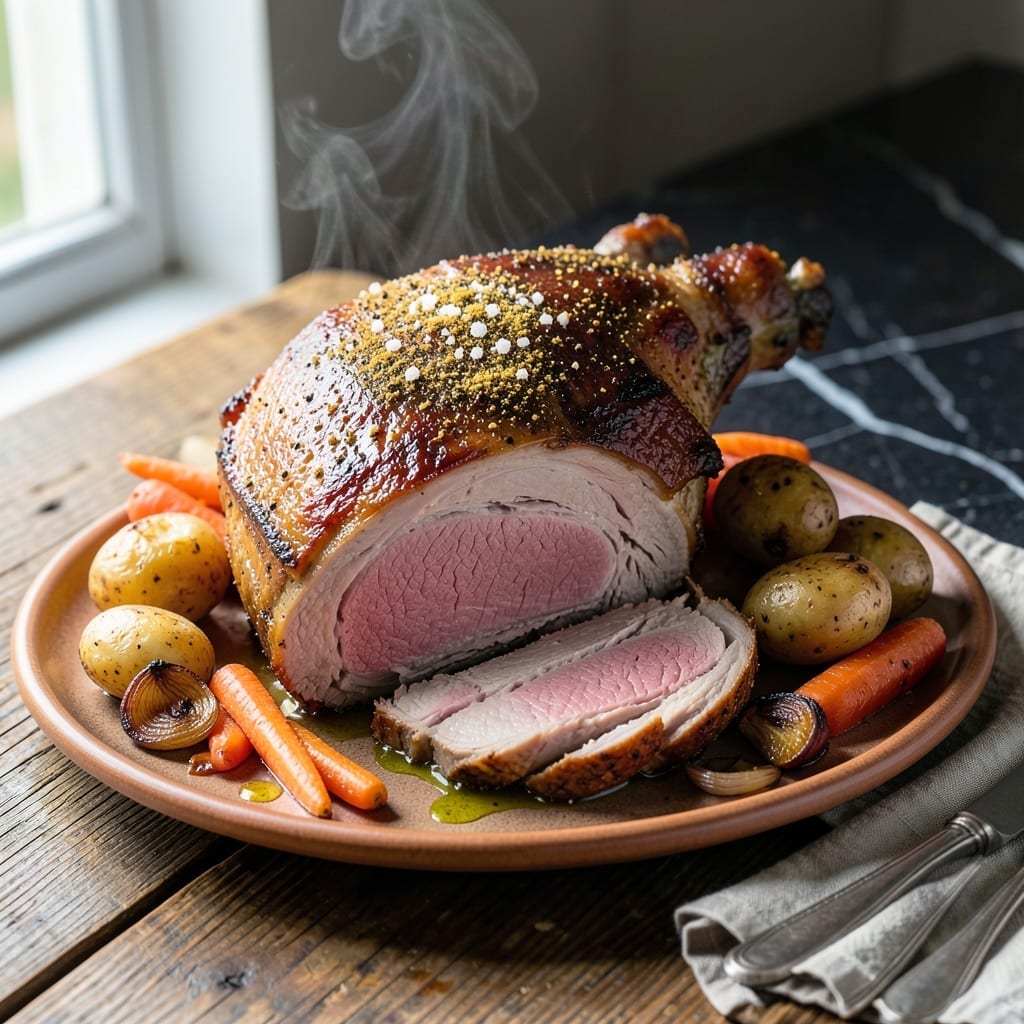
This Instant Pot arm roast transforms tough beef into meltingly tender perfection in a fraction of the time. The pressure cooker works magic on connective tissue, breaking it down into succulent, fall-apart meat that rivals slow-cooked versions.
I’ve refined this method to ensure the roast emerges juicy and flavorful every time. A quick sear locks in moisture, while the pressure cooking process infuses the beef with rich, savory depth. The result is a dish that tastes like it simmered all day.
With simple seasonings and minimal prep, this recipe delivers restaurant-quality results without the fuss. The beef absorbs every bit of the cooking liquid, creating a sauce so rich you’ll want to soak it up with every bite.
Serve it with mashed potatoes or crusty bread to complete the meal. This is comfort food at its finest, ready when you are.
Ingredients for Instant Pot Arm Roast
Simple ingredients transform tough beef into tender perfection in your pressure cooker.
| Ingredient | Amount | Notes |
|---|---|---|
| Beef Arm Roast 🥩 | 3 lb | Chuck roast preferred, well-marbled |
| Olive Oil 🫒 | 2 tbsp | Divided for searing and sautéing |
| Kosher Salt 🧂 | 1 ½ tsp | Diamond Crystal preferred |
| Black Pepper 🌶️ | 1 tsp | Freshly ground for best flavor |
| Garlic Powder 🧄 | 1 tsp | Not garlic salt |
| Onion Powder 🧅 | 1 tsp | Enhances savory depth |
| Dried Thyme 🌿 | 1 tsp | Crushed between fingers |
| Dried Rosemary 🌿 | 1 tsp | Crushed to release oils |
| Beef Broth 🥣 | 2 cups | Low-sodium preferred |
| Yellow Onion 🧅 | 1 whole | Medium, roughly chopped |
| Carrots 🥕 | 3 whole | Peeled, cut into chunks |
| Celery Stalks 🌿 | 3 whole | Cut into large pieces |
| Tomato Paste 🍅 | 2 tbsp | For umami richness |
| Worcestershire Sauce 💧 | 1 tbsp | Use vegetarian if needed |
| Bay Leaves 🍃 | 2 pieces | Dried, whole |
The beef is everything here. Chuck roast with good marbling breaks down beautifully under pressure—arm roast or bottom round work too. Look for bright red meat with white fat streaks (not gray or brown). Costco has great pre-portioned chuck roasts, or ask your butcher to cut a 3-pound piece. Avoid lean cuts like sirloin; they’ll stay tough no matter how long you cook them.
Need to swap the beef broth? Water plus a bouillon cube works in a pinch. Out of tomato paste? Ketchup at half the amount adds similar depth (just reduce sugar elsewhere). The Worcestershire can be omitted, but it adds that signature savory kick. Annie’s or Edward & Sons make vegetarian versions. Fresh herbs? Use 1 tbsp each of thyme and rosemary, but dried is more reliable for long cooking.
This tastes even better the next day once flavors meld. Refrigerate leftovers in an airtight container for up to 4 days, or freeze the meat in its juices for 3 months. The broth makes incredible gravy—just skim off the fat after chilling.
Why You’ll Love This Recipe
- Set and Forget: I toss the roast in with olive oil, salt, pepper, and garlic powder, then let the Instant Pot do all the work.
- Fallback Flavor: That garlic powder crust with the juicy beef inside? I could eat it every single week.
- Weeknight Hero: Between us, this is my secret for a hearty dinner after a long day—no stress, just great food.
- Leftovers for Days: One roast feeds my family for two nights, and the leftovers make incredible sandwiches.
Step-by-Step Instructions for Pressure-Cooked Beef Arm Roast
This method delivers fall-apart tender beef with rich, deeply flavored broth every time.
Step 1: Sear the Beef Arm Roast
Set your Instant Pot to the “Sauté” function and add 1 tbsp olive oil. Once hot, pat the 3 lb beef arm roast dry with paper towels and season generously on all sides with 1.5 tsp kosher salt, 1 tsp black pepper, 1 tsp garlic powder, and 1 tsp onion powder.
Sear the roast for 4-5 minutes per side until deeply browned and a crust forms. This step builds the foundation of flavor for the entire dish. Remove the beef and set aside on a plate—it will finish cooking under pressure.
Step 2: Sauté the Aromatic Vegetables
Add the remaining 1 tbsp olive oil to the Instant Pot. Stir in the roughly chopped yellow onion, peeled and chunked carrots, and large pieces of celery stalks. Sauté for 3-4 minutes until the vegetables begin to soften and develop some color.
Push the vegetables to the sides of the pot and add 2 tbsp tomato paste to the center. Cook for 1-2 minutes, stirring constantly, until the tomato paste darkens slightly. This intensifies its sweetness and umami depth.
Step 3: Deglaze and Pressure Cook
Pour in 1 tbsp Worcestershire sauce and 2 cups beef broth, scraping the bottom of the pot to release all the browned bits. Add the 1 tsp dried thyme, 1 tsp dried rosemary, and 2 pieces bay leaves, crushing the dried herbs between your fingers to release their oils.
Return the seared beef arm roast to the Instant Pot, along with any accumulated juices. Secure the lid, set the valve to “Sealing,” and cook on high pressure for 60 minutes. The meat will emerge fork-tender with a rich, velvety sauce.
Step 4: Rest and Shred the Beef
Allow the pressure to release naturally for 15 minutes, then quick-release any remaining pressure. Transfer the beef to a cutting board and let it rest for 5 minutes—this allows the juices to redistribute for maximum tenderness.
Using two forks, shred the beef into large, succulent pieces. Skim any excess fat from the surface of the cooking liquid if desired, then return the shredded beef to the pot to soak up the flavorful broth. Serve immediately with the vegetables for a hearty, comforting meal.
Pro Tips For Making Instant Pot Arm Roast
- Sear the Meat: I learned this the hard way—skipping the sear leaves the roast bland. Use 2 tablespoons of olive oil on high sauté mode to brown all sides of the arm roast before pressure cooking.
- Season Generously: Arm roast needs more salt than you think, especially with just kosher salt and black pepper. Coat the entire roast evenly, pressing the seasoning into the meat.
- Don’t Overfill: After burning three batches, I finally figured out the Instant Pot needs at least 1 cup of liquid to work properly. Never exceed the max fill line.
- Natural Release: Resist the urge to quick-release the pressure—let it sit for 10-15 minutes naturally. This keeps the arm roast tender instead of tough.
Make-Ahead Tips for This Dish
Prep Ahead Strategy
I always prep the veggies the night before—chop the onion, carrots, and celery and store in an airtight container. This saves 10 minutes on cooking day. The beef can also be seasoned and left covered in the fridge overnight, letting the salt penetrate deeply. 💡
Liquid Prep Tip
Measure out your beef broth and Worcestershire sauce in advance and keep them in the fridge. Cold liquids help prevent the Instant Pot from over-pressurizing during the initial heating phase. I use a 2-cup Pyrex measuring cup for easy pouring.
Morning Start
If cooking for dinner, start the searing process by 9 AM. The entire cook time is about 1.5 hours including pressure release. This timing ensures your roast is ready right when you need it, with flavors fully developed.
Make-Ahead Cooking
This dish actually improves overnight. Cook it fully, then refrigerate the beef in its juices. The next day, skim off any solidified fat and reheat on the “Sauté” function for 10-15 minutes. The flavors meld beautifully. ❄️
Freezer Meal Prep
For true make-ahead convenience, assemble everything except the searing step in a freezer bag. Freeze for up to 3 months. Thaw overnight in the fridge before cooking. I label my bags with the date and “Instant Pot Arm Roast” for easy identification.
Reheating Leftovers
Store leftovers in the cooking liquid to maintain moisture. Reheat portions in the microwave covered with a damp paper towel on 70% power for 2-3 minutes, stirring halfway. The broth prevents drying out.
Nutrition Facts
Frequently Asked Questions
Can I use a different cut of beef?
Yes! While chuck roast works best, arm roast or bottom round are great alternatives. Avoid lean cuts like sirloin as they won’t become tender under pressure.
How do I know when the roast is done?
After 60 minutes of pressure cooking, the beef should shred easily with forks. If it resists, cook for an additional 10-15 minutes on high pressure.
What if I get a burn notice?
Release the pressure, add 1/2 cup more liquid, and scrape the bottom of the pot well. Restart the cooking process, ensuring the valve is properly sealed.
Can I cook this from frozen?
Not recommended. Thaw overnight in the fridge for even cooking. Frozen meat may cook unevenly and could trigger a burn notice.

- 4C Bread Crumbs Meatballs Recipe: Crispy Crust and Juicy Centers - September 25, 2026
- 6 Oz Chocolate Chip Cookie Recipe: Perfectly Balanced Crispy Edges and Chewy Hearts - September 25, 2026
- 6-Inch Coffee Cake Recipe: Vanilla Bean Swirls and Buttery Streusel Topping - September 25, 2026