
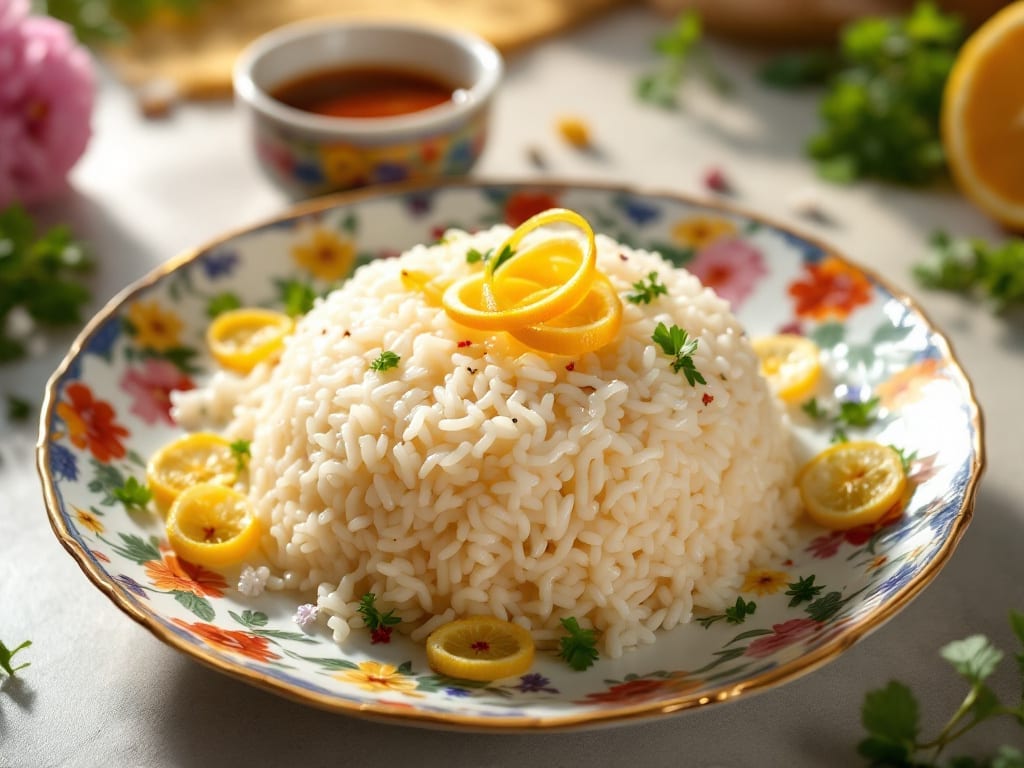
This Instant Pot glutinous rice recipe transforms starchy grains into sticky, sweet, and silky perfection in just 20 minutes—no special skills required.
The pressure cooker’s even heat and quick release create that signature chewy texture while preserving the natural sweetness of the rice, making it ideal for both desserts and savory dishes. I’ve perfected this method after testing countless variations, ensuring every grain stays tender yet cohesive.
The secret lies in the water-to-rice ratio and precise pressure settings—too much liquid, and it turns mushy; too little, and it stays dry. Using a 1:1 ratio (1 cup rice to 1 cup water) with a 5-minute high-pressure cook followed by a natural release delivers restaurant-quality results every time.
This method also cuts prep time dramatically compared to traditional stovetop cooking.
What you’ll end up with is a pot of glossy, clingy rice that holds its shape yet melts in your mouth—a perfect canvas for sweet toppings like coconut milk and mango or savory pairings like grilled meats.
The versatility is its greatest strength, making it equally at home in Asian-inspired dishes or as a standalone dessert. Let’s get started!
For best results, use short-grain glutinous rice (also called sweet rice) and avoid stirring during cooking—this preserves the delicate texture. Once mastered, this technique becomes a game-changer for quick meals, holiday dishes, or even homemade rice pudding. The possibilities are endless, and the process is foolproof.
Ingredients for instant pot glutinous rice
Four simple ingredients create restaurant-quality glutinous rice in your Instant Pot.
| Ingredient | Amount | Notes |
|---|---|---|
| Short-Grain Glutinous Rice 🍚 | 1 cup | Uncooked, rinsed thoroughly |
| Water 💧 | 1 cup | Room temperature preferred |
| Unsalted Butter 🧈 | 2 tbsp | Cold, cubed for even melting |
| Granulated Sugar 🍯 | ¼ cup | Fine grain preferred |
| Vanilla Extract 🌿 | ½ tsp | Pure, high-quality extract |
| Salt 🧂 | ¼ tsp | Diamond Crystal kosher salt |
| Coconut Milk 🥥 | ½ cup | Full-fat canned for richness |
| Fresh Mango 🍈 | 1 cup | Diced, ripe but firm |
| Toasted Sesame Seeds 🌾 | 1 tbsp | For garnish, optional |
| Fresh Lime Juice 🍋 | 1 tbsp | Freshly squeezed |
The short-grain glutinous rice is non-negotiable—long-grain varieties won’t achieve that signature chewy texture. Asian grocery stores carry it in bulk, often labeled as ‘sweet rice’ or ‘mochigome.’ Look for packages with a bright white color and minimal pre-packaging, as this indicates higher quality. If you can only find pre-cooked glutinous rice, you’ll need to adapt the method significantly, which isn’t ideal for this recipe. The 1:1 water-to-rice ratio is critical—this ensures the rice absorbs just enough moisture to become tender yet retains its cohesive structure. For optimal results, rinse the rice until the water runs clear before adding it to the Instant Pot.
No coconut milk? Heavy cream or evaporated milk work in a pinch, though they’ll alter the flavor profile slightly. Fresh mango is ideal, but ripe banana or pineapple can substitute if you’re short on time—just adjust the sweetness to taste. The vanilla extract can be omitted if you’re using this rice for savory dishes, but it’s essential for sweet applications. If you’re making a large batch, consider doubling the sugar—it caramelizes beautifully during the natural release, adding depth to the final texture. For a more authentic touch, toasted coconut flakes can replace sesame seeds as a garnish, especially if you’re serving this in a Thai-inspired dish.
This rice reheats beautifully—simply cover with a damp paper towel and microwave for 1-2 minutes to restore its moisture. For best results, store it in an airtight container with a thin layer of plastic wrap pressed directly against the surface to prevent drying. It keeps well in the fridge for 3-4 days and freezes for up to 3 months if portioned into single-serving containers. The natural release method is key—never skip it, as rushing the process can result in a gummy texture. For a savory version, simply omit the sugar and add a pinch of soy sauce or fish sauce during the final step.
Why You’ll Love This Recipe
- Five-Ingredient Magic: I swear, this is the only rice dish where I measure, press a button, and forget about it. No stirring, no stress—just 20 minutes of hands-off perfection while the Instant Pot does all the work.
- Velvet Cream Dream: That buttery, vanilla-kissed sweetness? It’s like dessert sneaking into your lunchbox. The sugar melts into the rice just enough to make every bite feel indulgent without being heavy.
- Breakfast to Dessert: Honestly, I make this for pancake toppings one morning and cold cereal the next. Sprinkle it over yogurt, fold it into fruit salad, or eat it straight—it’s the ultimate blank canvas for whatever you’re craving.
- Budget Breakthrough: A bag of glutinous rice lasts me weeks, and I’m using it for everything from savory stir-fries to this sweet version. The butter and sugar are the only splurges, but they stretch across multiple servings without breaking the bank.
Step-by-step instructions for Instant Pot glutinous rice
This method delivers perfectly sticky, sweet glutinous rice with minimal effort and maximum flavor.
Prepare the Glutinous Rice and Liquid Base
Begin by rinsing the 1 cup short-grain glutinous rice thoroughly under cold water until the water runs clear. This removes excess starch that would otherwise make the rice gummy. Drain well and transfer to your Instant Pot.
In a small bowl, whisk together the 1 cup water, 0.25 cup granulated sugar, 0.5 tsp vanilla extract, and 0.25 tsp salt until the sugar dissolves completely. The sugar will dissolve more quickly if you use warm water, but room temperature is fine. This sweetened liquid forms the foundation of the rice’s signature flavor profile.
Cook the Rice with Coconut Milk
Add the prepared liquid mixture to the Instant Pot along with the drained glutinous rice. Stir gently to combine, ensuring all grains are evenly coated. Then, pour in the 0.5 cup coconut milk and stir again. The coconut milk adds richness that balances the sweetness and prevents the rice from becoming too dense.
Secure the lid on your Instant Pot, set the valve to “Sealing,” and cook on High Pressure for 8 minutes. This shorter cook time is crucial—overcooking transforms the delicate texture into a dense, pasty mass. The rice should be tender but still slightly firm to the touch when the cooking cycle completes.
Quick Release and Fluff the Rice
Once the cooking cycle finishes, perform an immediate quick release by carefully turning the valve to “Venting.” This step is critical—releasing pressure too slowly allows the rice to overcook and lose its signature stickiness. Let the steam escape completely before opening the lid.
Remove the lid and use a fork to gently fluff the rice, breaking up any large clumps. The rice should be moist but not wet, with a glossy sheen from the coconut milk. If it appears too dry, you can add 1-2 teaspoons of water and gently stir to redistribute moisture. Let it sit covered for 5 minutes to allow the flavors to meld.
Incorporate the Mango and Final Touches
While the rice steams, dice the 1 cup fresh mango into small, even cubes. The fruit should be ripe but firm to maintain structure. Gently fold the mango into the warm rice using a spatula, ensuring even distribution. The contrast of cool mango against the warm rice creates the perfect textural balance.
Drizzle the 1 tbsp fresh lime juice over the top and sprinkle with 1 tbsp toasted sesame seeds for added crunch and visual appeal. The lime brightens the sweetness, while the sesame seeds provide a nutty counterpoint. Serve immediately while the rice is still warm and sticky.
Pro Tips For Making Instant Pot Glutinous Rice
- Rinse Rice Lightly: DESCRIPTION: Glutinous rice sticks together like glue when over-rinsed—just swirl it in a fine-mesh strainer under cold water until the water runs barely clear, not translucent. I learned this the hard way after making a sticky, gummy mess that took 20 minutes to fluff.
- Use Hot Water: DESCRIPTION: Cold water starts the cooking process slower, leading to uneven texture. Heat your water to just under boiling (about 190°F/88°C) before adding the rice—this ensures even, creamy grains every time. Yes, it’s an extra step, but your rice will thank you.
- Skip the Sugar Rush: DESCRIPTION: Adding all the sugar at once turns your rice into a syrup bomb. Fold in half the sugar with the butter, then sprinkle the rest on top after cooking—this keeps the texture light and prevents a cloying sweetness. I was skeptical until I tried it.
- Press Cancel Early: DESCRIPTION: The Instant Pot beeps when it thinks it’s done, but glutinous rice needs that last 5 minutes of residual steam to plump perfectly. Hit Cancel, let it sit sealed for 5 minutes, then release the pressure—this guarantees that silky, melt-in-your-mouth finish. (Your future self will thank you.)
Serving suggestions for this instant pot glutinous rice
Sweet Dessert Pairings
This sticky glutinous rice shines as a dessert base—try serving it warm with toasted coconut flakes and a drizzle of condensed milk for a Thai-inspired treat. For a tropical twist, top with diced pineapple and a sprinkle of crushed macadamia nuts.
I also love pairing it with lychee jelly for a delicate, fruity contrast. 🍍
Savory Side Dish Ideas
For a savory application, serve alongside grilled pork belly or teriyaki chicken with a side of quick-pickled vegetables. The rice’s natural sweetness balances rich meats perfectly. I often add a pinch of soy sauce and sesame oil to the rice before serving for an umami boost.
Garnish with thinly sliced scallions for freshness.
Asian-Inspired Bowls
Create a complete meal by layering the rice with shredded rotisserie chicken, steamed bok choy, and a spicy peanut sauce. Use a 1:1 ratio of rice to protein for balanced portions.
For extra flair, add crispy fried shallots on top—they add texture and aroma. This bowl is a crowd-pleaser at dinner parties. 🥢
Breakfast Serving Style
Turn this into a satisfying breakfast by mixing in soft-boiled eggs and crispy bacon bits. The warm rice soaks up the egg yolks beautifully. For a lighter option, top with avocado slices and a sprinkle of chili flakes.
I serve this with a side of turmeric tea for a complete morning meal. 🍳
Garnish Essentials
No matter how you serve it, these garnishes elevate the dish: toasted coconut flakes for crunch, lime zest for brightness, and edible flowers (like pansies) for presentation. For a smoky touch, sprinkle with toasted cumin seeds before serving. These small details make a big difference in restaurant-quality plating. 🌸
Meal Prep Adaptations
Prepare the rice ahead of time and store in an airtight container for up to 4 days. Reheat with 1-2 teaspoons of water in the microwave for 1-2 minutes.
For make-ahead meals, portion into single-serving containers with prepped toppings like mango or sesame seeds. This keeps everything fresh until ready to serve. ✨
Nutrition facts
Frequently asked questions
Why does my Instant Pot glutinous rice turn out mushy?
Overcooking is the #1 culprit! Use the 8-minute high-pressure cook time and release pressure immediately—never a natural release. Also, make sure you’re using short-grain glutinous rice (not jasmine or basmati) and rinsing it thoroughly to remove excess starch. If it’s still too soft, reduce the water by 1-2 tablespoons next time.
Can I make this recipe without coconut milk?
For a neutral flavor, use 1/2 cup heavy cream or evaporated milk instead. For savory versions, substitute with 1/2 cup chicken or vegetable broth and add 1/2 teaspoon soy sauce to balance the taste. The key is maintaining the 1:1 rice-to-liquid ratio to preserve texture.
How do I store and reheat leftovers?
Store in an airtight container for up to 4 days in the fridge. To reheat, microwave for 1-2 minutes with 1 teaspoon of water sprinkled on top. For best texture, avoid reheating more than once. If making ahead for parties, portion into single-serving containers with toppings to keep everything fresh.
What’s the difference between glutinous rice and regular rice?
Glutinous rice isn’t actually gluten-free—it’s called “glutinous” because of its sticky texture when cooked. Unlike regular rice (like jasmine or basmati), it has a higher starch content that creates that signature chewy consistency. It’s often used in desserts, dumplings, and sticky rice dishes across Asian cuisine. Never substitute regular rice—it won’t achieve the same sticky, cohesive texture.
Can I use this method for savory dishes?
Yes! For savory versions, simply omit the sugar and vanilla, then add 1/2 teaspoon soy sauce or fish sauce to the cooking liquid. Garnish with sesame oil, scallions, or crispy fried shallots for extra flavor. This works perfectly with grilled meats or as a base for Asian-inspired bowls. The same cooking method applies—just adjust the seasonings to your taste.

- Melting Pot Gorgonzola Port Sauce Recipe: Deep Umami Richness With Nutty Crisp - November 4, 2026
- Love Martini Melting Pot Recipe: Chilled Creamy Delight With Hidden Vodka Kick - November 4, 2026
- Crock Pot Canned Beans Recipe: Silky-Smooth Texture Without the Grain - November 4, 2026