
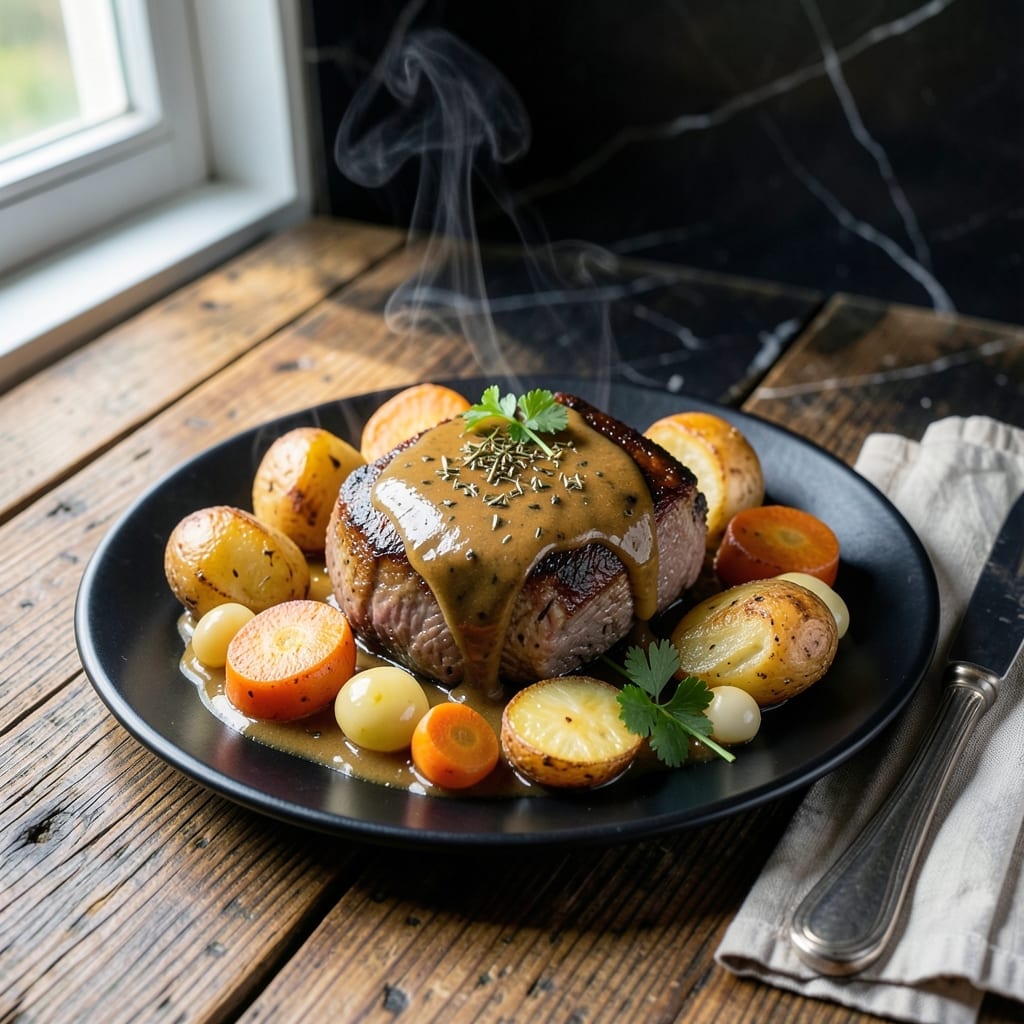
Achieving melting tenderness in pot roast has never been more straightforward than with this pressure-cooked method. The Instant Pot Ultra delivers consistent, professional results without the long braising time of traditional stovetop cooking.
This approach transforms tough cuts into fork-tender meat by harnessing precise pressure control. The sealed environment locks in moisture and flavor, ensuring every bite is rich and succulent. No special skills required—just reliable technique.
What emerges is a pot roast with deep, developed flavors and a texture that falls apart at the touch of a fork. The vegetables absorb the meat’s essence, creating a complete meal in one pot.
Ready in a fraction of the time, this method proves that quality doesn’t require compromise. The results speak for themselves.
Ingredients for Instant Pot Ultra Pot Roast
Professional results require quality ingredients and precise measurements for this pressure-cooked dish.
| Ingredient | Amount | Notes |
|---|---|---|
| Chuck Roast 🥩 | 3 lb | Well-marbled, boneless preferred |
| Kosher Salt 🧂 | 1 ½ tsp | Diamond Crystal brand recommended |
| Black Pepper 🌶️ | 1 tsp | Freshly ground for best flavor |
| Garlic Powder 🧄 | 1 tsp | Not garlic salt substitution |
| Onion Powder 🧅 | 1 tsp | Fresh ground preferred |
| Dried Thyme 🌿 | 1 tsp | Rubbed between fingers to release oils |
| Dried Rosemary 🍃 | 1 tsp | Crushed lightly before adding |
| Beef Broth 💧 | 1 cup | Low-sodium preferred for control |
| Worcestershire Sauce 🫒 | 2 tbsp | Lea & Perrins recommended |
| Russet Potatoes 🥔 | 1 ½ lb | Cut into 2-inch chunks |
| Carrots 🥕 | 4 whole | Peeled, cut into 2-inch pieces |
| Yellow Onion 🧅 | 1 whole | Large, chopped into chunks |
| Olive Oil 🫒 | 2 tbsp | For searing meat |
| Tomato Paste 🍅 | 2 tbsp | Double-concentrated preferred |
| Bay Leaves 🌿 | 2 pieces | Dried, whole leaves |
The chuck roast is non-negotiable for optimal texture. Costco offers well-marbled cuts at competitive prices, while Whole Foods provides organic options with superior fat distribution. Select a roast with visible intramuscular fat—this renders down during cooking, creating the signature tenderness. For the beef broth, Better Than Bouillon base produces a richer flavor than standard boxed versions.
No chuck roast? Bottom round or brisket can substitute, though cooking times may require adjustment. Vegetable broth with a dash of soy sauce mimics beef broth’s umami depth. Fresh herbs can replace dried at three times the quantity, but dried maintains better integrity under pressure. For the potatoes, Yukon Golds offer a creamier texture than Russets if preferred.
Store uncooked roast in the coldest part of the refrigerator for up to 3-4 days. Prepared leftovers keep for 5 days refrigerated or 3 months frozen. The flavor actually improves after a day as the meat reabsorbs the cooking liquid. Always bring refrigerated meat to room temperature before pressure cooking for even cooking.
Why You’ll Love This Recipe
- Set It and Forget: I toss the chuck roast in with salt, pepper, and those powders, seal the lid, and walk away—no babysitting required.
- Sunday Dinner, Wednesday Ready: Honestly, it’s my go-to for meal prep—cook once, eat for days, whether it’s sandwiches or over mashed potatoes.
- Budget Beef Win: A cheap chuck roast becomes a star, and I stretch it into multiple meals without breaking the bank.
Step-by-Step Instructions for Pressure-Cooked Pot Roast
This method guarantees fall-apart tenderness with rich, concentrated flavors in a fraction of traditional time.
Step 1: Season and Sear the Chuck Roast
Pat the 3 lb chuck roast dry with paper towels, then rub it evenly with the 1.5 tsp kosher salt, 1 tsp black pepper, 1 tsp garlic powder, 1 tsp onion powder, 1 tsp dried thyme, and 1 tsp dried rosemary. I crush the dried herbs between my fingers to release their oils before applying.
Set your Instant Pot to the “Sauté” function and add the 2 tbsp olive oil. When the oil shimmers, sear the roast for 4-5 minutes per side until deeply browned. This step builds a flavorful fond that will enrich the final dish. Transfer the meat to a plate and set aside.
Step 2: Sauté Aromatics and Deglaze
In the same pot, add the 1 whole yellow onion (chopped into chunks) and cook for 3 minutes until softened. Stir in the 2 tbsp tomato paste and cook for 1 minute to deepen its flavor. This creates a rich base for the cooking liquid.
Pour in the 1 cup beef broth and 2 tbsp Worcestershire sauce, then scrape the bottom of the pot with a wooden spoon to release all the browned bits. Add the 2 pieces bay leaves and return the seared chuck roast to the pot along with any accumulated juices.
Step 3: Pressure Cook the Roast and Vegetables
Arrange the 1.5 lb russet potatoes (cut into 2-inch chunks) and 4 whole carrots (peeled, cut into 2-inch pieces) around the roast in the pot. Secure the lid and set the valve to “Sealing.” Cook on high pressure for 60 minutes for melting tenderness.
The pot will take about 15 minutes to come to pressure before the cooking time begins. You’ll know it’s working when the float valve pops up. Let the pressure release naturally for 15 minutes after cooking, then quick-release any remaining pressure.
Step 4: Rest and Serve
Carefully remove the lid, tilting it away from you to avoid the hot steam. Transfer the chuck roast to a cutting board and let it rest for 10 minutes before slicing. This allows the juices to redistribute, ensuring moist, flavorful meat.
Serve the sliced pot roast with the cooked potatoes and carrots, spooning the rich cooking liquid over the top. The vegetables should be fork-tender, having absorbed the savory flavors of the cooking liquid, while the meat should pull apart effortlessly with a fork.
Pro Tips For Making Instant Pot Ultra Pot Roast
- Sear the Chuck: I learned this the hard way—skipping the sear leaves the roast bland, so use the sauté function with a little oil for 3-4 minutes per side until deeply browned.
- Use Enough Salt: Chuck roast needs more salt than you think, especially with just kosher salt and spices, so season aggressively before searing.
- Don’t Overfill Liquid: After burning a batch, I realized the Instant Pot only needs 1 cup of liquid max for pot roast—any more and the flavors get watered down.
- Let It Rest: Sounds weird, but it works: give the roast 10 minutes under foil after cooking to redistribute the juices before slicing.
Essential Equipment for Great instant pot ultra pot roast
Instant Pot Ultra
The Instant Pot Ultra is non-negotiable for this recipe, as its precise pressure control and altitude adjustment features ensure consistent results. I love its sterilize function for canning too. The 10-quart model works best for this 3 lb roast with vegetables. 🔥
Wooden Spoon
A wooden spoon is essential for deglazing the pot after searing. I prefer bamboo because it won’t scratch the stainless steel insert. Use it to scrape up all those flavorful browned bits when adding the beef broth and Worcestershire sauce.
Tongs
Invest in 12-inch locking tongs for safely turning the roast during searing. I recommend OXO Good Grips for their comfortable handles and sturdy construction. They also help when removing the cooked roast from the pot.
Cutting Board
A large plastic or wood cutting board gives you space to rest the roast before slicing. I use a John Boos maple board—it’s gentle on knives and looks great. The 10-minute rest is crucial for juicy meat.
Meat Thermometer
While not strictly necessary, a instant-read thermometer confirms doneness. I use ThermoWorks Thermapen for its speed and accuracy. The roast should reach 195-203°F internally for perfect tenderness.
Glass Measuring Cups
For precise liquid measurements, Pyrex glass measuring cups are my go-to. Measure the 1 cup beef broth and 2 tbsp Worcestershire sauce accurately. They’re also microwave-safe for reheating leftovers. 💡
Nutrition Facts
Frequently Asked Questions
Can I use a different cut of beef?
Yes, but chuck roast is ideal. Bottom round or brisket work too, though you may need to adjust the 60-minute cooking time. Avoid lean cuts like sirloin as they won’t achieve the same tenderness.
Do I need to brown the meat first?
Searing for 4-5 minutes per side creates a flavorful fond that enriches the dish. Skipping this step results in a less developed taste.
What if my roast is larger than 3 pounds?
For a 4-5 lb roast, increase pressure time to 80-90 minutes. Keep the liquid and seasoning amounts the same—they’re sufficient for the extra size.
Can I add other vegetables?
Yes! Try turnips, parsnips, or mushrooms. Add them with the potatoes and carrots, but ensure they’re cut to similar sizes for even cooking.

- 4C Bread Crumbs Meatballs Recipe: Crispy Crust and Juicy Centers - September 25, 2026
- 6 Oz Chocolate Chip Cookie Recipe: Perfectly Balanced Crispy Edges and Chewy Hearts - September 25, 2026
- 6-Inch Coffee Cake Recipe: Vanilla Bean Swirls and Buttery Streusel Topping - September 25, 2026