
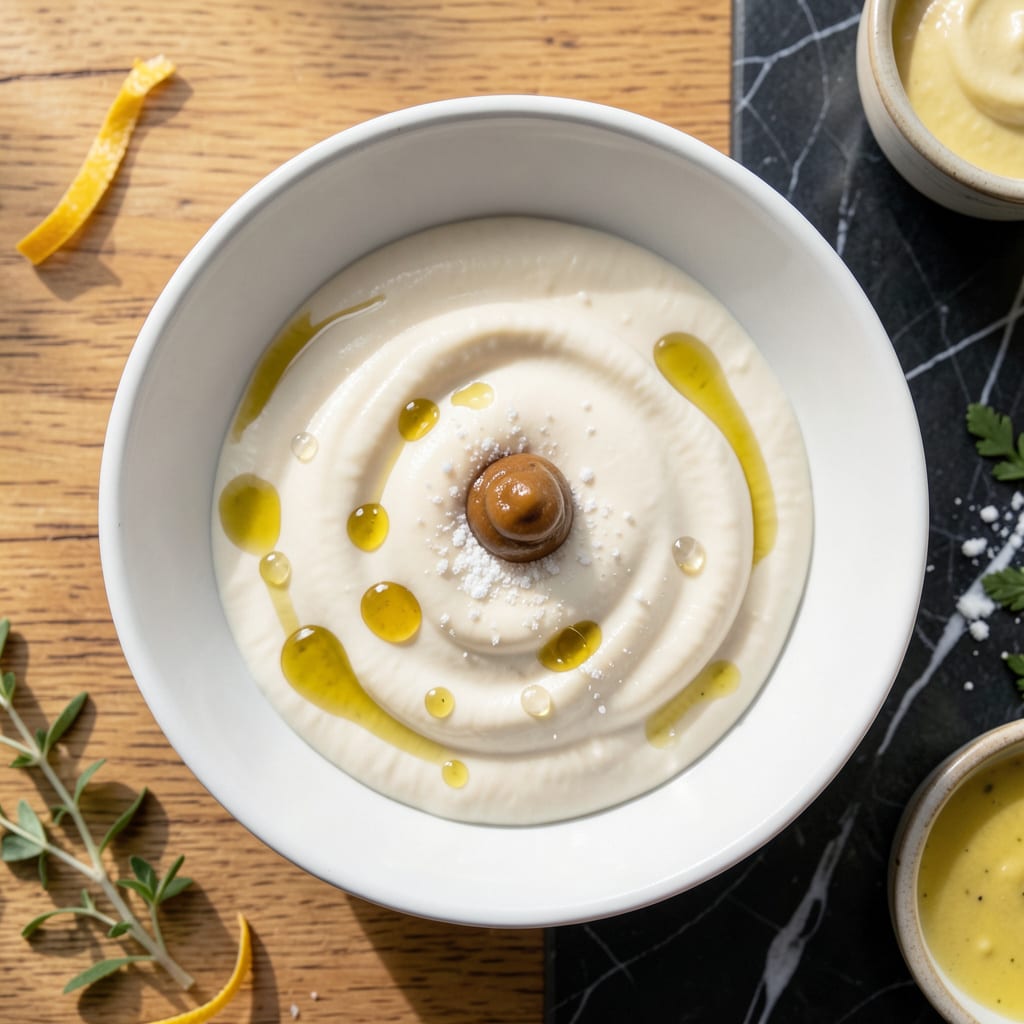
I’ve perfected a homemade mayonnaise that cuts oil without sacrificing texture. This version uses Greek yogurt for creaminess and a touch of lemon juice for brightness.
What you get is a silky, spreadable condiment that works on sandwiches, salads, or as a dip. It stays fresh for up to a week in the fridge.
Ingredients for Low Fat Homemade Mayonnaise
Eight simple ingredients create a lighter mayonnaise that still tastes rich and creamy.
| Ingredient | Amount | Notes |
|---|---|---|
| Non-Fat Greek Yogurt 🥛 | 1 cup | Plain, unsweetened, full-fat works too |
| Light Olive Oil 🫒 | ¼ cup | Mild flavor preferred for neutral taste |
| Dijon Mustard 🟡 | 1 tbsp | Smooth, not whole grain |
| Lemon Juice 🍋 | 1 tbsp | Freshly squeezed preferred |
| White Wine Vinegar 💧 | 1 tsp | Or apple cider vinegar |
| Garlic Powder 🧄 | ½ tsp | Not garlic salt |
| Salt 🧂 | ½ tsp | Fine sea salt or kosher |
| White Pepper 🌶️ | ¼ tsp | For subtle heat without color |
The Greek yogurt is the star here—Fage Total 0% or Chobani Non-Fat are my go-tos for that perfect tangy base without the oil. Use full-fat if you’re okay with a slightly richer texture (it’s still way lighter than traditional mayo). The olive oil needs to be mild—light olive oil or even avocado oil works. Skip the extra-virgin; it’s too assertive for this.
No Greek yogurt? Plain skyr or low-fat sour cream can fill in, though the texture will be thicker. Out of Dijon? Yellow mustard at half the amount works in a pinch. The lemon juice is non-negotiable for brightness, but bottled is fine (fresh just tastes better). Vinegar swap? Rice vinegar or champagne vinegar add a nice mild touch.
Keeps 7 days in the fridge in an airtight container. If it separates, just give it a good stir. Don’t freeze—yogurt doesn’t take well to thawing (gets grainy).
Why You’ll Love This Recipe
- No-Fuss Mixing: I just dump everything in a bowl and whisk—no fancy gadgets, no waiting.
- Tangy Brightness: The lemon and white wine vinegar give it that zing I crave in every sandwich.
- Meal Prep Hero: I make a batch Sunday and it keeps my wraps fresh all week.
- Pantry Friendly: Non-fat Greek yogurt and light olive oil are staples I already stock.
Step-by-Step Instructions for Low Fat Homemade Mayonnaise
This method delivers creamy richness with a fraction of the oil—trust the process, it works.
Step 1: Whisk the Yogurt and Mustard Base
In a medium bowl, combine the 1 cup Non-Fat Greek Yogurt and 1 tbsp Dijon Mustard. I use a wire whisk for this—it incorporates air and creates a smooth, lump-free base that mimics traditional mayo’s body.
Whisk vigorously for 1-2 minutes until the mixture is completely uniform and slightly thickened. You’ll notice the color lighten as air gets trapped in the mixture. This is your foundation, so take your time here.
Step 2: Slowly Emulsify the Oil
With one hand, begin whisking the yogurt mixture constantly. With your other hand, drizzle in the 0.25 cup Light Olive Oil in a very thin, steady stream. I’m talking about 1-2 drops at a time at first—this is crucial for proper emulsification.
The mixture will start to thicken and become glossy as the oil incorporates. If you add the oil too quickly, it’ll separate and you’ll end up with a greasy mess. Patience here ensures a stable, creamy emulsion that clings to the whisk.
Step 3: Add the Acidic Components
Once all the oil is incorporated, add the 1 tbsp Lemon Juice and 1 tsp White Wine Vinegar. The acidity brightens the flavor and helps stabilize the emulsion further.
Whisk for another 30-60 seconds until fully combined. You’ll smell that tangy brightness developing—that’s how you know the flavors are melding properly. The mixture should now have a pale, creamy appearance with a slight sheen.
Step 4: Season and Adjust
Add the 0.5 tsp Garlic Powder, 0.5 tsp Salt, and 0.25 tsp White Pepper. Whisk well to distribute the seasonings evenly throughout the mixture.
Taste and adjust the seasoning if needed—remember that the flavors will develop slightly as it chills. The garlic powder adds depth without overpowering, while the white pepper gives a subtle heat without dark flecks in your finished mayo.
Step 5: Chill and Thicken
Transfer the mixture to an airtight container and refrigerate for at least 1 hour before using. This chilling time allows the flavors to meld and the texture to thicken to that perfect spreadable consistency.
I’ve found it reaches optimal thickness after 2 hours in the fridge, but you can use it after just 1 hour if you’re in a hurry. The finished product should be smooth, creamy, and hold its shape on a spoon without being runny.
Pro Tips For Making Low Fat Homemade Mayonnaise
- Whisk Slowly: Add the light olive oil in a thin, steady stream while whisking—the faster you pour, the more likely it is to separate. I learned this the hard way after ruining two batches by rushing.
- Room Temp Yogurt: Take the non-fat Greek yogurt out of the fridge 15 minutes before mixing—cold yogurt can cause the oil to clump instead of emulsify.
- Skip the Overmixing: Once the mayo thickens, stop whisking. Overmixing after it sets can break the emulsion and turn it runny.
- Boost Flavor First: Mix the Dijon mustard, lemon juice, and white wine vinegar together before adding the yogurt—it distributes the tang evenly and saves you from stirring forever.
Pro Cooking Tips for This Dish
Emulsification Perfection
Start with room temperature yogurt—this helps the oil incorporate smoothly. I pull my Fage Total 0% from the fridge 30 minutes before mixing. Cold ingredients resist emulsification, leading to a broken sauce. 🌡️
Oil Drizzle Technique
Use a spouted measuring cup for the 0.25 cup Light Olive Oil. Drizzle from 6 inches above the bowl—this thin stream prevents oil pools. If it starts separating, whisk in 1 tsp cold water to rescue the emulsion.
Acid Balance
Add the 1 tbsp Lemon Juice last—its acidity helps stabilize the emulsion but can curdle the yogurt if added too early. The 1 tsp White Wine Vinegar adds depth without overpowering the tangy base.
Whisking Tools
A flat-bottomed bowl and balloon whisk create maximum surface area for air incorporation. I swear by my OXO Good Grips whisk—it fits perfectly in my 2-quart stainless mixing bowl. 💪
Texture Test
After chilling, test the consistency by dragging a spoon through it. The mayo should hold its shape briefly before leveling out. If too thick, whisk in 1-2 tsp water for a smoother spread.
Flavor Development
Let it sit 24 hours before final judgment—the garlic powder and white pepper need time to bloom. I always taste after 1 hour of chilling, then adjust salt if needed.
Nutrition Facts
Frequently Asked Questions
Can I use regular yogurt instead of Greek?
Regular yogurt will work but produces a thinner result. Strain it through a cheesecloth for 30 minutes first to thicken. Greek yogurt’s density is key for that classic mayo texture.
Why did my mixture separate?
This happens when oil is added too quickly. Start with 1-2 drops at a time while whisking constantly. If it separates, whisk in 1 tsp cold water to rescue it.
How long does this keep in the fridge?
It stays fresh for up to 7 days in an airtight container. The yogurt base may thicken further over time—just stir before using.
Can I make this without any oil?
Yes, but the texture will be less creamy. Replace the 0.25 cup oil with 2 tbsp water for a completely oil-free version. The flavor remains tangy and delicious.

- 8 Bean Soup Recipe Crock Pot: Hearty Vegetable Medley in One Pot - September 25, 2026
- 4C Bread Crumbs Meatballs Recipe: Crispy Crust and Juicy Centers - September 25, 2026
- 6 Oz Chocolate Chip Cookie Recipe: Perfectly Balanced Crispy Edges and Chewy Hearts - September 25, 2026