
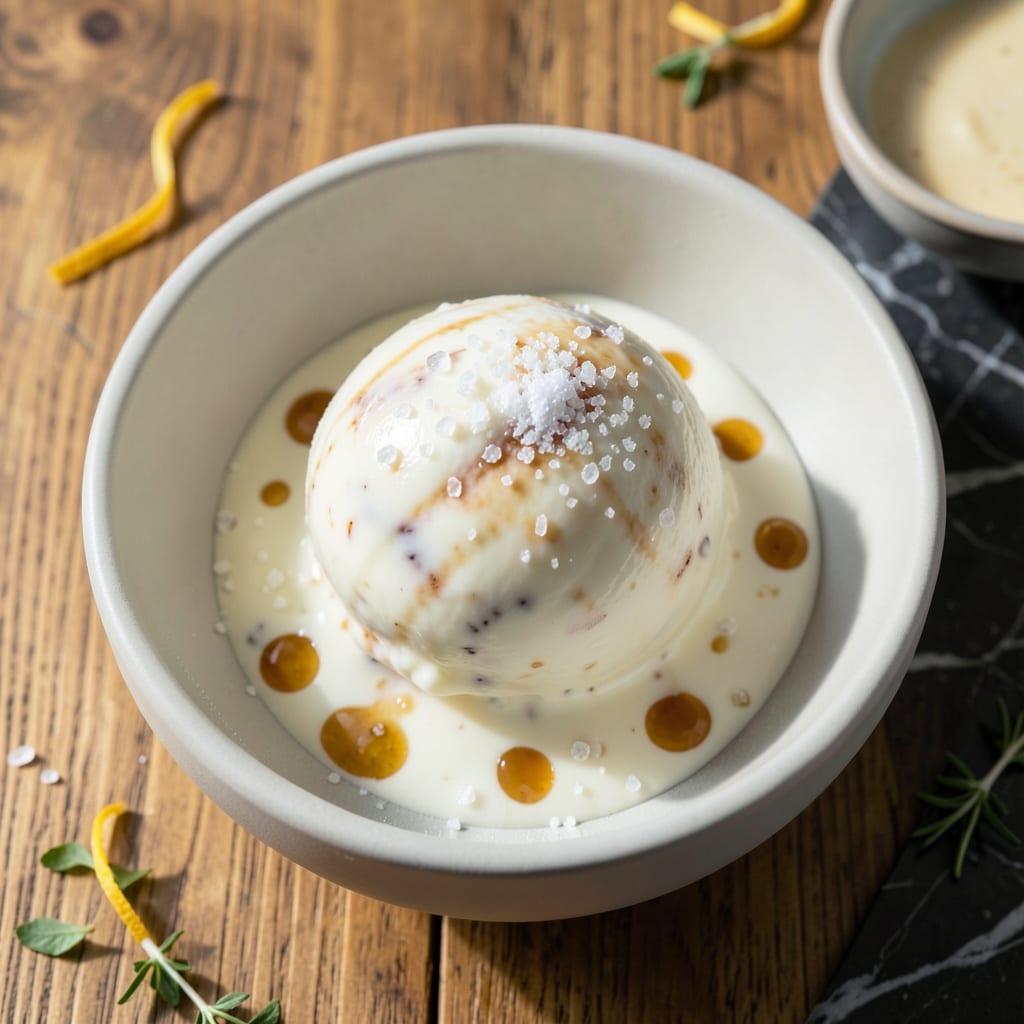
Achieving creamy ice cream without a trace of fat requires precision and the right technique. This method transforms simple ingredients into a velvety dessert that rivals traditional versions.
By carefully balancing sweetness and texture through controlled churning and temperature management, you create a treat that’s rich in flavor but light in guilt. The result is smooth, satisfying, and unexpectedly indulgent.
Ingredients for No Fat Ice Cream
Nine simple ingredients transform into a creamy frozen dessert without any added fat.
| Ingredient | Amount | Notes |
|---|---|---|
| Non-Fat Milk 🥛 | 2 cups | Cold, well-chilled |
| Granulated Sugar 🍚 | ¾ cup | Fine white sugar preferred |
| Non-Fat Greek Yogurt 🥛 | 1 cup | Plain, unsweetened variety |
| Vanilla Extract 🌿 | 1 tbsp | Pure vanilla for best flavor |
| Cornstarch 🌾 | 1 tbsp | For creaminess and stability |
| Salt 🧂 | ¼ tsp | Fine sea salt preferred |
| Lemon Juice 🍋 | 1 tsp | Freshly squeezed preferred |
| Egg Whites 🥚 | 2 whole | Pastured for best texture |
| Almond Extract 🌰 | ¼ tsp | Optional for depth of flavor |
| Water 💧 | ¼ cup | Ice cold for blending |
Non-fat dairy is essential here. Whole Foods 365 or Organic Valley carry excellent non-fat milk and Greek yogurt with superior texture. The yogurt must be plain and unsweetened—Fage or Chobani are reliable choices. Ensure all dairy is cold; temperature control is critical for achieving the velvety texture promised. Avoid ultra-filtered milks as they can be too thin.
No non-fat Greek yogurt? Regular non-fat yogurt strained through cheesecloth works at one-third less volume. For sweetener, agave or maple syrup can replace sugar, but may alter texture slightly. The cornstarch is non-negotiable—it’s doing the heavy lifting for creaminess. Vanilla bean paste can sub for extract, but use half the amount due to its potency.
The base keeps 3 days in the fridge before churning. Once churned, store in an airtight container for up to 2 weeks. Freeze in shallow containers for faster setting. For best results, let the ice cream sit at room temperature for 5-10 minutes before scooping.
Why You’ll Love This Recipe
- Minimal Effort: I just whisk the ingredients together, chill, and churn—no fancy techniques or special equipment beyond an ice cream maker.
- Creamy Vanilla Bliss: The Greek yogurt gives it that rich, velvety texture you’d expect from full-fat versions, and the vanilla shines through every bite.
- Weeknight Treat: Between us, it’s my go-to for sudden cravings or impromptu dinner parties since it comes together so fast.
- Budget Friendly: Non-fat milk and yogurt keep costs low, and I’ll be real: it makes a big batch that lasts all week without guilt.
Step-by-Step Instructions for No Fat Ice Cream
This method ensures a creamy, rich texture without any dairy fat—follow precisely for best results.
Step 1: Create the Sugar and Cornstarch Slurry
In a small bowl, whisk together the 0.75 cup Granulated Sugar, 1 tbsp Cornstarch, and 0.25 cup Water until completely smooth. The cornstarch will dissolve fully, creating a silky slurry that thickens the base as it cooks.
I use fine white sugar for optimal dissolution and a neutral sweetness profile. Ensure no lumps remain, as undissolved cornstarch will create an unpleasant grainy texture in the finished product. Set this mixture aside while you prepare the milk.
Step 2: Heat and Thicken the Milk Base
Pour the 2 cups Non-Fat Milk into a medium saucepan and warm over medium heat until it just begins to steam. Do not allow it to boil. Slowly whisk in the sugar-cornstarch slurry and continue heating, stirring constantly.
The mixture will thicken noticeably after 3-5 minutes, coating the back of a spoon. Remove from heat immediately when it reaches this consistency to prevent over-cooking, which can cause the cornstarch to break down and thin out.
Step 3: Temper and Incorporate the Egg Whites
In a separate bowl, lightly whisk the 2 whole Egg Whites with the 0.25 tsp Salt and 1 tsp Lemon Juice. Slowly pour about ½ cup of the hot milk mixture into the egg whites while whisking vigorously to temper them.
This gradual combination prevents the egg whites from curdling. Once tempered, pour the egg mixture back into the saucepan with the remaining milk. Return to low heat and cook for an additional 1-2 minutes, stirring constantly, until the base thickens slightly more and reaches 160°F.
Step 4: Cool and Add Flavorings
Transfer the mixture to a clean bowl and let it cool to room temperature, stirring occasionally to release heat. Once cool, whisk in the 1 cup Non-Fat Greek Yogurt, 1 tbsp Vanilla Extract, and 0.25 tsp Almond Extract until fully combined.
The yogurt adds body and a subtle tang, while the extracts provide depth of flavor. Ensure the mixture is completely smooth before proceeding. Cover and refrigerate for at least 4 hours or overnight to chill thoroughly.
Step 5: Churn to Perfection
Pour the chilled base into your ice cream maker and churn according to the manufacturer’s instructions, typically 20-25 minutes. The mixture will transform into a soft, creamy consistency, resembling soft-serve ice cream.
For a firmer texture, transfer to a lidded container and freeze for an additional 2-4 hours. The result should be smooth, velvety, and free of ice crystals, with a rich flavor that belies its lack of fat.
Pro Tips For Making No Fat Ice Cream
- Chill the Base: After mixing the custard, let it cool completely in the fridge for at least 4 hours—rushing this step leaves you with icy, grainy ice cream.
- Bloom the Cornstarch: Whisk the cornstarch into a little cold milk first to avoid lumps, then slowly add the rest of the milk while stirring. I learned this the hard way after fishing out clumps from my first batch.
- Skip the Boiling: Heat the milk mixture just until it thickens enough to coat the back of a spoon, around 160-170°F. Boiling it can scorch the milk and ruin the texture.
- Strain the Mixture: Sounds like an extra step, but straining the custard before churning removes any stray cornstarch bits and guarantees a silky-smooth texture.
Perfect Pairings for This no fat ice cream
Fruit Toppings
Fresh berries like strawberries, blueberries, or raspberries add natural sweetness and vibrant color. I toss 1 cup mixed berries with 1 tsp lemon juice to brighten flavors. A quick maceration in 1 tbsp sugar for 10 minutes creates a light syrup. 💫
Crunchy Additions
For texture contrast, try toasted almonds or granola. I crush ¼ cup almonds and toast them in a dry pan until golden. Sprinkle over scoops just before serving for maximum crunch. Low-fat graham crackers work well too.
Sauce Pairings
A drizzle of sugar-free chocolate syrup or fruit compote enhances flavor without added fat. I warm ½ cup frozen berries with 1 tsp cornstarch for a quick compote. Hershey’s makes a great sugar-free syrup option.
Beverage Matches
Pair with iced herbal tea like mint or hibiscus for a refreshing contrast. Coffee lovers might try a cold brew with 1 tsp vanilla syrup. For a decadent touch, a sparkling water with citrus works beautifully. ✨
Garnish Ideas
A sprinkle of cinnamon or unsweetened cocoa powder adds depth. I dust with ¼ tsp cinnamon just before serving. Fresh mint leaves provide a pop of color and aroma that complements the creamy texture.
Frequently Asked Questions
Can I skip the egg whites?
No, egg whites are essential for structure and creaminess. They provide protein that mimics fat’s role in texture. Omitting them may result in an icy final product.
Why use cornstarch?
Cornstarch acts as a thickener and stabilizer. It prevents ice crystals from forming, ensuring a smooth, velvety texture. Use 1 tbsp as specified for best results.
How long does it keep?
Store in an airtight container for up to 2 weeks. For best texture, let it sit at room temperature for 5-10 minutes before scooping.
What if I don’t have an ice cream maker?
Freeze in a shallow container, stirring vigorously with a fork every 30 minutes for 3-4 hours. This breaks up ice crystals manually.

- 8 Bean Soup Recipe Crock Pot: Hearty Vegetable Medley in One Pot - September 25, 2026
- 4C Bread Crumbs Meatballs Recipe: Crispy Crust and Juicy Centers - September 25, 2026
- 6 Oz Chocolate Chip Cookie Recipe: Perfectly Balanced Crispy Edges and Chewy Hearts - September 25, 2026