
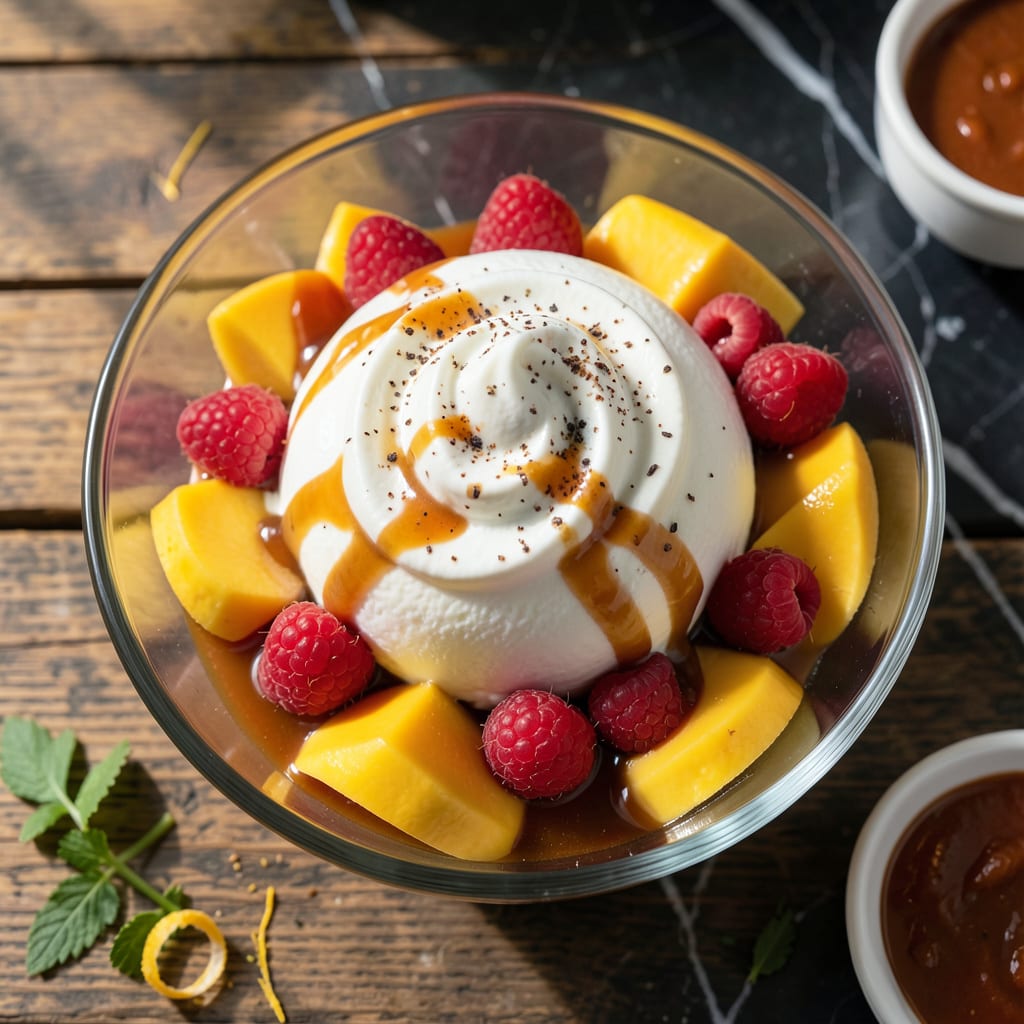
Achieving silky smooth ice cream without dairy fat requires precise technique and ingredient balance. This recipe delivers creamy texture through strategic use of stabilizers and air incorporation.
You’ll create a dessert that’s light yet satisfying, with perfect scoopability straight from the freezer. The method ensures no icy crystals—just pure, velvety indulgence without the guilt.
Ingredients for Nonfat Ice Cream
Precision-balanced ingredients create velvety texture without dairy fat for perfect scoopability every time.
| Ingredient | Amount | Notes |
|---|---|---|
| Nonfat Milk 🥛 | 4 cups | Whole or 2% for richer texture |
| Granulated Sugar 🍚 | 1 cup | Superfine for smoother dissolution |
| Cornstarch 🌾 | 3 tbsp | Acts as stabilizer and thickener |
| Nonfat Dry Milk Powder 🥛 | ½ cup | Boosts creaminess without fat |
| Vanilla Extract 🌿 | 2 tsp | Pure for best flavor |
| Salt 🧂 | ¼ tsp | Enhances all flavors |
| Xanthan Gum 🧪 | ¼ tsp | Prevents ice crystal formation |
| Lemon Juice 🍋 | 1 tbsp | Freshly squeezed for brightness |
| Egg Whites 🥚 | 4 whole | Whipped to incorporate air |
| Light Corn Syrup 🍯 | ¼ cup | Lowers freezing point for smoothness |
The stabilizers are critical here. Cornstarch and xanthan gum work synergistically—cornstarch thickens while xanthan prevents ice crystals. Nonfat dry milk powder (available at Whole Foods or most supermarkets) adds protein for creaminess without fat. Use ultra-pasteurized nonfat milk for the smoothest base; organic brands often have superior mouthfeel despite the lack of fat.
For the sugar, superfine granulated dissolves more readily than regular, but standard works in a pinch. No xanthan gum? Guar gum at the same ratio substitutes effectively. Skip the egg whites? The texture won’t be as light, but aquafaba (chickpea brine) whipped to stiff peaks works surprisingly well. Vanilla bean paste deepens flavor if you’re splurging on ingredients.
The base keeps 5 days refrigerated before churning. Once churned, store in an airtight container with parchment pressed to the surface to prevent ice crystals. Consume within 2 weeks for peak texture, though it remains palatable for 1 month.
Why You’ll Love This Recipe
- One Bowl Wonder: I just stir everything together in one saucepan—no fancy equipment, no mess.
- Velvety Vanilla: The dry milk powder makes it surprisingly rich and creamy, even without the fat.
- Weeknight Treat: Honestly, I make this after dinner on a whim and it’s ready before bedtime.
- Budget Friendly: Nonfat milk and pantry staples keep the cost way lower than store-bought pints.
Step-by-Step Instructions for Nonfat Ice Cream
Master this technique and achieve restaurant-quality texture with zero fat content.
Step 1: Create the Stabilizing Base
In a medium saucepan, whisk together the 4 cups Nonfat Milk, 1 cup Granulated Sugar, 3 tbsp Cornstarch, and 0.5 cup Nonfat Dry Milk Powder until completely smooth. The cornstarch prevents ice crystals while the dry milk powder boosts creaminess without adding fat.
Place the saucepan over medium heat and cook, stirring constantly with a silicone spatula, until the mixture thickens enough to coat the back of a spoon. This should take 8-10 minutes. Watch for the first bubbles—this is your signal to start timing.
Step 2: Temper and Incorporate the Egg Whites
In a separate bowl, whisk the 4 whole Egg Whites until frothy. Slowly ladle about 1 cup of the hot milk mixture into the egg whites while whisking constantly. This tempering process prevents the eggs from scrambling when added to the hot liquid.
Pour the tempered egg mixture back into the saucepan and return to medium-low heat. Cook for an additional 2-3 minutes, stirring constantly, until the mixture reaches 160°F on an instant-read thermometer. The consistency should resemble thick custard.
Step 3: Add Final Flavorings and Stabilizers
Remove the saucepan from heat and stir in the 2 tsp Vanilla Extract, 0.25 tsp Salt, 0.25 tsp Xanthan Gum, 1 tbsp Lemon Juice, and 0.25 cup Light Corn Syrup. The xanthan gum acts as a powerful stabilizer, while the corn syrup lowers the freezing point for a smoother texture.
Strain the mixture through a fine-mesh sieve into a clean bowl to remove any cooked egg bits or lumps. This ensures a perfectly smooth base. Press plastic wrap directly against the surface to prevent a skin from forming as it cools.
Step 4: Chill Thoroughly Before Churning
Refrigerate the mixture for at least 4 hours, or preferably overnight. This chilling period is crucial—it allows the flavors to meld and the mixture to reach the proper temperature for churning. I always make the base the night before to ensure it’s completely cold.
The mixture should be 40°F or below before churning. If you’re in a hurry, you can place the bowl in an ice bath and stir occasionally to speed up the process, but don’t skip this step entirely.
Step 5: Churn to Silky Perfection
Pour the chilled mixture into your ice cream maker and churn according to the manufacturer’s instructions, typically 20-25 minutes. The ice cream is ready when it resembles soft-serve and holds its shape when scooped.
Transfer to a lidded container and freeze for at least 4 hours to firm up completely. The result should be smooth, creamy, and free of ice crystals—proof that you don’t need fat for incredible texture. Serve slightly softened for the best scoopability.
Pro Tips For Making Nonfat Ice Cream
- Whisk Cornstarch First: Mix the cornstarch with a little cold nonfat milk before adding it to the warm mixture—I learned this the hard way after dealing with lumpy ice cream base.
- Heat It Slow: Warm the milk mixture over medium-low heat, stirring constantly, or you’ll risk scorching the nonfat dry milk powder.
- Chill Thoroughly: After cooking, let the base cool completely in the fridge, at least 4 hours, or your ice cream will turn icy instead of creamy.
- Boost Flavor Late: Add the vanilla extract only after the mixture has cooled slightly, so the heat doesn’t cook off its aroma.
Storing and Reheating This Dish
Freezer Storage
Transfer to an airtight container with parchment pressed directly against the surface. This prevents ice crystals from forming on top. Store at 0°F or below for up to 2 weeks for the smoothest texture. I use OXO pop containers for their tight seal. ❄️
Fridge Storage
If you need to delay churning, the base keeps in the fridge for 5 days. Use a sealed container and press plastic wrap against the surface. The flavors actually deepen during this time, making the ice cream taste even better.
Thawing for Serving
Let the ice cream sit at room temperature for 5-10 minutes before scooping. This softens it just enough for perfect scoopability. Avoid microwaving, as it can create hot spots that melt the ice cream unevenly.
Long-Term Freezing
For storage beyond 2 weeks, wrap the container in heavy-duty aluminum foil to prevent freezer burn. It remains safe to eat for up to 1 month, though the texture may become slightly less smooth.
Reviving Texture
If your ice cream develops ice crystals after long storage, let it soften slightly, then whisk vigorously with a fork. This breaks up crystals and restores some creaminess. Add 1 tsp corn syrup and re-churn if needed. 💡
Frequently Asked Questions
Can I make this without an ice cream maker?
Yes, but texture will differ. Freeze in a shallow dish, stirring vigorously with a fork every 30 minutes for 3-4 hours to break up crystals. It won’t be as smooth but still delicious.
Why use cornstarch and xanthan gum together?
Cornstarch thickens the base while xanthan gum prevents ice crystals. Together, they mimic the creaminess of full-fat versions without dairy fat.
Can I substitute honey for sugar?
Honey can replace up to half the sugar, but its higher moisture content may create a softer texture. Reduce other liquids by 1-2 tbsp to compensate.
How do I prevent icy texture?
Ensure the base is fully chilled before churning and don’t overfill your machine. Adding 1 extra tsp xanthan gum helps stabilize the mixture further.

- 8 Bean Soup Recipe Crock Pot: Hearty Vegetable Medley in One Pot - September 25, 2026
- 4C Bread Crumbs Meatballs Recipe: Crispy Crust and Juicy Centers - September 25, 2026
- 6 Oz Chocolate Chip Cookie Recipe: Perfectly Balanced Crispy Edges and Chewy Hearts - September 25, 2026