
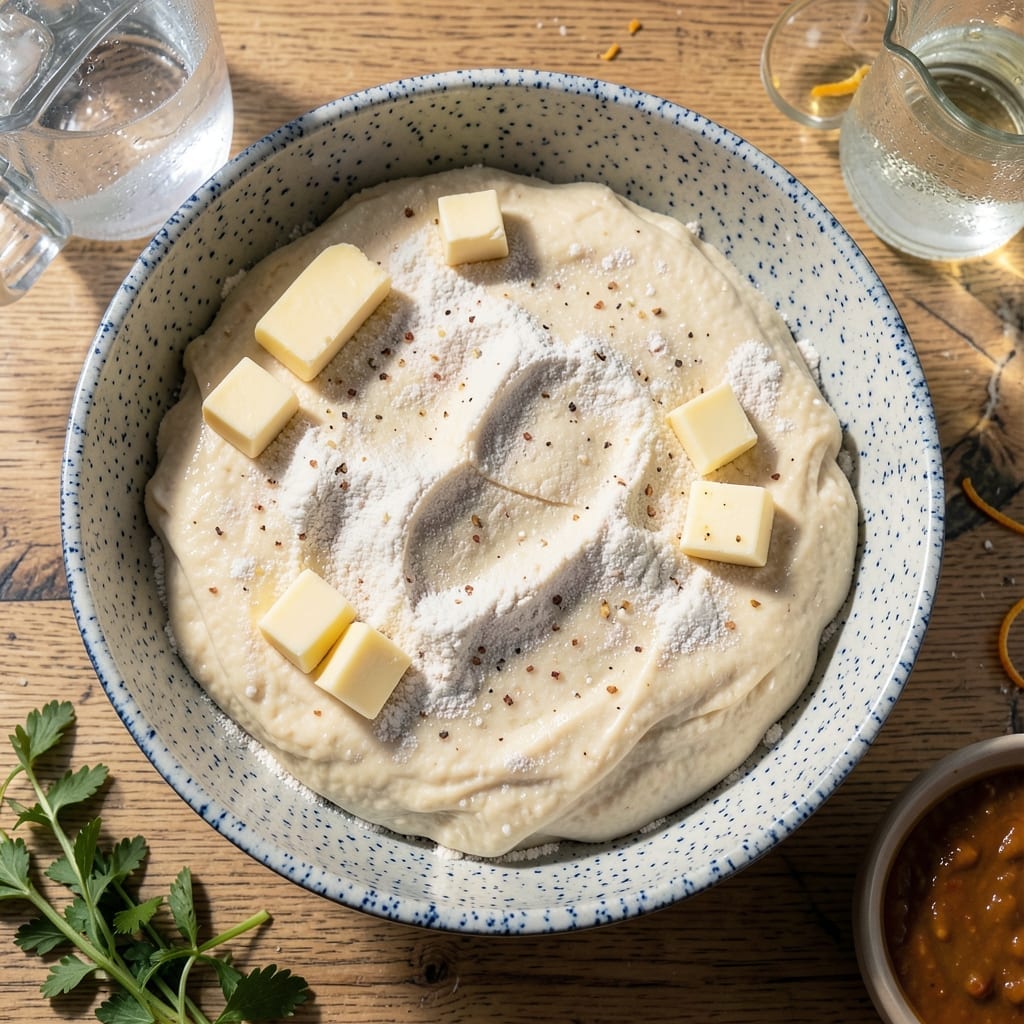
There’s something deeply satisfying about a flaky pot pie crust made with only butter—no shortening required. This technique delivers layers that shatter at the touch, with a golden finish that’s both tender and crisp.
The secret lies in keeping the butter cold and working it minimally into the flour. This creates distinct layers that puff up beautifully in the oven, giving you that coveted flaky texture without any artificial ingredients.
What you’ll achieve is a crust that’s rich with buttery flavor, strong enough to hold fillings yet delicate enough to melt in your mouth. It’s the kind of result that makes store-bought versions seem lackluster by comparison.
Perfect for both sweet and savory pies, this all-butter crust will become your go-to for any pot pie creation.
Ingredients for Pot Pie Crust Recipe No Shortening
Six simple ingredients create that coveted flaky, all-butter crust for your pot pie.
| Ingredient | Amount | Notes |
|---|---|---|
| All-Purpose Flour 🌾 | 2 ½ cups | Spoon and level method |
| Unsalted Butter 🧈 | 1 cup | Cold, cut into cubes |
| Ice Water 💧 | ½ cup | Plus 1-2 tbsp as needed |
| Fine Sea Salt 🧂 | 1 tsp | Diamond Crystal preferred |
| Granulated Sugar 🍚 | 1 tsp | Optional for sweet pies |
| Distilled White Vinegar 💧 | 1 tsp | Helps prevent gluten formation |
The butter is everything here. Use high-quality unsalted—I grab Plugrá or Kerrygold from Whole Foods or Trader Joe’s. It needs to stay ice-cold, so cube it and stick it back in the fridge while you prep. The flour should be all-purpose, nothing fancy. King Arthur is my go-to brand for consistency. If you’re making a sweet pot pie, the sugar adds a subtle touch without overpowering.
No unsalted butter? Salted works in a pinch—just omit the added salt. For a vegan version, cold coconut oil or vegan butter (like Miyoko’s) can substitute, but the texture won’t be quite the same. The vinegar might seem odd, but it tenderizes the crust—apple cider vinegar works too. Out of all-purpose flour? Cake flour will be too delicate, but bread flour can work if that’s all you’ve got.
The dough keeps in the fridge for 2 days or freezes beautifully for 3 months. Wrap it tightly in plastic—no air gaps. If freezing, thaw it overnight in the fridge before rolling. Baked crusts stay crisp for 24 hours at room temp.
Why You’ll Love This Recipe
- No Fuss Dough: I love that I can mix this with just a fork and my hands—no special tools, no shortening to cut in.
- Buttery Heaven: Honestly, the all-butter base gives it that rich, flaky crunch my old recipe never had.
- Freezer Friendly: I’ll make a double batch and freeze one for those nights I need pie crust in a flash.
- Pantry Staples: Between us, I always have flour, butter, and salt on hand, so this costs next to nothing.
Step-by-Step Instructions for Butter-Only Pot Pie Crust
Here’s my tested method for achieving those coveted flaky layers using only butter.
Step 1: Combine Dry Ingredients and Chill
In a large bowl, whisk together the 2.5 cups All-Purpose Flour, 1 tsp Fine Sea Salt, and 1 tsp Granulated Sugar until evenly distributed. This ensures the salt and sugar are properly dispersed for consistent flavor throughout your crust.
Place the bowl in the freezer for 10 minutes to chill. Cold ingredients are crucial for flaky layers, and this step prevents the butter from beginning to melt when you add it. I’ve found this small prep step makes a noticeable difference in the final texture.
Step 2: Cut in the Cold Butter
Add the 1 cup Unsalted Butter (cold and cubed) to the chilled flour mixture. Using a pastry cutter or your fingers, work the butter into the flour until you have a mixture with pea-sized butter pieces visible throughout. You should see distinct butter chunks—this is what creates those flaky layers.
Work quickly to prevent the butter from warming up. If the butter starts to feel soft or greasy, pause and chill the mixture for 5 minutes before continuing. The goal is to coat the butter pieces with flour while maintaining their structure.
Step 3: Add Liquid and Form the Dough
Create a well in the center of your flour-butter mixture. Add the 0.5 cup Ice Water and 1 tsp Distilled White Vinegar to the well. Using a fork, gently mix the liquid into the dry ingredients until the dough just begins to come together.
The vinegar tenderizes the gluten, creating a more forgiving dough that’s easier to work with. You’ll know it’s ready when the dough holds together when pressed but still looks shaggy. If it seems too dry, add 1-2 tbsp more ice water, but err on the side of caution—too much water makes for a tough crust.
Step 4: Chill and Rest the Dough
Turn the dough out onto a lightly floured surface and gently shape it into a disk about 1 inch thick. Wrap it tightly in plastic wrap and refrigerate for at least 1 hour (or up to 2 days).
This resting period allows the gluten to relax and the butter to firm up, making the dough easier to roll out. It also prevents shrinkage during baking. When ready to use, let the dough sit at room temperature for 10 minutes to soften slightly before rolling.
Step 5: Roll and Blind Bake for Perfect Flakiness
On a floured surface, roll the chilled dough to ⅛-inch thickness. Transfer to your pie dish and trim the edges, leaving a slight overhang. For a single crust, dock the bottom with a fork to prevent air bubbles.
For a pre-baked crust, chill the lined pie dish for 20 minutes before baking at 375°F for 15-20 minutes until light golden brown. For a top crust, roll and cut to size, then place over your filling. Brush with egg wash and bake until deep golden brown and flaky.
Pro Tips For Making Pot Pie Crust Recipe No Shortening
- Chill the Butter: Cut your unsalted butter into small cubes and freeze for 15 minutes before mixing—I learned this the hard way after my first few crusts turned out tough instead of flaky.
- Use Ice-Cold Water: Measure your water first, then add ice cubes to it while you prep the dry ingredients. Sounds weird, but it works: the colder the water, the better the layers in your crust.
- Skip Overworking: Mix just until the dough comes together, even if it looks shaggy. After burning three batches, I finally figured out that overmixing develops gluten, making the crust chewy instead of tender.
- Rest Before Rolling: Give the dough a solid 30 minutes in the fridge before rolling—my grandmother swore by this, and she was right: it relaxes the gluten and prevents shrinking during baking.
Make-Ahead Tips for This Recipe
Prep the Dough
Mix your dry ingredients and cut in the cold butter as directed, then form the dough into a disk. Wrap it tightly in plastic wrap and refrigerate for at least 1 hour. This resting period is non-negotiable for flakiness. 💡
Store in Fridge
Your wrapped dough will keep in the fridge for up to 2 days. When ready to use, let it sit at room temperature for 10 minutes before rolling. This softens it just enough for easy handling.
Freeze for Later
For longer storage, freeze the wrapped dough for up to 3 months. Thaw it overnight in the fridge before rolling. I always label my dough with the date to keep track.
Pre-Bake Crusts
Roll and blind-bake your crusts up to 1 day ahead. Store them at room temperature in an airtight container once completely cooled. Re-crisp in a 375°F oven for 5-10 minutes before filling. ❄️
Assemble Ahead
You can assemble your entire pot pie up to 12 hours in advance. Cover tightly with foil and refrigerate. Bake as directed, adding 5-10 minutes to the cooking time since it starts cold.
Freeze Unbaked Pies
Assemble your pot pie, wrap it well in foil, and freeze for up to 2 months. Bake from frozen, adding 15-20 minutes to the baking time. No thawing needed!
Nutrition Facts
Frequently Asked Questions
Can I use salted butter instead of unsalted?
Yes, but reduce the added salt to ½ tsp or omit it entirely. Salted butter contains about ¼ tsp salt per stick, so adjust to taste.
Why add vinegar to the dough?
The vinegar tenderizes the gluten, making the crust more forgiving and flaky. Use 1 tsp of white or apple cider vinegar for best results.
Can I make this ahead and freeze it?
Wrap the dough tightly and freeze for up to 3 months. Thaw overnight in the fridge before rolling and baking.
How do I prevent a soggy bottom crust?
Blind-bake the bottom crust at 375°F for 15-20 minutes before adding filling. This creates a barrier against moisture.

- 1950s Deviled Eggs Recipe: Nostalgic Creamy Yolk Magic - September 25, 2026
- 6 Qt Dutch Oven Bread Recipe: Crusty Crumb and Golden Crust in One Bake - September 25, 2026
- 8-Inch Chocolate Cake Recipe: Fudgy Crust and Decadent Ganache Swirls - September 25, 2026