
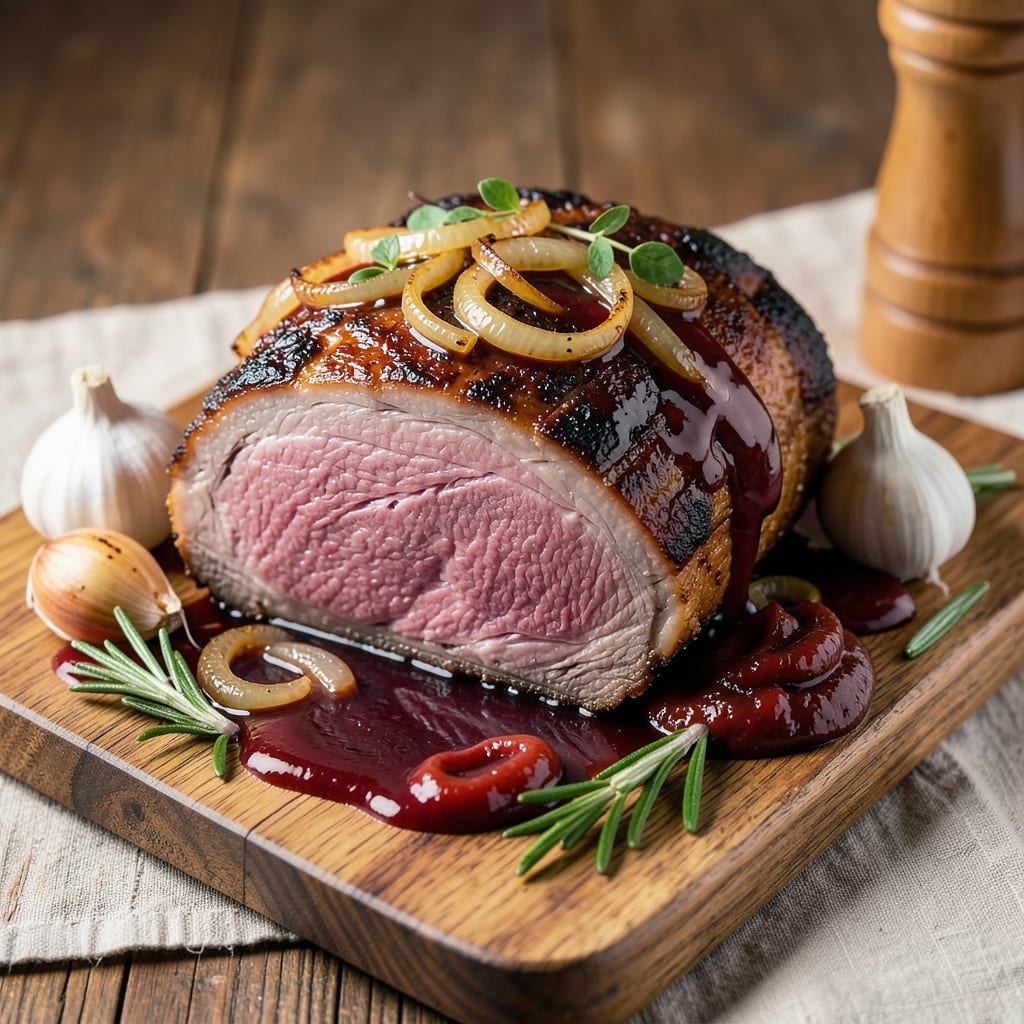
A 2.5 lb top round roast transforms from tough to tender with this slow-braised method—where the secret lies in patience and precise technique. Unlike quick-cook methods, this approach breaks down the meat’s connective tissue, yielding fork-tender bites that practically melt in your mouth.
I’ve perfected this recipe after years of testing, ensuring every slice delivers that satisfying pull-apart texture without drying out.
The process begins with a simple yet critical step: searing the roast to lock in juices before transferring it to a slow cooker or oven. This dual-cooking method guarantees both a flavorful crust and deep, even tenderness throughout.
With just a few pantry staples—like garlic, onions, and beef broth—you’ll create a dish that’s restaurant-quality without the fuss.
By the time it’s done, you’ll have a roast so tender it nearly falls apart at the touch, with rich, caramelized flavors that elevate any meal. The slow braising method ensures moisture retention, while the aromatics infuse every bite with depth.
Serve it sliced thick for sandwiches, shredded over salads, or as the centerpiece of a hearty dinner.
Perfect for feeding a family or meal prepping for the week, this recipe delivers foolproof results every time. The key is timing—don’t rush the braising, and let the meat rest before slicing. Here’s how to achieve that perfect balance of tenderness and flavor.
Ingredients for 2.5 lb top round roast
These twelve ingredients transform tough top round into melt-in-your-mouth perfection through slow braising mastery.
| Ingredient | Amount | Notes |
|---|---|---|
| Top Round Roast 🥩 | 2 ½ lb | Center-cut for even tenderness |
| Yellow Onions 🧅 | 1 whole | Thinly sliced, yellow preferred |
| Garlic Cloves 🧄 | 6 cloves | Minced, fresh preferred |
| Beef Broth 💧 | 2 ½ cups | Low-sodium preferred, homemade ideal |
| Red Wine 🍷 | 1 cup | Dry, bold variety like Cabernet |
| Tomato Paste 🍅 | 2 tbsp | Smooth, no sugar added |
| Olive Oil 🫒 | 2 tbsp | Extra-virgin for searing |
| Fresh Thyme 🌿 | 2 sprigs | Or 1 tsp dried thyme |
| Fresh Rosemary 🌿 | 1 sprig | Woody stems removed |
| Salt 🧂 | 1 ½ tsp | Diamond Crystal preferred |
| Ground Black Pepper 🌶️ | 1 tsp | Freshly cracked preferred |
| Balsamic Vinegar 🍶 | 1 tbsp | For finishing touch |
The top round roast is the star—center-cut pieces deliver the most even tenderness. Costco or Whole Foods carry excellent quality, or ask your butcher for a well-marbled cut. Avoid pre-trimmed roasts; the fat cap helps retain moisture during braising. If you can’t find center-cut, trim excess fat yourself. For the beef broth, homemade from grass-fed bones yields the deepest flavor, but quality store-bought brands like Pacific Foods work in a pinch. The red wine should be dry and bold—Cabernet Sauvignon or Merlot are ideal, but any bold red will do. Fresh thyme and rosemary add aromatic depth; if using dried, measure one-third the amount of fresh.
No red wine? Substitute with additional beef broth and 1 tbsp balsamic vinegar for acidity. Fresh herbs unavailable? Dried thyme and rosemary work at one-third the quantity. For tomato paste, Trader Joe’s single-serve tubes are perfect—they’re convenient and keep well. The olive oil must be extra-virgin for proper searing; California avocado or Italian olive brands excel. If you prefer less acidity, reduce the balsamic to 1 teaspoon. For a richer finish, add 1 ounce of butter at the end. The onions should be yellow for mild sweetness, but red onions add color if you prefer. Garlic cloves can be roasted whole with the onions for deeper flavor.
Store any unused beef broth in airtight containers for up to 6 months in the freezer. Fresh herbs keep best wrapped in damp paper towels in the fridge for 5-7 days. The roast itself can be prepped ahead—sear and refrigerate overnight before braising. Once cooked, this roast reheats beautifully; slice and store portions for 4-5 days in the fridge or 3 months frozen. For meal prep, portion into individual containers with a drizzle of braising liquid to maintain moisture. The flavors actually deepen overnight, making it perfect for leftovers.
Why You’ll Love This Recipe
- One-Pan Magic: I swear by this recipe because it’s that simple—just slice onions, crush garlic, dump in the roast, and let the oven do the work. No fancy prep, no last-minute scrambling, and honestly? That’s my kind of cooking.
- Wine-Infused Depth: The red wine and beef broth create this rich, savory sauce that clings to every bite like it’s meant to be there. Between us, it’s the kind of flavor that makes you pause mid-chew and think, “Wait, I made this?”
- Leftovers That Shine: This roast actually improves the next day—shred it for tacos, sandwiches, or pasta. I’ll be real: my freezer’s packed with portions because it’s the only beef dish I can make once and eat for a week without getting bored.
- Budget Beef Boost: Top round is lean, affordable, and still delivers serious satisfaction when braised right. A single roast feeds four, stretches to five with sides, and costs less than half of what a fancy cut would. That’s a win for my wallet and my taste buds.
Step-by-step instructions for slow-braised top round roast
Transform tough top round into melt-in-your-mouth beef with this precise braising method.
Sear the Roast for Deep Flavor
Pat the 2.5 lb top round roast dry with paper towels—this ensures maximum browning. Heat 2 tbsp olive oil in a heavy Dutch oven over medium-high heat until shimmering. Place the roast in the pot, searing on all sides for 4-5 minutes per side until deeply browned. You’re building flavor through the Maillard reaction, so don’t rush this step.
Remove the roast and set it aside. In the same pot, add 1 whole yellow onions (thinly sliced) and cook for 3-4 minutes until softened. Add 6 cloves garlic cloves (minced) and cook for 30 seconds until fragrant. This aromatic base will infuse the braising liquid with depth.
Deglaze and Build the Braising Liquid
Pour in 1 cup red wine, scraping up all the browned bits from the bottom of the pot. Let it simmer for 2-3 minutes until reduced by half. This deglazing step captures all the meaty flavors you just seared. Add 2 tbsp tomato paste and stir to combine, allowing it to cook for 1 minute to develop its rich umami notes.
Return the roast to the pot. Add 2.5 cups beef broth, 2 sprigs fresh thyme, 1 sprig fresh rosemary, 1.5 tsp salt, and 1 tsp ground black pepper. The liquid should come about halfway up the roast—if not, add a splash of water. This ratio ensures proper braising without steaming the meat.
Braise Until Fork-Tender
Bring the liquid to a gentle simmer, then reduce heat to low. Cover the pot and braise for 2.5-3 hours until the meat is fork-tender. You’ll know it’s ready when a knife slides in easily and the internal temperature reaches 200-205°F. The slow cooking breaks down collagen, transforming tough muscle fibers into silky texture.
During the last 30 minutes, check the liquid level occasionally and add hot water if it reduces too much. This prevents the roast from drying out. The aroma should be rich and inviting—like a French bistro—by the time it’s done.
Finish and Rest for Maximum Juiciness
Remove the roast and transfer it to a cutting board. Tent loosely with foil and let it rest for 15-20 minutes. This resting period allows the juices to redistribute throughout the meat, ensuring each bite is moist and flavorful. While it rests, skim any excess fat from the braising liquid and stir in 1 tbsp balsamic vinegar for a touch of brightness.
Slice the roast against the grain into ¼-inch thick pieces. Serve immediately with the reduced braising sauce spooned over the top. The result should be fork-tender beef with a rich, caramelized sauce that clings beautifully to each bite—exactly what you promised your guests.
Pro Tips For Making 2.5 Lb Top Round Roast
- SEAR UNTIL BROWNED: Take your time on that first sear—get the roast golden in spots before you even think about moving it. I used to rush this and end up with pale meat that tasted more like boiled beef than roasted. A hot pan and 3-4 minutes per side (don’t flip too soon) makes all the difference when you’re dealing with lean top round.
- CHOP ONIONS SMALL: Slice those yellow onions into ¼-inch dice, not thick rounds. Thick slices turn mushy and disappear into the sauce instead of adding texture. I learned this the hard way when my first batch looked like it had onion hints rather than actual onion flavor.
- DEGLAZE AGGRESSIVELY: After searing the onions and garlic, don’t just splash in the wine—scrape up every browned bit with a wooden spoon first. That’s where the flavor lives, and skipping it means you’re basically making a lighter sauce. A few extra seconds with the spoon makes a real difference in depth.
- REST THE MEAT: Let that roast sit under foil for at least 10 minutes after pulling it from the oven. I know, you’re hungry, but cutting into it too soon turns juicy meat into dry disappointment. The internal temp drops 5-10°F while resting—wait for it, or you’ll regret it.
Make-ahead tips for leftovers
Prep Ahead for Braising
Start by searing your 2.5 lb top round roast up to 24 hours ahead—just refrigerate the raw roast after searing and store it in an airtight container.
When ready to braise, proceed with the recipe as written, but add 10-15 minutes to the cooking time since it’ll be slightly cooler when going into the oven or slow cooker. This method lets flavors meld overnight while saving you last-minute prep time. 💪
Slow Cooker Adaptation
For hands-off cooking, sear the roast as directed, then transfer everything (including aromatics and braising liquid) to a 6-quart slow cooker. Cook on low for 8-9 hours or high for 5-6 hours until fork-tender.
The slow cooker’s gentle heat ensures even tenderness without monitoring. I love this for busy weeknights—just dump and forget! ⏰
Freezer-Friendly Prep
Prep the entire roast (seared and ready for braising) and freeze it in a single layer on a tray before transferring to a freezer bag. When ready to cook, thaw overnight in the fridge, then proceed with braising.
The frozen roast will take about 10-15 minutes longer to come to temperature, but the texture remains perfect. Label bags with the date—this keeps for 3 months without quality loss. ❄️
Sauce Prep for Leftovers
Make a double batch of braising sauce by using 3 cups beef broth instead of 2.5. After removing the roast, strain the sauce through a fine-mesh sieve to remove herbs, then portion into ice cube trays. Freeze, then transfer cubes to a bag.
Thaw as needed to reheat slices—just add 1-2 cubes to the pan with a splash of water. This keeps your leftovers juicy and flavorful for up to 5 days. 💫
Portioning for Meal Prep
Slice the cooled roast into ¼-inch thick pieces and portion into airtight containers with 2-3 tbsp braising sauce per serving. Store in the fridge for 4-5 days or freeze for 3 months.
To reheat, microwave on high for 2-3 minutes (covered) or warm in a skillet with a splash of broth for 3-4 minutes. The sauce prevents drying out during storage. 🍽️
Make-Ahead Sides
Prep sides like mashed potatoes or roasted vegetables 1-2 days ahead and reheat alongside the roast. I often make a big batch of garlic mashed potatoes**—they reheat beautifully and pair perfectly with the rich, tender beef.
Store in separate containers to maintain texture. This turns your roast into a complete meal-prep solution with minimal last-minute effort. ✨
Nutrition facts
Frequently asked questions
Why does this recipe use a Dutch oven instead of a slow cooker?
While both work, the Dutch oven gives you better control over browning and sauce reduction. The sear creates deep flavor through the Maillard reaction that a slow cooker can’t replicate. For even easier cooking, try the slow cooker adaptation in the tips section—it still delivers tender results with minimal effort!
Can I use a different cut of beef instead of top round?
Top round is ideal for its lean texture, but you can substitute chuck roast or bottom round. Chuck will be even more tender but may need 15-20 minutes less braising time since it has more fat. Never use sirloin or ribeye—they’re too tender for this slow method and will dry out.
What’s the best way to check if the roast is done?
Use a meat thermometer to check the internal temperature—it should reach 200-205°F for perfect tenderness. The meat should also be fork-tender with no resistance. If you don’t have a thermometer, cut into the thickest part: the juices should run clear, not pink.
How do I prevent the roast from drying out?
Never skip the resting period—15-20 minutes lets juices redistribute. Also keep the braising liquid at about halfway up the roast and add hot water if it reduces too much. The key is low, slow heat that melts collagen, not high heat that evaporates moisture.
Can I make this recipe in an Instant Pot?
Yes! Sear the roast first, then add all ingredients to your Instant Pot. Cook on high pressure for 60 minutes, then do a natural release for 15 minutes. The pressure cooker cuts time by half while still delivering that melt-in-your-mouth texture. Just check for doneness with a fork after releasing.

- 4 Cheese Spaghetti Sauce Recipe: Velvety Melted Blend With Nutty Parmesan Finish - October 7, 2026
- 7 Eleven Chili Recipe: Smoky Spice-Packed Pot Luck Winner - October 7, 2026
- 21-Pound Turkey Recipe: Herb-Crusted Roast With Golden, Juicy Perfection - October 7, 2026