
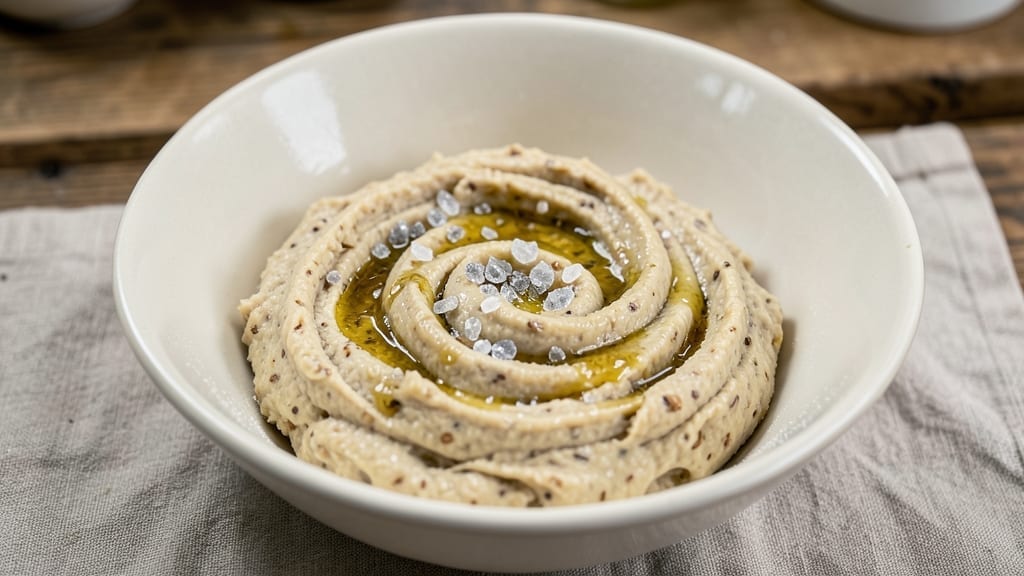
A 48-hour sourdough bread recipe transforms simple flour and water into artisanal loaves with an unmatched crusty crunch and deep, tangy flavor. The secret lies in patience—allowing the dough to ferment slowly develops complex flavors and a light, airy crumb that store-bought bread can’t match.
This method builds on traditional techniques while simplifying the process for home bakers, ensuring professional results without requiring years of practice.
The process begins with a thriving sourdough starter, which acts as both a leavening agent and a flavor enhancer. After mixing the dough, it undergoes two full days of fermentation—first a bulk fermentation at room temperature, followed by a cold proof in the refrigerator.
This extended time allows the gluten to relax and the yeast to work its magic, creating a texture that’s both tender and crispy. The key to success is precision in timing and temperature, which we’ll walk through step by step.
By the time you slide your loaf into the oven, you’ll be rewarded with a golden-brown crust, an open crumb structure, and a flavor so rich it tastes like it came from a Parisian bakery.
The aroma alone will have everyone in the house anticipating that first bite. This recipe is designed to build confidence—whether you’re a beginner or an experienced baker looking to refine your technique.
The final result is a loaf that’s perfect for sandwiches, toast, or simply enjoying on its own. With just a few simple ingredients and the gift of time, you’ll create bread that’s not just edible, but extraordinary. Let’s get started on this journey to homemade sourdough perfection.
Ingredients for 48 hour bread
Simple ingredients, extraordinary results—this is all you need for perfect sourdough.
| Ingredient | Amount | Notes |
|---|---|---|
| Active Sourdough Starter 🍞 | ½ cup | 100% hydration, bubbly and active |
| All-Purpose Flour 🌾 | 3 ½ cups | High-protein preferred, like King Arthur |
| Bread Flour 🌾 | 1 ½ cups | For better gluten development |
| Water 💧 | 2 ¼ cups | Filtered or dechlorinated |
| Salt 🧂 | 1 ½ tsp | Fine sea salt, kosher preferred |
| Olive Oil 🫒 | 2 tbsp | For dough handling and scoring |
| Cornmeal 🌽 | ¼ cup | For dusting parchment paper |
| Semolina Flour 🌾 | ¼ cup | For final dusting before baking |
| Ice Water 💧 | ¼ cup | For final shaping (optional) |
The sourdough starter is your secret weapon—it should be bubbly and active when you use it. If yours isn’t ready, feed it overnight (equal parts starter, flour, and water). King Arthur or Caputo flours are my go-tos—they handle fermentation like champs. For the water, tap water works, but if yours is heavily chlorinated, let it sit out overnight or use filtered. The salt matters too—Diamond Crystal kosher dissolves perfectly, but any fine sea salt will do. And don’t skip the olive oil—it’s not just for flavor, it helps with dough handling later.
No bread flour? All-purpose works in a pinch, but the crumb won’t be as open. Running short on time? Add 1 tbsp vital wheat gluten per cup of all-purpose flour to mimic bread flour’s strength. The cornmeal and semolina are optional but worth it—they give your loaf that professional bakery look. Short on semolina? Toasted breadcrumbs work too. And if your dough feels too sticky, add 1 tbsp more flour at a time until it’s manageable. Trust me, this is where patience pays off—don’t rush the mixing.
Your starter can be stored in the fridge for up to 1 week—just feed it 12 hours before using. The mixed dough keeps 24 hours in the fridge if you need to pause. For scoring, a sharp razor blade or lame makes clean cuts, but a single-edged safety razor works too. Bake immediately after shaping for the best crust. Leftovers? Freeze slices for toast—they’ll reheat beautifully. And if you bake more than one loaf, double the recipe—it’s worth it.
Why You’ll Love This Recipe
- No-Fuss Mixing: The dough comes together with just five ingredients—no yeast, no fuss. I swear, after kneading the bread flour and all-purpose blend with my starter, it’s almost like magic: sticky at first, then smooth as butter.
- Deep, Tangy Crust: That 48-hour ferment? It’s what makes this bread sing—crispy crust with a chewy interior, and a flavor so rich it’ll make you forget store-bought loaves. Honestly, the sourdough starter does all the work, giving it that unmistakable depth.
- Meal Prep Gold: Slice it, freeze it, toast it later—this bread lasts forever. I keep a loaf in my freezer for lazy mornings, and it thaws in minutes. Perfect for sandwiches, toast, or even French toast when you’re craving something sweet.
- Budget-Friendly Staple: Flour, water, salt—it doesn’t get much simpler (or cheaper). My starter’s the only “expensive” part, but once you’ve got it, you’re set for loaves that cost pennies to make. Between us, this is the kind of bread that makes grocery bills breathe easier.
Step-by-step instructions for 48-Hour sourdough bread
Here’s how to master the long ferment for that perfect crusty crunch and deep flavor.
Mix the Dough and Let It Rest
In a large bowl, combine the 0.5 cup active sourdough starter, 3.5 cups all-purpose flour, 1.5 cups bread flour, and 2.25 cups water. Mix well until no dry bits remain—this takes about 3-4 minutes by hand or 2 minutes with a dough hook. The dough should be shaggy and slightly sticky, not smooth.
Add the 1.5 tsp salt and 2 tbsp olive oil, then mix again until fully incorporated. Cover the bowl with a damp towel and let it rest at room temperature for 30 minutes. This initial rest allows the gluten to begin developing and makes the dough easier to handle. You’ll notice it becomes slightly less sticky and more cohesive after this time.
Bulk Ferment for 24 Hours at Room Temperature
After the rest, perform a series of stretch-and-folds every 30 minutes for the first 2 hours. Wet your hands and grab a portion of the dough, stretch it upward, and fold it back over itself. Rotate the bowl and repeat—this builds strength in the gluten structure. After these folds, let the dough rest uncovered for 22 hours at room temperature.
During this time, the dough will rise significantly—possibly doubling in size—and develop a bubbly, jiggly surface. This is where the deep flavor develops. If your kitchen is warm (above 75°F), reduce the time to 18 hours. The dough should pass the “poke test”—when you gently press your finger into it, the indentation should slowly spring back, leaving a slight dimple.
Cold Proof in the Fridge for 24 Hours
Shape the dough into a tight boule or batard by folding the edges toward the center and tucking them under. Place it seam-side up in a lightly oiled bowl, cover it with plastic wrap, and refrigerate for 24 hours. This cold fermentation slows yeast activity, allowing flavors to meld and gluten to relax for an easier final shape.
After 24 hours, the dough should have risen noticeably and developed a slightly domed shape. The cold proof also makes scoring easier later—just be gentle when handling it to avoid deflating the structure. Remove the dough from the fridge 1 hour before baking to let it warm up slightly and become more pliable.
Preheat, Shape, and Score for Baking
Preheat your oven to 450°F with a Dutch oven inside for 45 minutes. While it heats, dust a baking sheet with 0.25 cup cornmeal. Turn the dough onto the sheet, seam-side down, and gently reshape it if needed. Use a sharp razor blade or lame to score the dough in a simple pattern—this controls expansion and creates that beautiful ear.
Carefully transfer the scored dough (and cornmeal) into the hot Dutch oven. Bake covered for 20 minutes, then remove the lid and bake uncovered for another 20-25 minutes until the crust is deep golden brown and the internal temperature reaches 205-210°F. The bread should sound hollow when tapped on the bottom.
Cool and Enjoy the Results
Remove the bread from the Dutch oven and let it cool on a wire rack for at least 1 hour before slicing. This resting period allows the steam inside to escape, preventing a gummy crumb. The crust should be crisp and shatterable, while the interior should be open and airy with a chewy texture.
Slice the bread and serve warm with your favorite butter or olive oil. The long fermentation gives it a complex, tangy flavor that develops even more over the next few days. Store leftovers wrapped in a cloth bag at room temperature for up to 3 days—it only gets better with age!
Pro Tips For Making 48 Hour Bread
- Autolyse First: Mix your bread flour and water before adding starter or salt—just let them sit for 30-60 minutes. This relaxes the gluten early, so your final kneads (or folds) go smoother, and the dough becomes more extensible. I used to skip it, and my dough always felt stubborn; now it’s like working with butter.
- Weigh Your Starter: Use a scale for your active sourdough starter—no eyeballing. A 100% hydration starter (equal parts flour and water) by weight gives you consistency; guessing leads to either a gummy or dry dough. I learned this after two batches where the starter was either too weak or too aggressive.
- Skip the Overproofing: Watch your dough’s volume and texture—it should rise until it’s about 50-75% larger and look puffy but still jiggly, not collapsed. Overproofing turns your bread into a dense brick. I once left mine in the fridge overnight for “extra flavor” and ended up with a sad, flat loaf.
- Preheat Your Dutch Oven: Place your Dutch oven and baking sheet in the oven while it preheats to 450°F (230°C). The moment you add the dough, it’ll hit the perfect temp for oven spring. Cold pots = weak rise. I tested this after my first batch’s crust looked more steamed than crisp.
Troubleshooting this dish
Dough Too Sticky
If your dough feels like glue, don’t panic—this is normal for high-hydration sourdough! First, try adding 1 tablespoon bread flour at a time while mixing until it’s just manageable. Wet your hands with water or olive oil before handling to prevent sticking.
For stubborn dough, let it rest 10 minutes uncovered to relax the gluten before attempting folds. I’ve had doughs with 80% hydration that required extra flour, but the result was still perfect. 💫
Fermentation Too Fast
If your dough rises too quickly (especially in warm kitchens), it may overproof and collapse during baking. To slow fermentation, move the dough to the fridge immediately after mixing and perform cold bulk fermentation for 12-18 hours instead of room temp.
Keep temps below 70°F—I’ve used a proofing box with ice packs for consistency. If it’s already overproofed, reshape gently and bake immediately for a denser loaf.
Pale or Weak Crust
A pale crust usually means insufficient steam during baking. Ensure your Dutch oven is hot enough—preheat for 45 minutes with the lid on. Add 1 ice cube to the oven floor before baking to create extra steam.
For extra crunch, sprinkle semolina or cornmeal on the dough before scoring. I’ve also had success with a baking steel—place it under the Dutch oven for even heat distribution.
Dense or Gummy Interior
An underdeveloped gluten structure or insufficient proofing causes dense bread. Make sure you perform 4-6 stretch-and-folds during bulk fermentation. If the dough feels slack after cold proof, let it rest 30 minutes at room temp before baking.
For gummy crumb, ensure your oven reaches 450°F—use an oven thermometer. I’ve found that baking uncovered for 5-10 extra minutes helps dry the crumb slightly.
Starter Not Active
If your starter isn’t bubbly, it needs more time to activate. Feed it 1:1:1 (starter:flour:water) and let it sit at room temp for 4-6 hours until it doubles and has bubbles. For lazy starters, try whole wheat flour (10% of total flour) in your dough—it feeds the microbes better.
I’ve revived weak starters by adding 1 tsp sugar or honey to the feed to jumpstart fermentation. 🔥
Scoring Issues
Uneven scoring can cause uneven expansion. Use a sharp razor blade or lame at a 45-degree angle and press firmly but not too hard. For thick dough, score slightly deeper. If the dough springs back too much, let it rest 10 minutes after shaping.
I’ve had success with a single-edged safety razor—just be careful with your fingers! Practice on scrap dough first if you’re new to scoring.
Nutrition facts
Frequently asked questions
Why does this recipe require 48 hours?
The extended fermentation time (24 hours room temp + 24 hours cold proof) develops complex flavors and a light, airy crumb. The slow rise allows gluten to relax and wild yeast to create that signature tangy depth. Patience here transforms simple ingredients into artisanal bread with professional texture.
Can I skip the cold proof and bake immediately?
Not recommended! The cold proof is crucial for flavor development and gluten relaxation. If absolutely necessary, reduce room temp fermentation to 12 hours and bake immediately—but expect less flavor and potentially denser crumb. The magic happens during that chilled rest period.
What if my kitchen is too warm for 24-hour room temp fermentation?
Move the dough to the fridge after 8-10 hours of room temp fermentation. Warm kitchens (above 75°F) accelerate fermentation, risking overproofing. I’ve used proofing boxes with ice packs to maintain 70°F consistency when needed.
How do I know when the dough is fully proofed?
Perform the “poke test”: gently press your finger into the dough. If it springs back slowly with a slight dimple, it’s ready. For cold-proofed dough, look for a domed shape with visible bubbles. Overproofed dough will feel very slack and may collapse when shaped.
Can I make this recipe without a Dutch oven?
Yes! Use a baking stone with a steam pan below it. Add 1 ice cube to the oven when baking to create steam. For extra crust development, bake on the bottom rack. The bread won’t be as crusty but will still have excellent flavor and texture.

- 12 Bean Chili Recipe: Hearty Slow-Cooked Depth With 12 Legumes - October 17, 2026
- 5 Seed Bread Recipe: Nutty Crunch and Artisan Flavor in One Loaf - October 17, 2026
- 1 Lb Macaroni Salad Recipe: Bold, Crunchy, and Crowd-Pleasing - October 17, 2026