
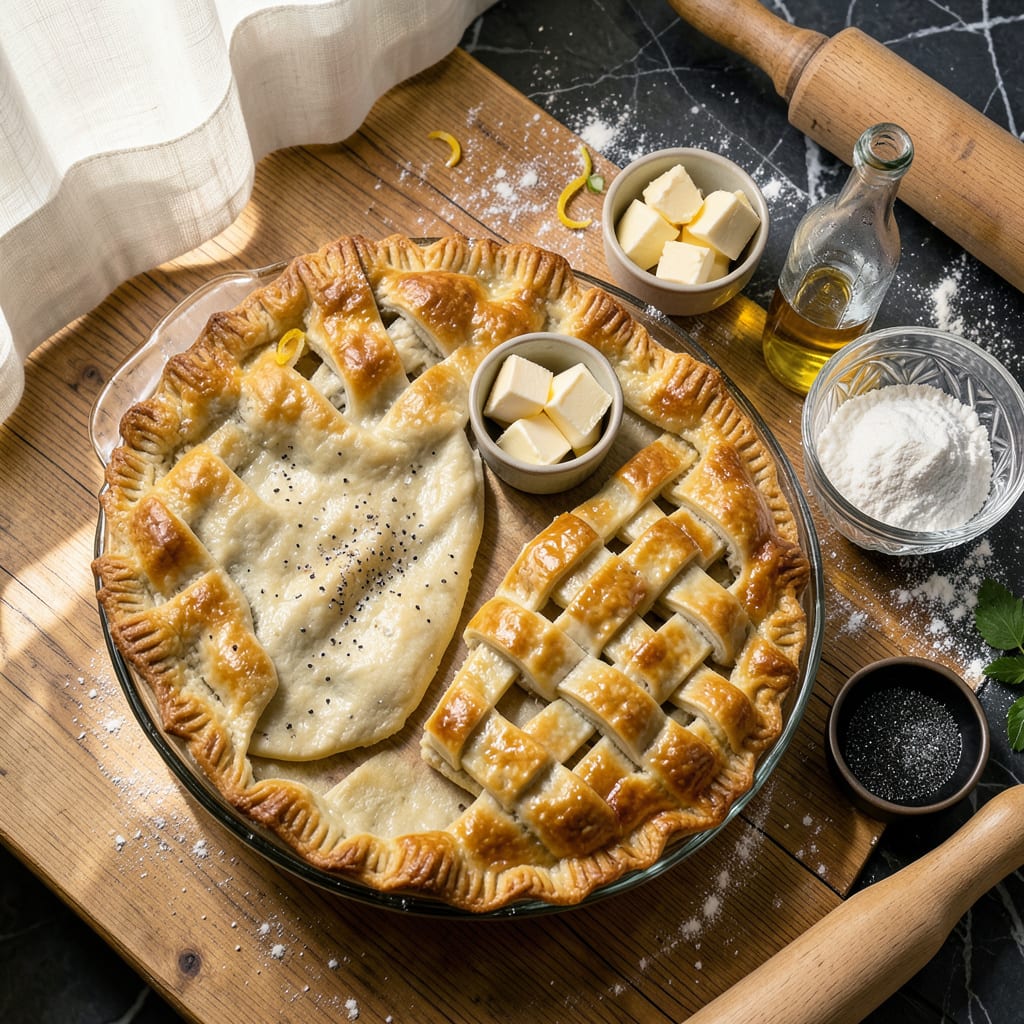
The secret to an unforgettable pot pie lies in its crust—this recipe delivers a flaky, buttery pastry that elevates any filling to comfort food perfection. After years of testing ratios and techniques, I’ve refined a method that guarantees golden layers and a tender bite every time.
What sets this pastry apart is the combination of cold butter, minimal handling, and precise chilling. The result is a crust that bakes up crisp and golden while maintaining enough structure to hold hearty fillings. Whether you’re making classic chicken pot pie or a vegetarian mushroom version, this recipe provides the ultimate foundation for your comfort dish.
Ingredients for Pot Pie Pastry
Nine essential ingredients create this professional-quality, flaky pastry foundation for any pot pie variation.
| Ingredient | Amount | Notes |
|---|---|---|
| All-Purpose Flour 🌾 | 2 ½ cups | Unbleached, spooned and leveled |
| Unsalted Butter 🧈 | 1 cup | European-style, cubed and chilled |
| Ice Water 💧 | ½ cup | Plus 1-2 tbsp as needed |
| Fine Sea Salt 🧂 | 1 tsp | Diamond Crystal preferred |
| Granulated Sugar 🍬 | 1 tsp | Balances saltiness |
| Apple Cider Vinegar 🍎 | 1 tsp | Enhances flakiness |
| Large Egg 🥚 | 1 whole | For egg wash (optional) |
| Heavy Cream 🥛 | 1 tbsp | For egg wash (optional) |
| Coarse Turbinado Sugar 🍚 | 1 tbsp | For sprinkling (optional) |
[recipeingredientscaler]
The butter quality is non-negotiable for optimal flakiness. European-style butter (82-86% fat) like Plugrá or Kerrygold yields superior layers due to its lower water content. King Arthur Flour‘s unbleached all-purpose provides consistent protein levels (11.7%) for reliable structure. Measure flour by spooning into the measuring cup and leveling—never scoop directly from the bag. The ice water should be filtered to avoid any metallic aftertaste that could compromise the clean buttery flavor profile.
For dietary adaptations, vegan butter substitutes like Miyoko’s work at a 1:1 ratio, though the crust may require additional 1-2 tbsp ice water due to different moisture content. Omit the egg wash entirely for vegan versions, or use aquafaba mixed with maple syrup for browning. The apple cider vinegar can be replaced with white vinegar or lemon juice in equal measure—its primary function is to inhibit gluten development for tenderness.
Prepared dough can be refrigerated for up to 48 hours or frozen for 3 months. Wrap tightly in plastic wrap, then place in a sealed bag to prevent freezer burn. Thaw overnight in the refrigerator before rolling. For maximum flakiness, chill the dough between each rolling step—15 minutes minimum ensures the butter remains cold. Baked crusts maintain optimal texture for 24 hours at room temperature in an airtight container.
Why You’ll Love This Recipe
- No Food Processor Needed: Honestly, I make this entirely by hand with just a fork and my fingers—no fancy equipment. The cold butter cuts into the flour so easily it feels almost therapeutic, and cleanup is just one bowl and a pastry cutter.
- That Golden, Flaky Magic: Here’s what sold me—the sugar isn’t just for sweetness. It caramelizes the crust into this crisp, buttery shell that shatters just right against the creamy filling. My picky nephew skips the veggies but always finishes his crust.
- Freezer-Friendly Lifesaver: I roll out extra dough, stack the rounds between parchment, and freeze them flat. On busy nights, I pull one out, fill it with whatever’s in the fridge (leftover chicken, canned veggies—no judgment), and bake. Weeknight hero move.
- Dough for Days: One batch makes two double-crust pies, or a dozen hand pies if I’m feeling fancy. The ingredients cost less than a store-bought crust, and I control the salt, so it’s not weirdly bland like those pre-made versions. Between us, I’ve used it for quiche crusts too—just blind-bake it first.
Step-by-Step Instructions for Pot Pie Pastry
Mastering this technique ensures a golden, flaky crust that elevates any pot pie to restaurant-quality comfort food.
Step 1: Prepare the Dough Components
Begin by cubing the 1 cup Unsalted Butter into ½-inch pieces and returning it to the refrigerator while you prepare the remaining ingredients. This keeps the butter cold, which is essential for creating flaky layers in the pastry. In a large mixing bowl, whisk together the 2.5 cups All-Purpose Flour, 1 tsp Fine Sea Salt, and 1 tsp Granulated Sugar until thoroughly combined.
The apple cider vinegar serves a critical purpose here. Measure out the 0.5 cup Ice Water and add the 1 tsp Apple Cider Vinegar to it. The acidity tenderizes the gluten, resulting in a more delicate, flaky crust. Keep this mixture in the refrigerator until ready to use.
Step 2: Cut in the Butter for Optimal Flakiness
Add the chilled butter cubes to the flour mixture. Using a pastry cutter or your fingertips, work the butter into the flour until the mixture resembles coarse crumbs with pea-sized butter pieces visible. This should take about 3-4 minutes of cutting and tossing. The goal is to coat the butter pieces with flour while maintaining their integrity—these visible butter pieces create the flaky layers during baking.
Test the texture by pinching a small amount between your fingers. It should hold together loosely but still show distinct butter pieces. If the butter becomes too soft or the mixture starts to clump, refrigerate the bowl for 10 minutes before proceeding. This step determines the final texture of your crust.
Step 3: Hydrate and Form the Dough
Create a well in the center of the flour-butter mixture. Gradually drizzle in the chilled vinegar-water mixture, starting with ¼ cup, while gently tossing with a fork. The dough should begin to come together but still appear shaggy. Add the remaining water 1 tablespoon at a time until the dough just holds together when pressed—this typically requires about ½ cup total but may vary slightly.
Turn the dough onto a lightly floured surface and gently pat it into a 1-inch thick rectangle. Avoid overworking the dough, as this develops gluten and makes the crust tough. The dough should feel cool to the touch and show visible butter streaks. Divide it into two equal portions, flatten each into a disk, and wrap tightly in plastic wrap. Refrigerate for at least 1 hour or up to 2 days before rolling.
Step 4: Roll and Fit the Pastry
Remove one dough disk from the refrigerator and let it sit at room temperature for 5 minutes to soften slightly. On a lightly floured surface, roll the dough into a 12-inch circle, about ⅛-inch thick. To prevent sticking, rotate the dough ¼ turn after every few rolls and flour the surface as needed. The circle should be about 2 inches larger than your pie dish to allow for crimping.
Gently fold the rolled dough in half, then in half again to create a quarter-circle. This makes it easier to transfer to your pie dish without tearing. Unfold it into the dish, pressing gently into the bottom and sides. Trim the overhang to ½ inch, then fold it under and crimp decoratively. For a double-crust pie, repeat with the second disk for the top crust, cutting vents for steam to escape.
Step 5: Apply the Egg Wash and Bake
For a golden finish, whisk together the 1 whole Large Egg and 1 tbsp Heavy Cream until smooth. Using a pastry brush, apply an even layer of the egg wash to the entire surface of the crust. This creates a beautiful sheen and deep golden color during baking. For added texture and visual appeal, sprinkle the 1 tbsp Coarse Turbinado Sugar evenly over the washed crust.
Bake according to your pot pie recipe instructions, typically at 375°F until the crust is deep golden brown and the filling is bubbling, about 30-40 minutes. The sugar will caramelize slightly, adding both visual contrast and subtle sweetness that balances the savory filling. Let the pie rest for 10 minutes before serving to allow the filling to set.
Dietary Considerations for pot pie pastry
Gluten-Free Adaptation
For a gluten-free version, I recommend using King Arthur Gluten-Free Measure for Measure Flour at a 1:1 ratio. The key is adding 1 extra tbsp ice water to compensate for the blend’s drier texture. Chill the dough for 30 minutes before rolling – this helps prevent cracking. 💡
Vegan Modifications
Replace the butter with Miyoko’s Cultured Vegan Butter and use aquafaba mixed with maple syrup for the egg wash. The vinegar remains essential for flakiness. I’ve found this version works beautifully with mushroom-based fillings, creating that same golden, crispy finish we all love.
Dairy-Free Options
Use coconut oil (solid, not melted) instead of butter, keeping it well-chilled. The texture will be slightly different but still delicious. For the egg wash, olive oil brushed lightly gives a nice sheen without dairy. Just be mindful that coconut oil has a lower melting point.
Lower-Carb Alternative
For a keto-friendly crust, blend 1.5 cups almond flour with ½ cup coconut flour and ¼ cup psyllium husk powder. The dough will be more delicate, so roll it between parchment paper. Bake at 350°F for 20-25 minutes to prevent burning.
Nut-Free Version
If nut allergies are a concern, sunflower seed flour makes an excellent 1:1 substitute for almond flour in alternative recipes. Just ensure all ingredients are processed in nut-free facilities. I always double-check labels on butter substitutes too, as some may contain almond oil.
Salt Reduction Tips
For those watching sodium, you can reduce the salt to ½ tsp without sacrificing flavor. The apple cider vinegar actually helps enhance the buttery taste, so you won’t miss the salt. I’ve made this adjustment many times for family members with blood pressure concerns. ✨
Nutrition Facts
Frequently Asked Questions
Why does my crust turn out tough instead of flaky?
Overworking the dough is the most common cause. The key is to handle it as little as possible—just until it comes together. Also, ensure your butter stays cold throughout the process. If the dough feels warm at any point, refrigerate it for 10-15 minutes before continuing.
Can I make the dough ahead of time?
The dough can be refrigerated for up to 48 hours or frozen for 3 months. Wrap it tightly in plastic wrap, then place in a sealed bag to prevent freezer burn. Thaw overnight in the refrigerator before rolling for best results.
What’s the best way to prevent a soggy bottom crust?
Blind-baking the bottom crust helps create a barrier against moisture. Brush the unbaked crust with a thin layer of beaten egg white before adding filling, or sprinkle 1-2 tbsp breadcrumbs on the bottom. This absorbs excess liquid during baking.
How do I know when the crust is perfectly baked?
Look for a deep golden brown color, which typically takes 30-40 minutes at 375°F. The crust should feel firm when gently pressed, and you’ll see the filling bubbling through the vents. If the edges brown too quickly, cover them with foil.
Can I use this pastry for other dishes besides pot pie?
This versatile recipe works beautifully for any savory pie! Try it with quiches, hand pies, or even as a topping for shepherd’s pie. The flaky texture and buttery flavor complement both meat and vegetarian fillings perfectly.

- 6 Bean Chili Recipe: Hearty, Smoky Depth That Gets Richer Over Time - September 26, 2026
- 2 Gallon Red Sangria Recipe: Bold Spice and Fruit Fusion for Crowds - September 26, 2026
- 5 Star Apple Bread Recipe: Spiced Apple Swirl With Buttery Crust - September 26, 2026