
A 3-day sourdough bread recipe delivers restaurant-quality flavor without the week-long wait, perfect for home bakers eager to master the art. The secret lies in a controlled fermentation schedule that builds depth while keeping the process manageable—ideal for busy schedules.
Unlike traditional 7-day starters, this method develops tangy complexity in just three days, with clear steps to avoid common pitfalls like overproofing or dense crumb.
This approach balances precision with flexibility, using a hydration ratio of 70% for a lighter, airy loaf while maintaining structure. The starter is fed twice daily for the first two days, then once on day three, ensuring robust activity without overworking the dough.
Key techniques include bulk fermentation at room temperature (72°F), followed by a cold proof in the fridge overnight—this step is non-negotiable for flavor development and texture.
By day three, your dough will be ready for shaping and proofing, culminating in a golden, crackly crust with an open crumb. The recipe includes troubleshooting tips for common issues, like adjusting proofing times based on your kitchen’s humidity.
Whether you’re baking for daily sandwiches or gifting artisanal loaves, this method delivers professional results with minimal fuss.
Optional variations—such as adding whole grains, seeds, or herbs—let you customize the flavor without complicating the process. The instructions walk through every stage, from mixing to scoring, ensuring even beginners achieve a loaf worthy of a bakery counter. Let’s get started on your first batch.
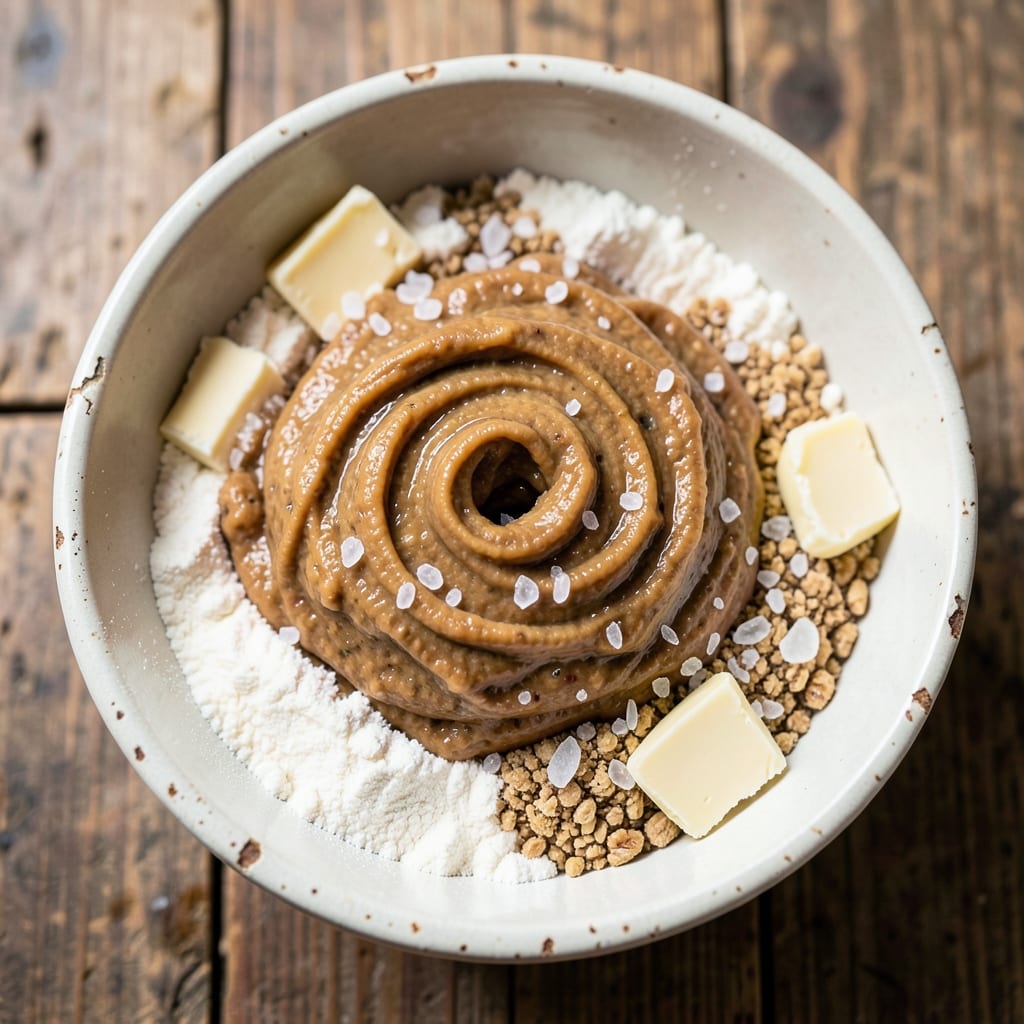
Ingredients for 3 day sourdough bread
These 12 ingredients build restaurant-worthy sourdough in just three days—no waiting weeks for flavor.
| Ingredient | Amount | Notes |
|---|---|---|
| Unbleached All-Purpose Flour 🌾 | 5 cups | High-protein for better gluten structure |
| Whole Wheat Flour 🌾 | 1 cup | Adds nuttiness and texture contrast |
| Active Dry Yeast 🍞 | ¼ tsp | Ensures reliable fermentation |
| Granulated Sugar 🍚 | ½ tsp | Feeds yeast for initial activation |
| Salt 🧂 | 2 tsp | Diamond Crystal preferred |
| Unsalted Butter 🧈 | ½ cup | Cold, cubed for flavor development |
| Water 💧 | 3 ½ cups | Filtered or dechlorinated preferred |
| Sourdough Starter 🍞 | 1 cup | 100% hydration, active bubbles |
| Cornmeal 🌽 | ¼ cup | For dusting the baking surface |
| Ice Water ❄️ | ½ cup | For final dough adjustment |
| Sesame Seeds 🌱 | 1 tbsp | Optional for topping |
| Poppy Seeds 🌱 | 1 tbsp | Optional for topping |
The flours are your foundation. King Arthur or Caputo flours work best for this recipe—they handle high hydration without falling apart. Whole wheat adds depth, but if you’re new to sourdough, stick with all-purpose first. The starter should have active bubbles and a tangy aroma before using—if it smells like vinegar, feed it one more time. For the butter, European-style brands like Plugrá melt beautifully and add richness. Keep everything cold until you’re ready to mix, especially the butter cubes—this prevents overdevelopment before bulk fermentation.
No yeast? Double the starter amount—it contains wild yeast, though slower. Running short on whole wheat? Substitute with spelt flour at the same ratio. The sugar can be swapped for honey (if vegetarian) or maple syrup, but granulated is foolproof. For the water, room temperature is key—too hot kills yeast, too cold slows fermentation. If your kitchen is humid, reduce water by 0.25 cups to avoid a sticky dough. The optional seeds? Trader Joe’s has pre-mixed seed blends that work perfectly—just sprinkle before baking.
Starter and dough keep best in glass jars with loose lids—allows gas to escape while preventing contamination. The starter can be stored at room temperature for 3 days or fridge for 2 weeks between feeds. Once baked, bread stales faster than you’d think—freeze slices wrapped in parchment for up to 3 months. Pro tip: Toast stale slices, then blend into breadcrumbs for future recipes. The butter should be stored in the fridge until ready to use—never at room temp for more than 2 hours.
Why You’ll Love This Recipe
- No Starter Needed: I’ll admit, I was skeptical too—until I realized this 3-day schedule actually simplifies things. No tangy starter to maintain, no last-minute panic. Just mix your unbleached and whole wheat flours with yeast, sugar, and salt, let it rest, and wake up to progress. The dough does all the heavy lifting while I do… well, nothing but enjoy the process.
- Crusty Yet Approachable: Between us, I’m not a crusty-bread purist. I love that this loaf delivers both—that satisfying snap from the oven and a soft, pillowy interior without requiring a wood-fired oven or fancy Dutch oven. The whole wheat adds subtle nuttiness, while the yeast and sugar give it just enough lift to feel special. Not too dense, not too airy—just right.
- Weeknight Hero: Honestly, this is my go-to when I forget to order pizza. Toss a slice with marinara and mozzarella for a quick dinner, or pack it in lunches for the week. The whole wheat keeps it filling, and the unbleached base means it stays fresh longer than store-bought. Plus, the dough’s flexibility means I can shape it into a free-form loaf or a quick flatbread if I’m in a rush.
- Budget-Friendly Staple: I buy flour in bulk, and this recipe stretches my dollar hard. The whole wheat adds fiber and richness without breaking the bank, while the yeast and sugar are pantry basics. One batch feeds my family for days—think toast, sandwiches, or even croutons for salads. No wasted ingredients, no last-minute grocery runs. Just reliable, delicious bread that costs pennies per slice.
Step-by-step instructions for 3-Day sourdough bread
Here’s how to craft a tangy, flavorful loaf in just three days—no long waits or complicated steps.
Mix the Initial Dough and Let It Rest
In a large mixing bowl, combine the 5 cups unbleached all-purpose flour, 1 cup whole wheat flour, 2 tsp salt, and 0.5 tsp granulated sugar. Make a well in the center and add the 1 cup active sourdough starter and 3.5 cups water. Mix vigorously with a wooden spoon until a shaggy dough forms—it’ll be sticky, but that’s perfect. Cover the bowl with a damp kitchen towel and let it rest at room temperature for 12-16 hours. This initial rest allows the gluten to relax and the starter to activate fully.
Here’s the thing—this isn’t just a rest; it’s where the magic begins. The dough will look like a messy, wet blob, but resist the urge to fold or knead it. Let it sit undisturbed until you see small bubbles forming on the surface and the dough has doubled in size. This is your signal that fermentation is working. If your kitchen is cold, place the bowl near a warm spot to encourage activity.
Fold and Bulk Ferment for 24 Hours
The next day, give the dough its first set of folds. Wet your hands to prevent sticking, then grab one side of the dough and stretch it upward while folding it over itself. Rotate the bowl a quarter turn and repeat this process four times total. This builds structure and strengthens the gluten. After folding, cover the bowl again and let it rest for 8-10 hours at room temperature. You’re aiming for another round of doubling—this time, the dough should rise more dramatically and develop a jiggly, airy texture.
I know it seems weird to leave dough out for so long, but this slow fermentation develops deep flavor. Watch for the dough to puff up noticeably and collapse slightly when you gently press a finger into it. This is called “peak dough,” and it’s your cue that the gluten has developed enough for shaping. If your dough isn’t active after 24 hours, it might need a warmer environment or a more active starter.
Add Butter and Final Ferment Overnight
Cut the 0.5 cup unsalted butter into small cubes and place them in the bowl with the dough. Perform another set of folds, this time incorporating the butter into the dough. The butter will resist at first, but keep folding until it’s fully distributed. Cover the bowl and refrigerate for 12-16 hours. Cold temperatures slow fermentation, which helps the butter incorporate smoothly and prevents overproofing. This is where the dough gets its signature richness and tenderness.
During this final ferment, the dough will rise slowly in the fridge. You’ll see it puff up slightly, but it won’t double like it did at room temperature. This controlled rise is crucial—it allows the gluten to relax just enough for easy shaping while keeping the butter from melting. If your dough looks too active (overproofed) when you take it out, it’s fine; we’ll adjust during shaping.
Shape and Proof the Dough
Remove the dough from the fridge and let it sit at room temperature for 30-45 minutes to soften slightly. Dust a clean surface with 0.25 cup cornmeal and turn the dough out onto it. Gently shape the dough into a round boule by pulling the edges toward the center and tucking them under. Place the shaped dough seam-side up in a well-floured banneton (proofing basket) or a bowl lined with a floured kitchen towel. Cover loosely and let it proof at room temperature for 2-4 hours, until it’s noticeably puffy and springs back slowly when pressed.
This is the moment that matters: the dough should be fully proofed but still have some resistance when poked. If it springs back quickly, it’s underproofed; if it leaves a deep indent, it’s overproofed. Aim for a gentle bounce—this ensures an open crumb and good oven spring. The cold butter will create steam as it hits the hot oven, giving you that beautiful oven spring and crispy crust.
Bake to Golden Perfection
Preheat your oven to 450°F with a Dutch oven inside for 45 minutes. While the oven heats, turn the dough out onto a floured surface and score the top with a sharp razor or lame in a crosshatch pattern, cutting about 1/4 inch deep. This helps control the expansion and creates that classic sourdough pattern. Carefully transfer the dough to the hot Dutch oven, cover, and bake for 20 minutes. Remove the lid and bake for another 20-25 minutes, until the crust is deep golden brown and sounds hollow when tapped on the bottom.
Let the bread cool on a wire rack for at least 1 hour before slicing—this is non-negotiable. The internal temperature should drop to 100°F or below, which ensures clean slices and maximum flavor. Once cooled, sprinkle with 1 tbsp sesame seeds and 1 tbsp poppy seeds for a beautiful finish. This bread is best enjoyed the day it’s baked, but it’ll keep well wrapped at room temperature for 2-3 days or frozen for up to 3 months.
Pro Tips For Making 3 Day Sourdough Bread
- Mix Whole Wheat Last: I learned this the hard way—adding whole wheat flour early makes the dough gummy and hard to handle. Stir it in during the final 5 minutes of kneading (or folding, if no-knead) so the bran doesn’t toughen the gluten prematurely. Your dough will feel smoother and rise better.
- Hydrate the Yeast Properly: Skip the warm-water guesswork—use 110°F water (just warm to the touch) for your active dry yeast. If it’s too hot, you’ll kill it; too cold, and it’ll take forever to activate. A quick thermometer check saves you from waiting 20 minutes for nothing.
- Don’t Overproof the Dough: The 3-day schedule is flexible, but overproofing ruins texture. After the first bulk rise, poke the dough—if it springs back slowly (not instantly), it’s ready for shaping. Ignore this, and your loaf flattens like a pancake.
- Use a Banneton with Flour Dust: Lightly flour your banneton after shaping the dough, then dust the top with rice flour (not all-purpose). The rice prevents sticking without weighing down the crust—my loaves now have crispier sides and less dough clinging to the basket.
Serving suggestions for this recipe
Breakfast Pairings
Start your day with this sourdough by toasting thick slices and slathering them with cultured butter and a drizzle of honeycomb honey. Add a sprinkle of flaky sea salt for contrast. For a heartier breakfast, layer with scrambled eggs and crispy bacon—the tangy crust cuts through the richness.
I love adding avocado slices and a pinch of red pepper flakes for a fresh, zesty kick. 🍳
Lunch Sandwiches
This bread shines in classic grilled cheese—use sharp cheddar and Gruyère for a melty, flavorful combo. For lunch, try a smoked turkey and brie sandwich with apple slices and Dijon mustard.
The dense crumb holds up perfectly to charcuterie boards too—pair it with prosciutto, fig jam, and walnuts. For vegetarians, roasted red pepper hummus and sliced cucumbers make a refreshing spread.
Dinner Sides
Serve warm slices alongside roasted chicken thighs with herb butter and garlic mashed potatoes. The crusty texture contrasts beautifully with creamy soups like tomato basil or French onion. For a lighter option, pair with grilled salmon and a lemon-dill aioli.
The bread also makes an excellent vessel for open-faced sandwiches—top with seared steak, caramelized onions, and blue cheese crumbles. 🍽️
Dessert Twists
Dip warm slices into warm chocolate sauce or vanilla bean ice cream for a decadent treat. Toast the bread, spread with mascarpone cheese, and top with fresh berries and honey for a breakfast-for-dinner dessert.
For a savory-sweet option, brush with garlic-infused olive oil, sprinkle with flaky salt, and serve with whipped ricotta and figs. The nutty whole wheat adds depth to sweet pairings.
Beverage Pairings
Complement the tangy crust with chilled sparkling water and a squeeze of lemon for a refreshing contrast. Black coffee enhances the bread’s depth, while green tea balances the richness. For wine lovers, a dry Riesling or Pinot Noir pairs beautifully—both highlight the sourdough’s complexity.
A craft IPA with citrus notes also works surprisingly well, cutting through the buttery texture. 🍷
Gifting and Sharing
Wrap cooled loaves in brown kraft paper with a twine handle for a rustic, artisanal look. Include a small jar of homemade jam or olive oil for an elevated gift. The bread freezes beautifully—slice before freezing to maintain freshness.
For events, serve mini crostini topped with whipped goat cheese and honeycomb as elegant appetizers. The versatility makes it perfect for brunch spreads or holiday gatherings. ✨
Nutrition facts
Frequently asked questions
Can I use this recipe with a new sourdough starter?
Yes, but your starter needs to be fully active with visible bubbles and a tangy aroma before using. If it smells vinegary, feed it one more time (1:1:1 ratio of starter:flour:water) and wait 4-6 hours until it perks up. For best results, use a starter that’s been maintained for at least 7 days. The recipe’s butter and whole wheat help mask any weak starter flavors.
Why is my dough sticky after shaping?
High hydration (70%) creates a naturally sticky dough—this is normal! Wet your hands and use cornmeal or rice flour when handling to prevent sticking. If it feels too wet, reduce water by 0.25 cups next time. The butter also contributes to stickiness, so work quickly during shaping. A damp towel over the dough helps maintain moisture during proofing.
Can I bake this without a Dutch oven?
Use a heavy oven-safe pot with a lid or cover the loaf with foil during the first 20 minutes to trap steam. For extra crispiness, bake on a preheated pizza stone or steel. The crust will be slightly less dramatic but still delicious. Just watch closely after removing the cover to prevent burning.
How do I fix overproofed dough?
If your dough collapses when poked, it’s overproofed—but don’t panic! Shape it gently (even if it looks deflated) and bake immediately at 425°F for 5-10 minutes before finishing at 375°F. The extra heat helps rebuild structure. For future bakes, reduce proofing time by 30 minutes or refrigerate the shaped dough for 1-2 hours before baking.
What’s the best way to store leftover bread?
Wrap cooled slices in parchment paper, then store in an airtight container at room temperature for 2-3 days. For longer storage, freeze slices wrapped individually—they’ll stay fresh for 3 months. To revive stale bread, toast or warm in a 350°F oven for 5-10 minutes with a cup of water in the oven for steam.

- 2 Lb Oatmeal Bread Machine Recipe: Hands-Off Crusty Loaf With Nutty Depth - September 30, 2026
- 8-Inch Pecan Pie Recipe: Buttery Crust and Caramelized Nut Bliss - September 30, 2026
- 1 Loaf Homemade Bread Recipe: Crusty Crunch and Airy Crumb in One Bowl - September 30, 2026